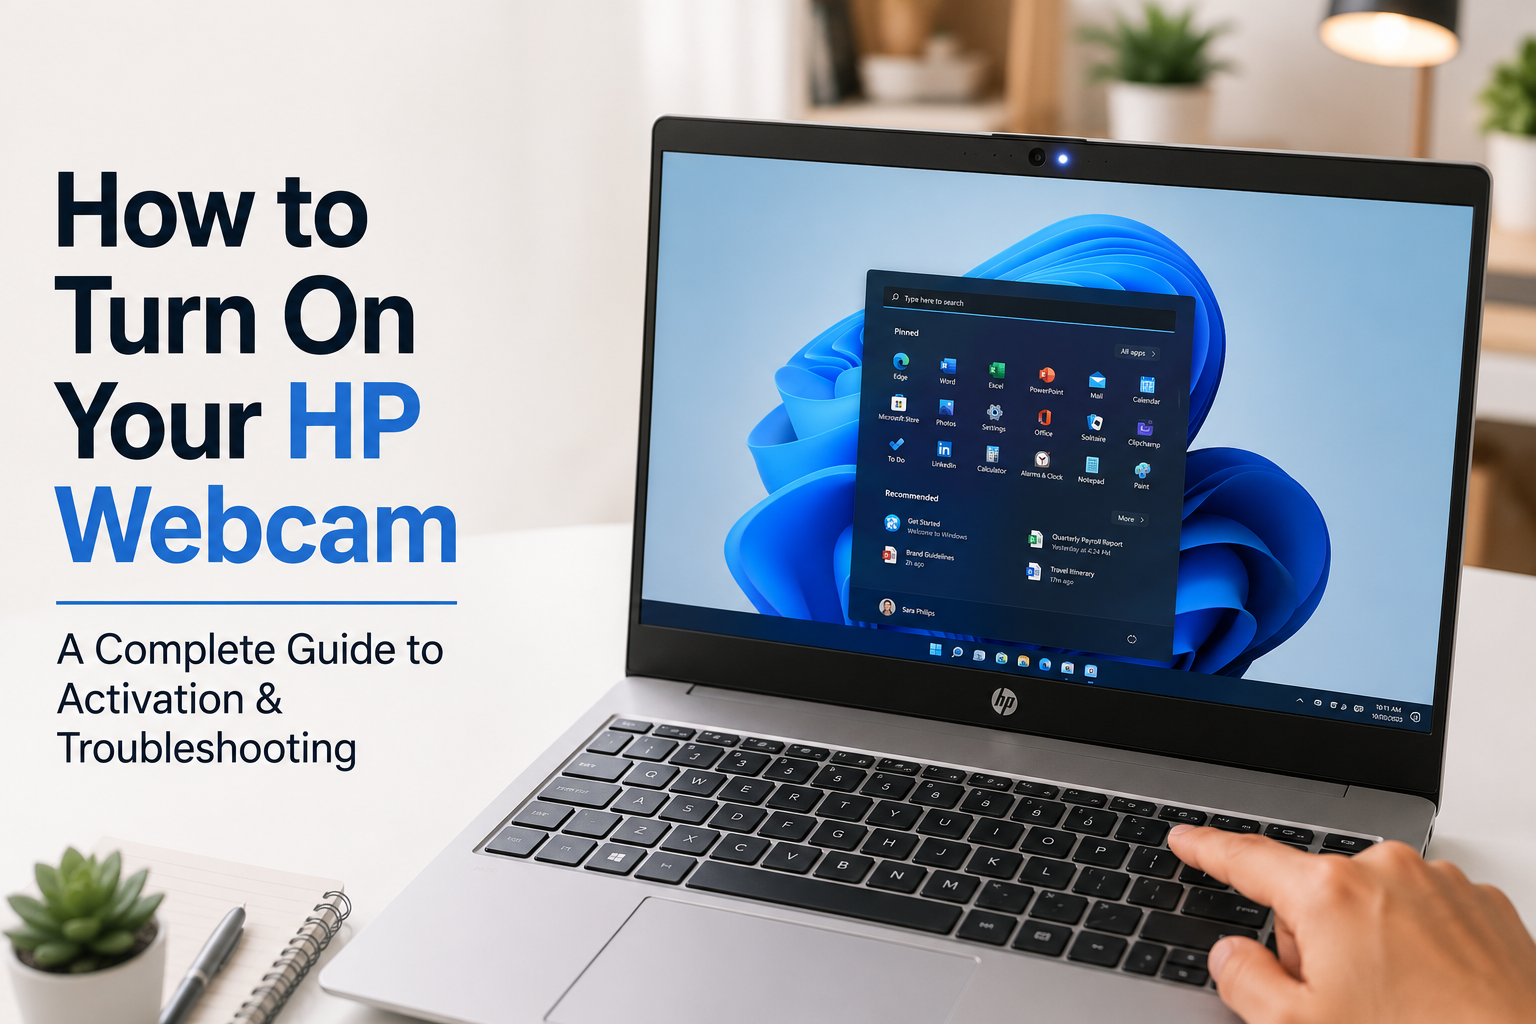
Turning on your webcam on an HP laptop usually involves a few straightforward steps within Windows settings or through specific hardware controls. Most modern HP laptops come with an integrated camera that can be enabled by checking physical privacy features, adjusting system privacy settings, and ensuring correct drivers are installed and up to date.
Whether you need your webcam for video conferencing, online classes, or capturing memories, navigating its activation can sometimes feel like a puzzle. This guide cuts through the confusion, offering a hands-on approach to get your HP laptop camera up and running. We’ll cover everything from the simplest checks to more advanced troubleshooting, empowering you to resolve common issues with confidence and maintain your digital privacy.
Understanding Your HP Webcam: Initial Checks and Privacy Safeguards
Before diving into software settings, it’s crucial to understand your HP laptop’s physical webcam features. Many HP models prioritize user privacy, often incorporating physical mechanisms to disable the camera.
Physical Webcam Location and Privacy Shutters
Most HP laptop webcams are located at the top center of the display bezel. Take a moment to visually inspect this area. Some HP laptops include a physical privacy shutter, which is a small slider you can manually move to cover or uncover the camera lens. If your laptop has one, slide it open to ensure the lens is exposed. Other HP models may feature a dedicated webcam kill switch on the side of the laptop or a shutter key on the keyboard, often a function key (like F8 or F10) with a camera icon. Pressing this key, sometimes in combination with the ‘Fn’ key, can toggle the camera’s on/off state.
Always check for these physical controls first. An engaged privacy shutter or switch is a common reason why a webcam appears to be “off” or “not working”. As security experts at Computing Australia emphasize, “A physical shutter is foolproof” for privacy.
Checking for Hardware Issues
While less common, a hardware issue can prevent your webcam from turning on. Look for a small LED indicator light near the webcam lens. If this light does not illuminate when you attempt to use the camera, even after checking privacy controls and software settings, it might suggest a hardware or driver problem. Some HP Support experts suggest running a “Webcam Connection Test” in HP PC Hardware Diagnostics to rule out internal hardware failures.
The First Step: Enabling in Device Manager
The Windows Device Manager is a central hub for managing all hardware connected to your laptop, including your webcam. Ensuring it’s enabled here is a fundamental step.
Locating the Webcam in Device Manager
To access Device Manager, right-click the Start button (Windows icon) and select Device Manager from the menu. In the Device Manager window, expand the Cameras or Imaging devices category. You should see your webcam listed, often named “HP Wide Vision Camera,” “Integrated Webcam,” or “USB Video Device”.
If you see a downward-pointing arrow icon or a yellow exclamation mark next to your webcam’s entry, it indicates the device is disabled or has a driver issue. Right-click on your webcam and select Enable device if it’s disabled. If there’s no “Imaging devices” category, or your webcam isn’t listed, select Action from the Device Manager menu, then Scan for hardware changes.
Updating Webcam Drivers
Outdated or corrupted drivers are a frequent cause of webcam malfunctions. From Device Manager, right-click your webcam and select Update driver. Choose Search automatically for updated driver software. Windows will then search for and install the best available driver. If Windows doesn’t find a new driver, you can visit HP’s official support website, enter your laptop’s model or serial number, and manually download the latest camera drivers.
Keeping your drivers updated is a proactive security measure. “Outdated programs can be gateways to viruses and other malware,” states Perallis Security, emphasizing that “updates correct security flaws and breaches”.
Granting App Permissions for Your Webcam
Even if your webcam is enabled in Device Manager, Windows has strict privacy controls that can prevent applications from accessing it. These settings are crucial for protecting your privacy.
Windows Privacy Settings
In Windows 10 and 11, you must explicitly grant permission for your webcam to be used by apps. Navigate to Settings > Privacy & security > Camera.
On this screen, ensure the following settings are enabled:
- Camera access (for the entire device). If this is off, no applications can use the camera. If it cannot be changed, an administrator might need to adjust it.
- Let apps access your camera. This general setting allows Microsoft Store apps to use the camera.
- Let desktop apps access your camera. This is critical for applications like Zoom, Microsoft Teams, Skype, and web browsers, which are considered desktop apps.
These settings are crucial layers of security. “Most apps require permission before accessing your webcam,” notes Dealarious Store, suggesting regular review of these permissions.
Specific App Permissions
Below the general access settings, you will find a list of individual Microsoft Store applications. Scroll through this list and ensure that the toggle is set to On for any specific app you want to use your webcam with, such as the built-in Camera app or video conferencing tools. For desktop apps, individual permissions cannot be set, but the “Let desktop apps access your camera” toggle controls access for all of them.
Here’s a quick comparison of essential webcam access settings:
| Setting | Description | Impact | Action |
|---|---|---|---|
| Physical Shutter/Switch | Hardware control to physically cover the lens or disable the camera. | Blocks all camera input at the hardware level. | Slide open or toggle to ON. |
| Camera Access (Device) | System-wide master switch for the camera. | If OFF, no apps can access the camera. | Turn to ON in Settings > Privacy & security > Camera. |
| Let apps access your camera (General) | Grants permission for Microsoft Store apps to use the camera. | If OFF, Store apps cannot use the camera. | Turn to ON in Settings > Privacy & security > Camera. |
| Let desktop apps access your camera | Grants permission for traditional desktop applications (e.g., Zoom, Chrome). | If OFF, desktop apps cannot use the camera. | Turn to ON in Settings > Privacy & security > Camera. |
Troubleshooting Common Webcam Issues
Sometimes, the webcam may still not function correctly even after checking privacy settings and Device Manager. Here are further troubleshooting steps.
Restarting Your Laptop
It sounds simple, but a full system restart can resolve many temporary software glitches, including webcam problems. A restart can refresh system settings and clear out any conflicts that might be preventing your camera from working correctly. “The universal IT solution that resolves temporary software conflicts” is often a simple reboot, as highlighted by a Tech Takes article.
Testing with Different Applications
If your webcam isn’t working in one application, try testing it with another. Open the built-in Camera app in Windows (search for “Camera” in the Start menu) or try a different video conferencing tool like Zoom or Google Meet. If the camera works in other apps but not a specific one, the issue likely lies within that particular application’s settings, not with the webcam itself. For example, in Zoom, you might need to select your HP webcam from the video settings.
Running the Hardware Troubleshooter
Windows includes built-in troubleshooters that can automatically diagnose and fix common hardware problems. To run the hardware troubleshooter, search for “Troubleshoot settings” in the Start menu. Under the “Hardware and Devices” section (in older Windows versions) or within other troubleshooters, you might find an option relevant to cameras or devices. Follow the on-screen prompts to allow Windows to scan for and attempt to repair issues.
Advanced Solutions and Driver Management
If the basic troubleshooting doesn’t yield results, you might need to delve into more advanced driver management or system diagnostics.
Reinstalling Webcam Drivers
A clean reinstall of your webcam driver can often resolve persistent issues. In Device Manager, under Cameras or Imaging devices, right-click your webcam and select Uninstall device. Importantly, if prompted, select the option to Delete the driver software for this device. After uninstalling, restart your laptop. Windows will typically detect the webcam upon reboot and automatically reinstall the necessary drivers.
Alternatively, after uninstalling, you can go back to Device Manager, click Action, then Scan for hardware changes to trigger the reinstallation.
BIOS/UEFI Settings (If Applicable)
In rare cases, the webcam might be disabled at the firmware level within your laptop’s BIOS (Basic Input/Output System) or UEFI (Unified Extensible Firmware Interface) settings. This is less common but worth checking if all other steps fail.
To access BIOS/UEFI:
- Restart your HP laptop.
- Immediately and repeatedly press the Esc key, and then typically F10 when prompted, to enter the BIOS Setup Utility. (The specific key can vary; sometimes it’s F2 or F1).
- Navigate through the menus (often under Security > Device Security or Advanced > Built-in Device Options) to find a setting related to “Integrated Camera” or “Webcam”.
- Ensure the camera is set to Enabled.
- Save changes and exit the BIOS/UEFI. Your laptop will restart.
Be cautious when making changes in BIOS/UEFI, as incorrect settings can affect system stability.
Using HP Support Assistant
HP Support Assistant is a powerful utility designed to help HP users maintain their systems. It can automatically find and install driver updates, run diagnostics, and fix issues.
To use HP Support Assistant:
- Search for HP Support Assistant in the Windows search bar and open the application.
- Select My Devices and choose your laptop.
- Go to the Updates section to check for any recommended camera driver updates.
- Install any available updates and restart your laptop if prompted.
- You can also look for diagnostic tools within HP Support Assistant that specifically test the webcam.
Utilizing HP Support and Resources
If you have exhausted all troubleshooting steps and your HP laptop webcam still isn’t working, it might be time to leverage official HP support. Their resources can provide more tailored assistance for your specific model.
Visit the official HP Support website (support.hp.com). Here, you can:
- Enter your product name or serial number to get model-specific drivers and troubleshooting guides.
- Access the HP support forums, where other users and HP experts share solutions to common problems.
- Contact HP customer support for personalized assistance or to explore repair options, especially if your laptop is still under warranty. Many camera hardware issues might be covered, offering repair or replacement at no extra cost.
When seeking external help, always remember the importance of webcam security. “Maintaining your digital privacy requires ongoing vigilance,” says cybersecurity expert Jane Doe. “Always ensure you’re downloading drivers and software from official sources like HP’s website, not third-party sites, to avoid malware.” This advice underscores the importance of legitimate sources when reinstalling or updating drivers.
FAQ
Why is my HP laptop webcam not showing up in Device Manager?
If your webcam isn’t listed under “Cameras” or “Imaging devices” in Device Manager, it could be a hidden device, a hardware failure, or completely disabled. Try scanning for hardware changes (Action > Scan for hardware changes) or checking BIOS/UEFI settings to ensure the camera is enabled at the firmware level.
Can antivirus software block my HP laptop webcam?
Yes, some antivirus or security software includes features that can restrict camera access for privacy reasons. Check the settings within your antivirus program to ensure it’s not blocking your webcam or specific applications from using it. You might need to adjust your firewall settings to allow the webcam software.
What does the webcam LED light mean?
The small LED light next to your webcam usually indicates when the camera is active or in use. If the light stays on or flickers when no apps are open, it could be a sign of unauthorized access or a background process using the camera. However, it’s possible for malware to bypass this light, so a physical cover offers stronger protection.
How can I make sure my HP webcam is secure from spying?
To secure your webcam, consistently use a physical privacy shutter or cover the lens when not in use. Regularly review your Windows privacy settings to control which apps have camera access, and keep your operating system and drivers updated. Avoid clicking suspicious links or downloading unofficial software, which could contain malware designed to hijack your camera.
Conclusion
Getting your HP laptop webcam to work effectively is usually a straightforward process, primarily involving checking physical privacy controls, configuring Windows privacy settings, and managing device drivers. By systematically addressing these areas, you can resolve most common webcam issues and ensure your camera is ready for your next video call or online session. Remember that digital privacy is paramount, and consistently applying these steps not only activates your webcam but also protects your personal space in the connected world.