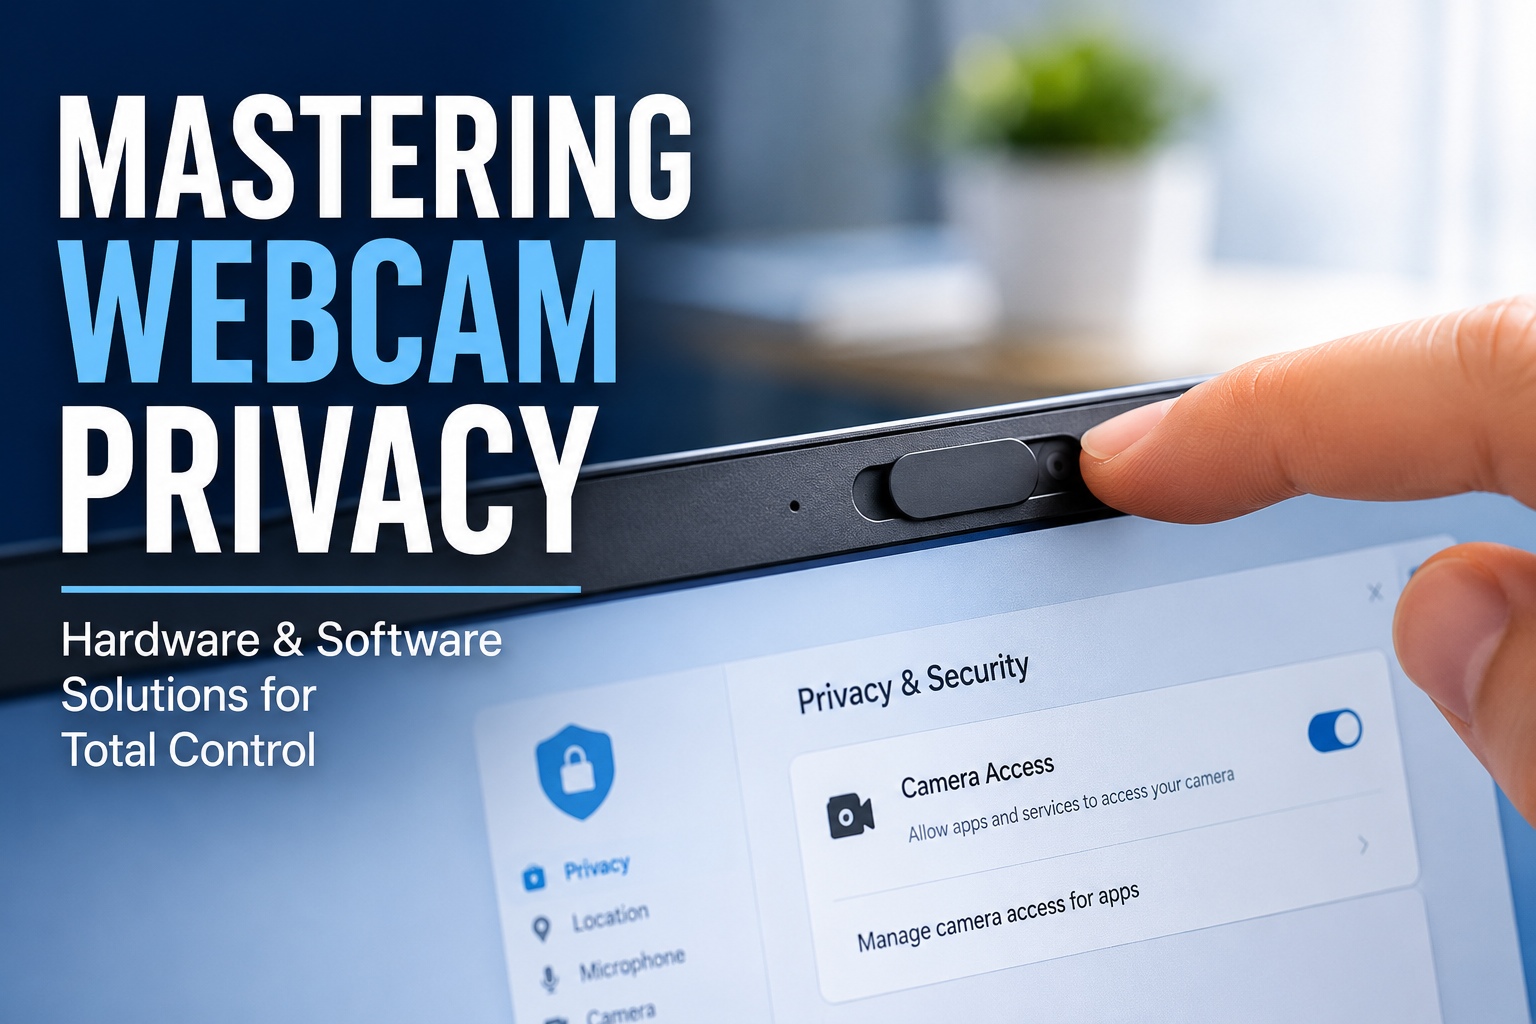
To turn off your webcam on a laptop, the most common and effective software methods involve either disabling it through your operating system’s Device Manager (Windows) or revoking camera access via Privacy & Security settings (Windows and macOS). For a quick and foolproof physical solution, a simple webcam cover offers immediate peace of mind. These methods ensure that your laptop’s camera cannot be activated without your explicit intent, safeguarding your personal privacy and enhancing your digital security.
In an age where video calls are commonplace and digital surveillance is a growing concern, understanding how to manage your laptop’s webcam is more crucial than ever. Many users overlook this critical aspect of device control, leaving themselves vulnerable to unwanted intrusions. This comprehensive guide will walk you through various techniques, from basic settings adjustments to more advanced hardware solutions, empowering you to take full command of your camera and protect your personal space.
Why You Should Consider Disabling Your Laptop’s Webcam
Proactively managing your laptop’s webcam isn’t about paranoia; it’s about practicing good digital hygiene and maintaining control over your personal privacy. There are several compelling reasons why you should understand how to turn off your camera when not in use.
Protecting Your Privacy
The primary reason most people disable their webcams is to protect their privacy. Malicious software, often called “Ransomware” or “Spyware,” can secretly activate your webcam without your knowledge. This allows unauthorized individuals to record your activities, potentially capturing sensitive moments or personal information. Such intrusions can lead to blackmail, identity theft, or simply a profound sense of violation.
According to a 2023 study by the Pew Research Center, over 60% of US adults are concerned about government surveillance and data collection by companies, a sentiment that extends to personal devices like webcams.
Mitigating Security Risks
Beyond privacy, an active webcam can be a significant security vulnerability. Hackers can exploit software weaknesses to gain unauthorized access, turning your camera into an open window into your home or workspace. Disabling the webcam, either physically or through software, closes this potential backdoor, reducing the attack surface for cybercriminals. “Even the most sophisticated antivirus software cannot always detect every zero-day exploit,” states cybersecurity expert Dr. Evelyn Reed from the Institute for Digital Security. “A physical block or complete software disablement provides an additional, robust layer of defense against camera hijacking.”
Conserving Battery Life and System Resources
While often a minor factor, an active webcam, especially one running in the background due to a glitch or misconfigured application, can consume battery power. Furthermore, some applications might keep the webcam partially active, utilizing system resources unnecessarily. Turning off your webcam ensures that no background processes are inadvertently draining your battery or slowing down your laptop.
Software-Based Methods to Turn Off Your Webcam
For most users, software-based solutions offer the most convenient ways to disable a laptop’s webcam. These methods range from system-level configurations to application-specific permissions.
Using Device Manager (Windows)
The Device Manager in Windows provides a centralized location to manage all hardware connected to your laptop, including the webcam. Disabling it here essentially tells the operating system not to recognize or use the camera.
Here’s how to do it:
- Open Device Manager: Right-click the Start button (Windows logo) in the bottom-left corner of your screen. From the menu that appears, select “Device Manager.”
- Locate Imaging Devices: In the Device Manager window, look for a category called “Cameras” or “Imaging devices.” Click the arrow next to it to expand the list.
- Identify Your Webcam: You’ll usually see an entry like “Integrated Webcam,” “HP Webcam,” “Lenovo EasyCamera,” or a similar name. This is your laptop’s built-in camera.
- Disable the Webcam: Right-click on your webcam’s name. A context menu will appear. Select “Disable device.”
- Confirm Disablement: A warning message will pop up, explaining that disabling the device will stop it from functioning. Click “Yes” to confirm.
Your webcam is now disabled. If you try to use an application that requires the camera, it will report that no camera is found or that access is denied.
To re-enable your webcam later, simply return to the Device Manager, right-click on your webcam, and select “Enable device.”
Adjusting Privacy Settings (Windows & macOS)
Both Windows and macOS offer dedicated privacy settings that allow you to control which applications can access your webcam. This method is less drastic than disabling the device entirely, as it allows you to grant permission on a per-app basis.
Windows Camera Privacy Settings
- Open Settings: Click the Start button and then click the gear icon to open “Settings.” Alternatively, press
Windows key + I. - Navigate to Privacy & Security: In the Settings window, click on “Privacy & security” in the left-hand sidebar.
- Access Camera Permissions: Scroll down the right-hand pane and under “App permissions,” click on “Camera.”
- Disable Camera Access: At the top, you’ll see “Camera access.” You can toggle this off to prevent all apps from accessing your camera. Below this, “Let apps access your camera” allows you to control access for desktop apps.
- Manage App Permissions: Further down, you’ll see a list of individual apps. You can toggle off access for specific applications that you don’t want using your camera.
This method is excellent for ensuring that only trusted applications have access to your camera when you explicitly allow it.
macOS Camera Privacy Settings
- Open System Settings: Click the Apple menu in the top-left corner of your screen and select “System Settings.”
- Navigate to Privacy & Security: In the System Settings sidebar, click “Privacy & Security.”
- Access Camera Permissions: Scroll down and click on “Camera” in the right-hand pane.
- Review App Access: You will see a list of applications that have requested or been granted camera access.
- Revoke Permissions: Uncheck the box next to any application you wish to prevent from using your camera.
macOS also provides a green indicator light next to the camera when it’s active, offering a visual cue for camera usage. This feature helps you quickly identify if an application is using your camera unexpectedly.
Utilizing Third-Party Software
While built-in options are often sufficient, some users prefer third-party applications for enhanced control or additional features. These tools can sometimes offer more granular control over webcam settings, integrate with security suites, or provide quick toggles.
Examples of third-party solutions include:
- Antivirus Suites: Many premium antivirus programs (e.g., Avast, Kaspersky, Bitdefender) include dedicated webcam protection modules that alert you when an application tries to access your camera and allow you to block it.
- Dedicated Webcam Management Tools: Some utilities are specifically designed to manage webcam access, offering features like automatic disablement when not in use or detailed logging of camera activity.
The benefit of these tools is often their user-friendliness and integration with broader security strategies. However, always ensure you download software from reputable sources to avoid introducing new vulnerabilities.
Browser-Specific Camera Permissions
Many websites and web applications now request access to your camera for video conferencing, online exams, or augmented reality experiences. Your web browser manages these permissions.
To control camera access in your browser:
- Access Browser Settings: Open your preferred browser (e.g., Chrome, Firefox, Edge). Look for the three dots or lines menu icon, typically in the top-right corner, and select “Settings.”
- Navigate to Privacy/Security Settings: In the settings menu, find sections related to “Privacy and security,” “Site permissions,” or “Content settings.”
- Manage Camera Permissions: Locate the “Camera” setting. Here, you can typically choose to:
- “Ask before accessing” (recommended for most users)
- “Block” all camera access by default
- “Allow” camera access for specific websites
This allows you to manage camera access granularly for web-based services without affecting your system-wide webcam settings.
Physical Methods for Webcam Disablement
For absolute certainty that your webcam cannot be used, physical methods are unmatched. They offer a simple, hardware-based solution that software cannot bypass.
The Simple Webcam Cover
The most straightforward and widely adopted physical solution is a webcam cover. These are small, adhesive slides that you attach over your laptop’s camera lens. When you want to use the camera, you simply slide the cover open; when you’re done, slide it closed.
Benefits of webcam covers:
- 100% Effective: A physical obstruction ensures no image can be captured.
- Cost-Effective: Covers are inexpensive and widely available.
- Easy to Use: Simple slide mechanism for quick access.
- Non-Intrusive: They don’t interfere with your laptop’s software or hardware.
Many high-profile figures, including Meta CEO Mark Zuckerberg and former FBI Director James Comey, have been photographed with webcam covers on their laptops, underscoring the universal recognition of this simple security measure.
Internal Disconnection (Advanced Users Only)
For users with technical expertise and a willingness to open their laptop, disconnecting the internal webcam cable offers a permanent software-proof solution. This method requires specialized tools and knowledge of laptop disassembly.
Warning: Opening your laptop can void your warranty and risks damaging components if not done correctly. This is not recommended for average users.
If you proceed, you would typically need to:
- Power down and unplug your laptop.
- Remove the laptop’s back panel.
- Locate the webcam module, usually embedded in the display assembly.
- Carefully disconnect the small ribbon cable connecting the webcam to the motherboard.
This is a drastic measure and should only be considered by those comfortable with electronics repair.
External Webcams: Unplugging
If you use an external webcam, the solution is even simpler: unplug it. When the webcam is disconnected from your laptop’s USB port, it receives no power and cannot transmit data. This is the ultimate physical disconnect for external cameras.
Understanding Webcam Indicators: Light Cues
Most modern laptops include a small LED indicator light, usually located right next to the webcam lens. This light typically illuminates when the webcam is active and in use by an application. It serves as a visual cue that your camera is on. Pay attention to this light; if it’s on when you don’t expect it, it could indicate an unauthorized process accessing your camera.
While helpful, relying solely on the indicator light isn’t foolproof. Sophisticated malware can sometimes disable the indicator light while still recording. Therefore, combining this visual cue with other disablement methods is a more robust security strategy.
Comparing Webcam Disablement Methods
Here’s a comparison of the various methods for turning off your laptop’s webcam, highlighting their ease of use, security level, and impact.
| Method | Ease of Use | Security Level | Impact on System | Reversibility | Recommended User |
|---|---|---|---|---|---|
| Webcam Cover (Physical) | Very Easy | Excellent | None | Instant | All Users |
| Device Manager (Windows) | Easy | High | Disables camera system-wide | Easy | Windows Users |
| Privacy Settings (Windows/macOS) | Easy | High (per-app control) | Restricts app access | Easy | All Users |
| Third-Party Software | Moderate | High (depends on software) | Monitors/blocks access | Easy | Users wanting advanced features |
| Browser Permissions | Easy | Moderate (web only) | Restricts browser access | Easy | All Users |
| Internal Disconnection | Difficult | Absolute | Camera permanently off | Difficult/Permanent | Advanced Tech Users Only |
| Unplug External Webcam | Very Easy | Absolute | None | Instant | External Webcam Users |
Advanced Troubleshooting for Stubborn Webcams
Occasionally, you might encounter issues where your webcam seems to remain active or cannot be properly disabled. Here are some advanced troubleshooting steps:
- Update or Roll Back Drivers: Sometimes, corrupted or outdated webcam drivers can cause erratic behavior. In Device Manager, right-click your webcam, select “Update driver,” or “Roll Back Driver” if issues started after a recent update.
- Check for Conflicting Software: Ensure no other applications are trying to use the webcam simultaneously. Video conferencing tools, photo apps, or even some virtual camera software can conflict.
- Scan for Malware: Run a full system scan using reputable antivirus software. Persistent webcam activity might be a sign of malware or spyware.
- BIOS/UEFI Settings: Some laptops offer an option to disable the webcam directly in the BIOS or UEFI firmware settings. Accessing these settings usually involves pressing a specific key (like F2, F10, Del, or Esc) immediately after powering on your laptop. Look for options under “Security” or “Peripherals.”
- Reinstall Operating System: As a last resort, if you suspect deep-seated software corruption or malware that cannot be removed, a clean reinstallation of your operating system will resolve most software-related webcam issues.
These steps move beyond simple toggles and address potential underlying software or firmware conflicts that might affect webcam functionality.
Best Practices for Ongoing Webcam Security
Disabling your webcam is a great start, but maintaining comprehensive digital security requires a broader approach. Integrate these best practices into your routine:
- Regular Software Updates: Keep your operating system, web browsers, and all applications updated. Updates often include critical security patches that fix vulnerabilities.
- Strong Antivirus Protection: Install and regularly update a reputable antivirus or anti-malware program. Perform full system scans periodically.
- Use a Firewall: Ensure your operating system’s firewall is active, and consider a third-party firewall for enhanced network monitoring.
- Be Wary of Suspicious Links: Phishing attempts often lead to malware installations. Never click on suspicious links or download attachments from unknown senders.
- Review App Permissions: Periodically check which applications have access to your camera, microphone, and other sensitive hardware in your privacy settings. Revoke access for apps you don’t trust or no longer use.
- Educate Yourself: Stay informed about the latest cybersecurity threats and privacy best practices. The more you know, the better you can protect yourself.
“Effective cybersecurity isn’t a one-time setup; it’s an ongoing process of vigilance and adaptation,” advises cybersecurity expert Sarah Jenkins from the National Cybersecurity Alliance. “Combining physical barriers like webcam covers with robust software practices is the gold standard for protecting your personal space.”
Frequently Asked Questions
Can a hacker turn on my webcam if I have a physical cover?
No, a physical webcam cover provides absolute protection. Even if a hacker gains full control of your system and attempts to activate your camera, the cover physically blocks the lens, preventing any images from being captured. This is why physical covers are highly recommended for maximum privacy.
Does disabling the webcam in Device Manager also turn off the microphone?
Typically, disabling the webcam in Device Manager only affects the camera component and not the microphone. Microphones are usually listed as a separate audio input device. To manage microphone access, you would need to adjust privacy settings for the microphone or disable it separately in Device Manager under “Audio inputs and outputs.”
Is it safe to use a piece of tape to cover my webcam?
While a piece of opaque tape can physically block the webcam, it’s generally not recommended for long-term use. Adhesive residue can damage the camera lens or the laptop screen over time. Dedicated webcam covers are designed to be thin, non-damaging, and easily removable without leaving residue.
Will turning off my webcam affect other functions of my laptop?
No, turning off your webcam (either through software or physical means) will not affect other core functions of your laptop. It only prevents applications from accessing the camera module. All other components, like your keyboard, mouse, display, Wi-Fi, and other peripherals, will continue to function normally.
Can I have different webcam settings for different user accounts on Windows?
Yes, some webcam settings, particularly those related to app permissions in Privacy & Security, can be specific to individual user accounts on Windows. This means one user could have camera access enabled for certain apps while another user on the same laptop has it disabled, offering personalized control.
Conclusion
Taking control of your laptop’s webcam is a fundamental step in safeguarding your digital privacy and enhancing your overall cybersecurity posture. Whether you opt for the simplicity of a physical webcam cover, the detailed control offered by your operating system’s privacy settings, or the more permanent solution of hardware disconnection, the power to protect your visual space rests in your hands. By understanding and implementing these methods, you can confidently use your laptop, knowing that your personal moments remain personal. Remember, in the digital world, vigilance is your strongest defense, and actively managing your webcam is a critical component of that defense.