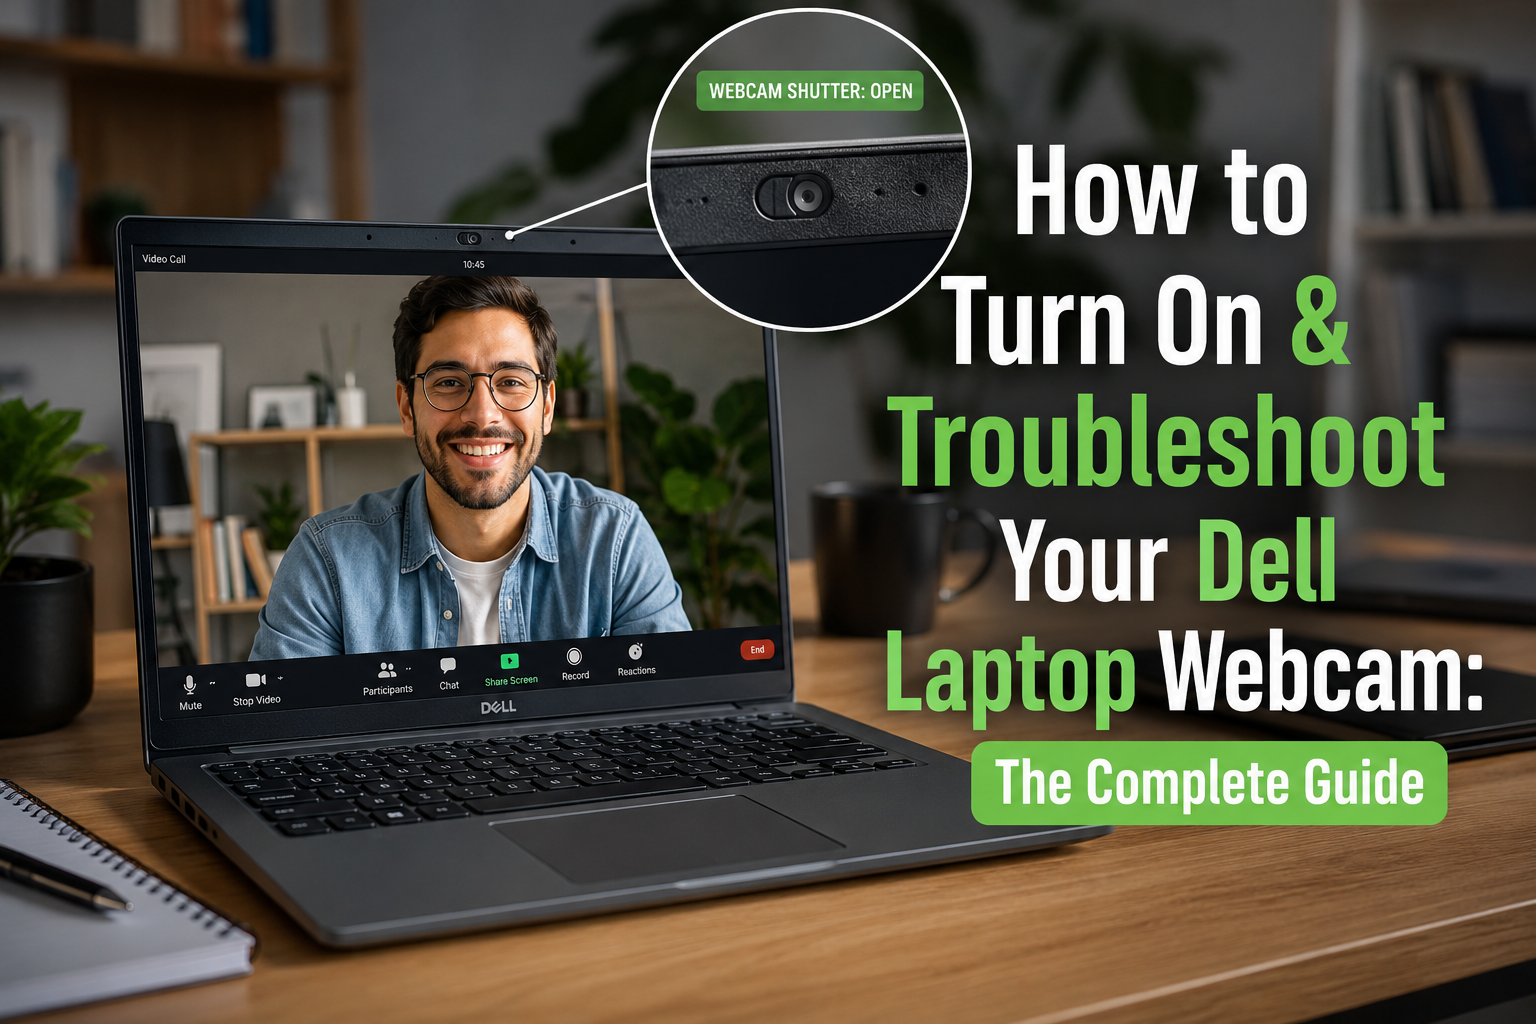
Turning on your webcam on a Dell laptop typically involves a quick check of physical privacy features, then navigating through Windows settings to ensure camera access is enabled for your desired applications. Most modern Dell laptops integrate the webcam seamlessly, and usually, simply opening a camera-enabled application like Zoom, Google Meet, or the built-in Camera app will activate it automatically, provided there are no physical obstructions or software blocks.
In today’s interconnected world, a functional webcam is no longer a luxury but a necessity. From remote work meetings to virtual classrooms and connecting with loved ones, your Dell laptop’s camera is a vital tool. When it’s not working, it can feel like a significant hurdle. This detailed guide will walk you through everything you need to know, from initial checks to advanced troubleshooting, ensuring you can confidently use your Dell webcam for any purpose.
Understanding Your Dell Webcam: Basics and Types
Most Dell laptops come equipped with an integrated webcam, a small camera built directly into the laptop’s display bezel, typically above the screen. These are designed for convenience and ease of use. Occasionally, users might opt for an external USB webcam, which offers enhanced features like higher resolution, better low-light performance, or wider fields of view. The steps to enable and troubleshoot these can vary slightly, but many core principles remain the same.
The First Step: Checking Physical Switches and Privacy Shutters
Before diving into software settings, always perform a quick physical check. This might seem basic, but it’s a common oversight that can save you a lot of troubleshooting time. Many Dell laptops, especially newer models, incorporate hardware-level privacy features.
Physical Privacy Shutters
Dell laptops often feature a privacy shutter, a small physical slide that covers the camera lens. This is a crucial security feature, providing peace of mind against unauthorized access. If your webcam appears to be off or blocked, locate this slider and ensure it is in the open position. You will typically find it directly above the camera lens.
For example, on models like the Inspiron 7405 2n1, you slide the shutter to the left to expose the lens and to the right to cover it. Always check this first, as a closed shutter will result in a black screen in any camera application.
Function Keys (Fn Keys)
Some Dell laptops also include a dedicated function key (Fn key) combination to enable or disable the webcam. Look for a key on your keyboard, often one of the F-keys (F1-F12), that has a camera icon. You might need to press the Fn key simultaneously with this F-key to toggle the webcam’s status.
Dell’s Latitude line, for instance, features a “SafeShutter” with dedicated function keys (F4 for microphone, F9 for webcam) that provide hardware-level control over privacy. This ensures you can disable your camera even if software issues are preventing access.
Software Solutions: Activating Your Webcam in Windows Settings
Once you’ve confirmed there are no physical blocks, the next step is to ensure Windows and your applications have permission to access the camera.
Windows Privacy Settings for Camera Access
Windows 11 and Windows 10 have robust privacy controls that can restrict camera usage. These settings are often the primary reason a webcam isn’t working for a specific application.
To enable camera access:
- Open the Start menu and click on Settings.
- Navigate to Privacy & security (or “Privacy” on older Windows versions).
- In the left-hand menu, select Camera under the “App permissions” section.
- Ensure the toggle for “Camera access” for this device is On. If it’s off, click “Change” and turn it on.
- Next, make sure the toggle for “Let apps access your camera” (or “Allow apps to access your camera”) is also On.
- Scroll down to the list of apps and verify that the specific application you want to use (e.g., Zoom, Microsoft Teams, Skype) has permission enabled.
- For desktop applications, ensure “Let desktop apps access your camera” is turned On.
Without these settings correctly configured, your webcam will not function in those applications, even if the hardware is working perfectly.
The Windows Camera App
A simple way to test your webcam is to use the built-in Windows Camera app. Search for “Camera” in the Windows search bar and open the application. If the camera works here, but not in other applications, it points to an application-specific permission issue. If it doesn’t work, then you’ll need to continue troubleshooting drivers or hardware.
Driver Management: Ensuring Your Webcam is Up-to-Date
Camera drivers are software that allow your computer to communicate with the webcam hardware. Outdated, corrupt, or missing drivers are a frequent cause of webcam issues.
Updating Drivers via Device Manager
The Device Manager is your go-to tool for managing hardware drivers in Windows.
- Right-click on the Start button and select Device Manager.
- Expand the “Cameras” or “Imaging devices” section. (Note: If these categories aren’t present, the webcam might not be detected.)
- Right-click on your webcam (it might be listed as “Integrated Webcam,” “USB Camera,” or a specific model name).
- Select “Update driver.”
- Choose “Search automatically for updated driver software.” Windows will attempt to find and install the latest drivers.
- If no updates are found, or if the issue persists, you might consider the next step: reinstalling the driver.
Reinstalling Webcam Drivers
Sometimes, a fresh installation of the driver can resolve persistent issues. Windows usually installs a generic driver automatically upon restart.
- Open Device Manager (as above).
- Expand “Cameras” or “Imaging devices.”
- Right-click on your webcam and select “Uninstall device.”
- If available, check the box that says “Delete the driver software for this device.”
- Click “Uninstall” to confirm.
- Restart your computer. Windows will automatically detect the webcam and reinstall the necessary drivers during startup.
Using Dell SupportAssist and Dell’s Support Website
Dell provides tools and resources to help keep your system up to date.
- Dell SupportAssist: This utility can automatically scan your system for outdated drivers and software, including webcam drivers, and install updates. To use it, search for “SupportAssist” in the Windows Start menu, open the app, and run a “Scan hardware” or “Update software” check.
- Dell Support Website: For manual updates, visit Dell’s official support website. Enter your laptop’s service tag or model number to find specific drivers and firmware updates for your webcam. Download and install any available camera or imaging device drivers. Some external Dell webcams may also have firmware updates.
Updating webcam firmware, when available, can also resolve camera problems. Always ensure your laptop is plugged into a charger during driver or firmware updates to prevent interruptions.
Troubleshooting Common Webcam Issues on Dell Laptops
Even with the right settings and drivers, you might encounter specific problems. Here’s how to address them.
Webcam Not Detected / “We cannot find your camera” Error
This error message is frustrating but often fixable.
- Scan for Hardware Changes: In Device Manager, click “Action” in the top menu, then select “Scan for hardware changes.” This forces Windows to detect new or reconnected hardware.
- Enable Device (if grayed out): If your camera appears in Device Manager but is grayed out, right-click it and select “Enable device.”
- Check BIOS Settings: For integrated cameras, ensure the webcam is enabled in your laptop’s BIOS (Basic Input/Output System) settings. To access BIOS, restart your Dell laptop and repeatedly press the F2 key as soon as the Dell logo appears. Look for an “Enable Camera” option, usually under “Integrated Devices” or “System Configuration,” and ensure it’s checked. Save changes and exit.
- Disable Fast Startup: Fast Startup can sometimes prevent hardware from initializing correctly. Search for “powercfg.cpl” in Windows, go to “Choose what the power buttons do,” then “Change settings that are currently unavailable,” and uncheck “Turn on fast startup.” Restart your computer for this change to take effect.
Black Screen or Poor Image Quality
- Check for Obstructions: Double-check the physical privacy shutter. Even a tiny obstruction can cause a black screen.
- Conflicting Software: Certain security software (like antivirus programs with webcam protection), virtual machine tools, or older webcam software can interfere with camera operation. Temporarily disable such software to see if it resolves the issue.
- Test in Safe Mode: Booting into Safe Mode can help determine if a third-party application is causing the conflict. If the camera works in Safe Mode, a recently installed program is likely the culprit.
- Run Windows Camera Troubleshooter: Windows has a built-in troubleshooter. Go to Settings > System > Troubleshoot > Other troubleshooters, then locate and run the “Camera” troubleshooter.
External USB Webcam Issues
If you’re using an external webcam, these specific checks apply:
- Check Connection: Ensure the USB webcam is securely plugged into a USB port. Try connecting it to a different USB port, preferably a USB 3.0 or higher port, and listen for the Windows device connection sound.
- Test on Another Computer: If the external webcam doesn’t work on any port, test it on another computer to rule out hardware failure of the webcam itself.
- Update USB Controller Drivers: Webcam connectivity issues can sometimes stem from USB controller problems. In Device Manager, expand “Universal Serial Bus controllers,” right-click each USB host controller, and select “Update driver.”
Using Your Webcam with Applications (e.g., Zoom, Teams, Skype)
Once your webcam is enabled in Windows, most video conferencing and streaming applications should detect it automatically. However, you might need to select it as the default camera within the application’s settings.
- Zoom: In Zoom, click on the “Settings” icon (gear) > “Video.” You’ll see a preview of your camera and a dropdown to select it if multiple cameras are detected.
- Microsoft Teams: In Teams, go to “Settings” (three dots next to your profile picture) > “Devices.” Under “Camera,” ensure your Dell webcam is selected.
- Google Meet: Before or during a call, click the “More options” (three dots) > “Settings” > “Video.” Choose your camera from the dropdown menu.
- Skype: In Skype, click your profile picture > “Settings” > “Audio & Video.” Select your webcam from the camera dropdown.
Enhancing Your Webcam Experience
For users who rely heavily on their webcam, optimizing the experience can make a big difference.
- Dell Peripheral Manager: For compatible Dell webcams, the Dell Peripheral Manager software allows for extensive customization, including AI auto-framing, camera control, color and image adjustments, and presence detection features. You can download it from the Dell support website.
- External Webcams: If your integrated camera isn’t meeting your needs, a dedicated external USB webcam can offer significant upgrades in video quality, features, and flexibility. Windows will usually detect these automatically.
Webcam privacy is a significant concern for many users. A 2019 survey commissioned by HP found that 79% of US consumers are aware their privacy could be compromised via their laptop webcams, and nearly 60% physically cover their webcams. This sentiment is echoed by cybersecurity experts, with former FBI director James Comey recommending covering webcams as a simple security measure.
While some Dell laptops, like the Latitude 9420 and 9520, offer advanced “SafeShutter” technology that automatically opens or closes in sync with video conferencing software, many users still prefer a physical cover or manual control for absolute peace of mind.
Frequently Asked Questions About Dell Webcams
Why is my Dell laptop camera not showing in Device Manager?
If your Dell laptop camera is not listed under “Cameras” or “Imaging devices” in Device Manager, it could be due to several reasons: it might be physically disabled via a function key, disabled in the BIOS, or there might be a hardware malfunction. Try scanning for hardware changes in Device Manager, checking BIOS settings, and ensuring any physical privacy shutters are open.
How do I enable my Dell webcam in BIOS?
To enable your Dell webcam in BIOS, restart your laptop and repeatedly press the F2 key during startup until the BIOS setup screen appears. Navigate to “System Configuration” or “Integrated Devices,” locate the “Camera” or “Integrated Webcam” option, and ensure it is checked or set to “Enabled.” Save your changes and exit.
What if my Dell webcam light is on, but there’s no image?
If the webcam light is on but you see no image, check for a physical privacy shutter that might be covering the lens. Even a slight obstruction can block the view. Also, ensure no conflicting software (like certain antivirus programs) is blocking the camera feed.
Can I use an external USB webcam if my integrated Dell camera is broken?
Yes, if your integrated Dell camera is broken or consistently not working, you can easily use an external USB webcam. Windows will typically detect and install the necessary drivers automatically when you plug it in. You may then need to select the external camera as your preferred device in your video conferencing applications.
Why does my webcam only work with some apps and not others?
If your webcam works with some applications but not others, it’s almost always a permissions issue within Windows privacy settings. Go to Start > Settings > Privacy & security > Camera, and ensure that “Let apps access your camera” is enabled, and then specifically grant permission to each individual app you want to use.
Conclusion
Turning on and troubleshooting your Dell laptop’s webcam is a process that moves from the simplest physical checks to more in-depth software and driver management. By systematically working through privacy shutters, function keys, Windows privacy settings, and driver updates, you can resolve most common webcam issues. Remember that modern operating systems prioritize user privacy, so granting explicit permission for camera access is often a necessary step. With these steps, you’ll be ready for your next video call, online class, or streaming session without a hitch, ensuring your Dell laptop remains a powerful tool for connection and productivity.