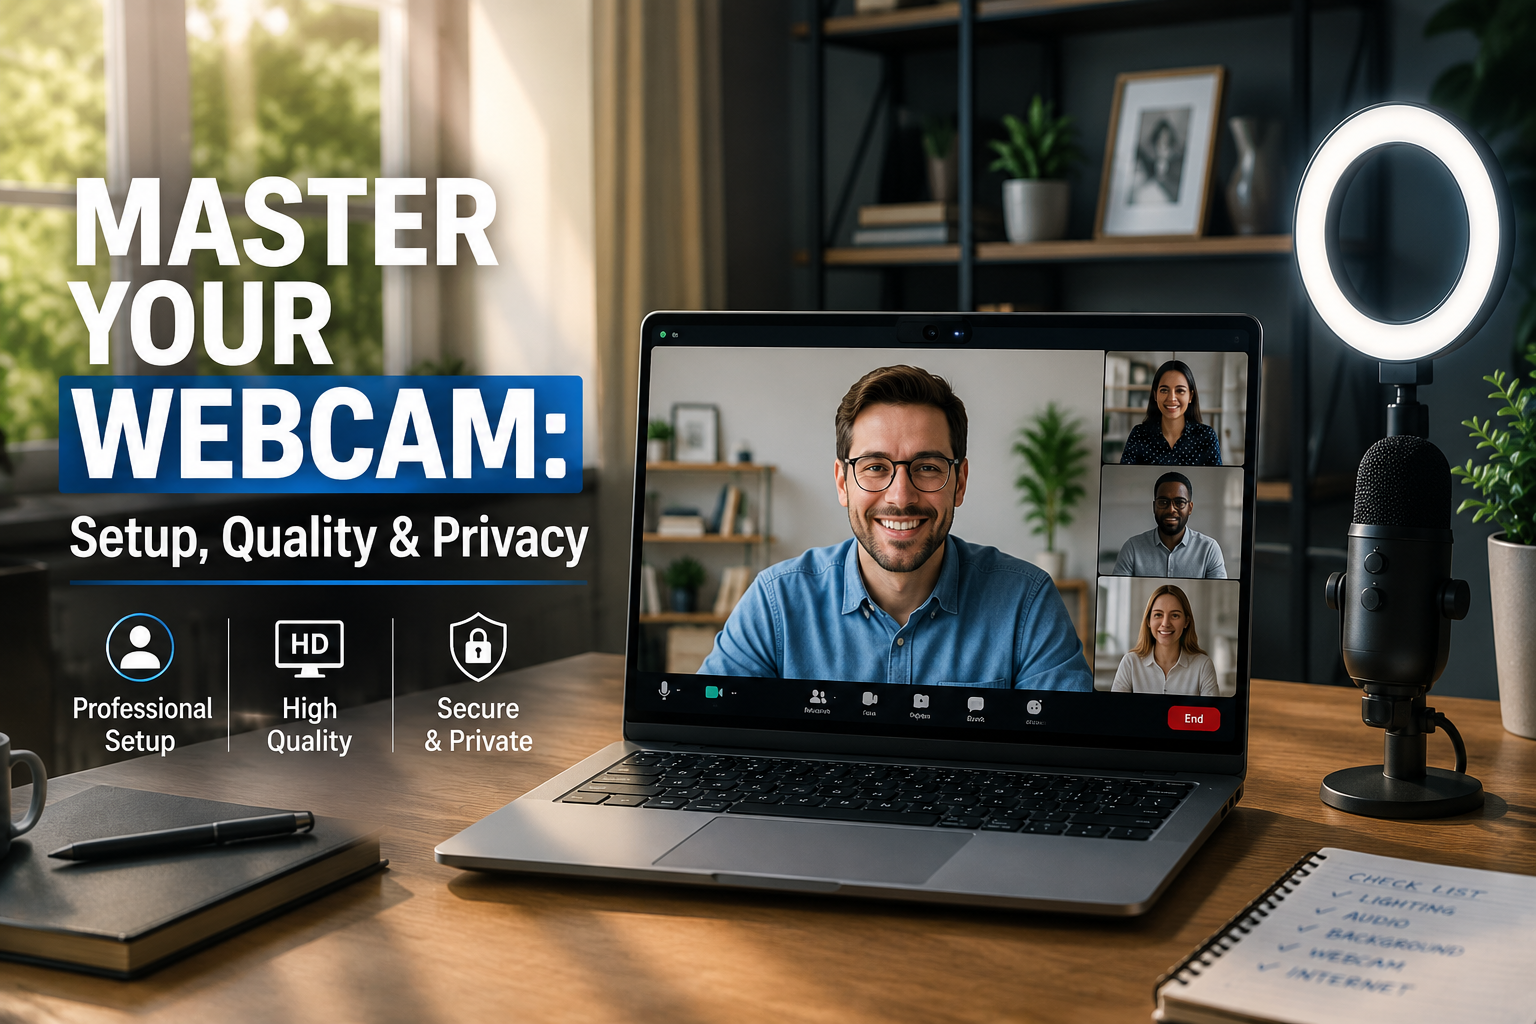
Activating and utilizing your laptop’s built-in webcam is a straightforward process, primarily involving checking your system’s privacy settings and granting permission to the applications you wish to use. Most modern laptops come with an integrated webcam that is ready for use with minimal setup, making it easy to jump into video calls, online meetings, and content creation.
Your laptop’s webcam is more than just a tool for virtual meetings; it’s a versatile component that can transform how you connect, learn, and create. Once you understand the basic controls and privacy considerations, you can unlock its full potential for everything from remote work and education to personal projects and social interaction.
Understanding Your Laptop’s Built-in Webcam
What is a Laptop Webcam?
A laptop webcam is a small digital camera integrated directly into the lid of your laptop, typically positioned above the screen. It captures still images and live video, enabling visual communication and recording without needing external hardware.
These cameras have become standard features, essential for the modern digital landscape. They are crucial for maintaining connections in a remote or hybrid world.
Locating Your Webcam and Privacy Shutter
You can usually find your webcam centered at the top edge of your laptop screen. Look for a small lens, often accompanied by a tiny indicator light that illuminates when the camera is active. Some laptops, particularly newer models, feature a physical privacy shutter. This is a small slider or switch that physically covers the webcam lens, providing an immediate and undeniable layer of privacy.
Checking for this physical shutter is an important first step if your camera isn’t working or if you want to ensure privacy. Always ensure it is open when you intend to use the camera.
Why You Might Need Your Webcam (Beyond Video Calls)
While video conferencing is the most common use, your laptop’s webcam offers a range of other valuable functions:
- Online Learning: Participating in virtual classrooms and educational platforms.
- Content Creation: Recording vlogs, tutorials, or short videos for social media.
- Security and Authentication: Facial recognition logins (like Windows Hello) or monitoring tools.
- Live Streaming: Broadcasting gameplay, events, or casual chats.
- Virtual Try-ons: Many e-commerce sites now use AR technology with webcams for virtual product fitting.
- Document Scanning: Some apps can use the webcam to digitize documents quickly.
Activating and Setting Up Your Webcam
Before you can use your webcam, you need to ensure it’s enabled and that applications have permission to access it. This process varies slightly depending on your operating system.
Checking Webcam Privacy Settings in Windows
For Windows 11 users, managing webcam access is done through the Privacy & Security settings. Incorrect privacy settings are a common cause of webcam issues.
Here are the steps to ensure your camera is enabled:
- Right-click on the Start-menu icon and select Settings.
- In the Settings window, click on Privacy & Security in the left sidebar.
- Under “App permissions,” locate and click on the Camera option.
- Ensure the toggle switch beside “Camera access” is turned On. This allows apps on your device to access the camera.
- Scroll down to “Apps that have access to your camera” and verify that the specific applications you want to use (e.g., Zoom, Microsoft Teams, Camera app) have their permissions enabled.
If you have an external webcam, you can also manage its settings under Settings > Bluetooth & devices > Cameras. Here, you can select your desired camera and adjust basic settings like brightness, contrast, and rotation.
Checking Webcam Privacy Settings in macOS
macOS also provides robust privacy controls for your webcam. These steps are for recent macOS versions:
- Click the Apple logo in the top-left corner of your screen.
- Select System Settings (or System Preferences on older versions) from the dropdown menu.
- In the left sidebar, scroll down and click on Privacy & Security.
- On the right side, click on the Camera option.
- You will see a list of applications that have requested access to your camera. Ensure the toggle switch next to the app you wish to use is turned On.
Apple’s built-in apps like FaceTime and Photo Booth typically have automatic access and won’t appear in this list.
Granting App Permissions for Webcam Access
Beyond the general system settings, individual applications will often prompt you for camera access the first time you launch them. Always review these requests carefully.
If an app isn’t detecting your camera, revisit your system’s privacy settings to confirm it has explicit permission. For web-based applications, you might also need to grant browser-specific permissions. For example, in Safari, go to Safari > Settings > Websites > Camera to manage permissions for different sites.
Testing Your Webcam
Once you’ve adjusted privacy settings, testing your webcam is essential. The simplest way to do this is by opening your operating system’s built-in camera application.
In Windows, search for “Camera” in the Start menu and open the app. On macOS, open “Photo Booth” or “FaceTime.” If the camera feed appears, your webcam is functioning correctly.
Alternatively, many online webcam testers are available. A quick search for “online webcam test” will provide several options that can confirm your camera is working and show you its current output.
Making the Most of Your Webcam: Essential Software and Applications
Your laptop’s webcam becomes truly powerful when paired with the right software. Here are some categories of applications you’ll use frequently.
Video Conferencing Apps
These are the workhorses of remote communication, enabling virtual meetings and calls with ease.
- Zoom: A widely used platform for business meetings, webinars, and social calls, known for its robust features and reliability.
- Microsoft Teams: Integrates seamlessly with Microsoft 365, popular in corporate and educational environments.
- Google Meet: Google’s solution for video conferencing, accessible via a web browser and integrated with Google Workspace.
- Skype: A classic choice for one-on-one and group video calls, especially for international communication.
- FaceTime: Apple’s proprietary video calling service, pre-installed on macOS devices for easy communication with other Apple users.
Recording and Streaming Software
If you plan to create content or go live, dedicated software can enhance your output.
- Built-in Camera Apps: Both Windows (Camera app) and macOS (Photo Booth) offer basic video recording and photo capture features, perfect for quick clips.
- OBS Studio: A powerful, free, and open-source software for video recording and live streaming. It offers extensive control over sources, scenes, and output, making it a favorite among streamers and content creators.
- Streamlabs Desktop: Based on OBS, Streamlabs adds user-friendly features, overlays, and integrations, making it popular for gaming and creative streaming.
Photo and Video Editing Tools
After recording, you might want to refine your footage or images.
- Windows Photos App: Basic editing for photos and trimming for videos.
- iMovie (macOS): Apple’s intuitive video editing software, great for beginners to create polished videos.
- Canva: An online design tool that can help create thumbnails or simple graphics for your video content.
Optimizing Your Webcam Experience: Tips for Better Quality
Even with a basic built-in webcam, you can significantly improve your video quality with a few simple adjustments. As experts in video conferencing emphasize, technical preparedness is crucial for successful virtual interactions.
Lighting is King
Good lighting is perhaps the single most impactful factor for webcam quality. Avoid sitting with your back to a window or bright light source, as this creates a silhouette.
Instead, position a soft, diffused light source in front of you, slightly above eye level. A simple desk lamp with a white lampshade or even natural light from a window in front of you can make a huge difference. “Even with a top-of-the-line webcam, if your lighting is poor, your video quality will suffer,” states an article on video conferencing best practices.
Background Matters
Your background significantly influences how professional or engaging your video appears. A cluttered or messy background can be distracting and unprofessional.
Choose a clean, uncluttered space. A plain wall, a bookshelf, or a tidy corner can work well. If a suitable physical background isn’t available, consider using virtual backgrounds offered by many video conferencing apps.
Camera Angle and Eye Contact
Position your laptop so the webcam is at or slightly above eye level. This creates a more flattering angle and makes you appear more engaged. Avoid looking down at your camera, which can be unflattering.
Try to look directly into the camera lens when speaking to simulate eye contact with your audience. This simple act can greatly enhance connection during virtual interactions.
Audio: Don’t Forget Your Mic
While this article focuses on the webcam, good audio is equally important for effective communication. Most laptops have built-in microphones, but external microphones (even basic earbuds with a mic) often offer superior sound quality.
Ensure your microphone is close enough to pick up your voice clearly and that you mute yourself when not speaking to minimize background noise.
Internet Connection Stability
A stable internet connection is vital for smooth, high-quality video. If your connection is weak, your video might appear pixelated, lag, or drop out entirely.
For optimal performance, aim for internet speeds of at least 2.5 to 3 Mbps for video calls. If possible, use a wired Ethernet connection over Wi-Fi, especially for important meetings or streams.
Troubleshooting Common Webcam Issues
Sometimes, your webcam might not work as expected. These common issues often have simple solutions.
“Webcam Not Found” or Black Screen
This is a common frustration, but several factors can cause it. First, check for a physical privacy shutter or keyboard shortcut (often an F-key with a camera icon) that might have inadvertently disabled the camera.
Next, confirm your privacy settings are correct for both the system and the specific app you’re using. Restarting your computer can also resolve temporary software glitches.
Poor Image Quality
If your image is dark, grainy, or blurry, revisit your lighting setup. Inadequate light is the primary culprit. Also, ensure your webcam lens is clean; a smudge can significantly degrade quality.
Check your application’s video settings; some apps allow you to adjust brightness, contrast, and resolution. If your laptop camera is consistently blurry, it might indicate a hardware issue or outdated drivers.
Microphone Issues
If others can’t hear you, first check your application’s audio settings to ensure the correct microphone is selected. Verify your system’s sound input settings are correct and that the microphone isn’t muted.
Sometimes, external headphones or microphones can interfere; try disconnecting and reconnecting them, or restarting the audio driver through Device Manager (Windows).
Driver Updates
Outdated or corrupt drivers can cause your webcam to malfunction. Keeping your drivers up to date is crucial.
For Windows, open Device Manager (right-click Start button), expand “Cameras” or “Imaging devices,” right-click your webcam, and select “Update driver.” macOS typically handles driver updates automatically through system updates.
Enhancing Your Webcam Setup: Accessories and Upgrades
While built-in webcams are convenient, external accessories can elevate your video quality and overall experience, especially for professional use or content creation.
External Webcams
An external webcam often offers superior image quality, better low-light performance, and more features than a built-in laptop camera. They connect via USB and are generally plug-and-play.
| Feature | Built-in Laptop Webcam | External Webcam |
|---|---|---|
| Convenience | Always available, no setup needed. | Requires carrying and plugging in. |
| Image Quality | Often 720p or 1080p, basic optics. | Can range from 1080p to 4K, superior lenses and sensors. |
| Low-Light Performance | Struggles in dim conditions. | Generally much better, less grain. |
| Field of View | Fixed, often narrow. | Adjustable, wider options available. |
| Microphone Quality | Basic, picks up laptop fan noise. | Often includes noise-canceling, better audio. |
| Cost | Included with laptop. | Ranges from $30 to $200+. |
“A built-in camera can be useful, and for at-home use it’s fine. But when it comes to quality of performance in enterprise organizations, an internal webcam may not be up to par compared to an external or ‘plug-and-play’ webcam,” notes Integrated Research.
Lighting Kits
Even the best webcam needs good light. Dedicated lighting kits, such as ring lights or small LED panels, provide consistent, flattering illumination. They eliminate shadows and ensure you’re well-lit, regardless of your room’s ambient lighting.
Many options are affordable and easily clip onto your monitor or stand on your desk.
Microphones
While often overlooked, clear audio is paramount for effective communication. Upgrading to an external microphone, even a simple USB lavalier mic or a desktop USB microphone, can dramatically improve your sound quality by isolating your voice and reducing background noise. This is especially important for streaming or professional calls.
Advanced Webcam Features and Creative Uses
Beyond basic video calls, modern webcams and software offer creative features that can enhance your virtual presence.
Virtual Backgrounds
Most video conferencing apps allow you to replace your real background with a virtual one. This feature uses AI to differentiate you from your surroundings, projecting an image or video behind you. It’s excellent for maintaining privacy or adding a professional touch to your calls.
For best results, ensure good lighting and a relatively consistent background color in your actual space.
Green Screens
For more seamless virtual backgrounds, especially if you’re streaming, a physical green screen can make a significant difference. By placing a green or blue backdrop behind you, software can more accurately remove your background, leading to a cleaner and more professional composite image.
Presentation Tools
Modern video conferencing tools increasingly integrate features that let you share your screen, present slides, or even appear alongside your presentation content. Mastering these tools can make your virtual presentations much more dynamic and engaging.
Protecting Your Privacy with Your Webcam
Webcam security is a significant concern for many users. A 2019 HP survey found that 79% of US respondents were aware their privacy could be compromised via their laptop’s webcam. Furthermore, nearly 60% of consumers physically cover their webcams.
“Privacy is an inherent human right, and a requirement for maintaining the human condition with dignity and respect,” states privacy specialist Bruce Schneier.
Physical Privacy Covers
The simplest and most effective way to ensure your webcam isn’t spying on you is to physically cover the lens. Many laptops now come with built-in privacy shutters. If yours doesn’t, an inexpensive stick-on webcam cover or even a piece of opaque tape can provide peace of mind.
As Asaf Ashkenazi, chief operating officer of security company Verimatrix, suggests, “If you’re still worried, the best thing is a physical device, like a Post-it, to make you feel better that you’re making it impossible.”
Software Privacy Controls
Regularly review your operating system’s privacy settings to ensure only authorized applications have access to your camera. Also, be cautious about which applications you grant webcam permission to.
Uninstall any apps you no longer use or don’t recognize. Keeping your operating system and antivirus software updated helps protect against malware that could attempt to hijack your webcam.
FAQ
How do I turn on my laptop camera?
To turn on your laptop camera, first check for a physical privacy shutter or a dedicated function key on your keyboard (often an F-key with a camera icon) and ensure it’s open or enabled. Then, navigate to your system’s privacy settings (e.g., “Privacy & Security” in Windows, “Privacy & Security” in macOS System Settings) and grant camera access to the specific applications you intend to use.
Why is my webcam not working?
Webcam issues often stem from incorrect privacy settings, outdated drivers, or a physical blockage. Check if your camera has a physical cover, verify that your operating system and individual applications have permission to access the camera, and consider updating your webcam drivers through your device manager.
Can I use my laptop camera for streaming?
Yes, you can absolutely use your laptop’s built-in camera for streaming. While external webcams often offer higher quality, your laptop camera works well for casual streaming. Use streaming software like OBS Studio or Streamlabs Desktop and ensure your lighting and background are optimized for the best results.
Do all laptops have built-in webcams?
Most modern laptops come equipped with a built-in webcam as a standard feature. However, some specialized or older models might not include one. If your laptop lacks an integrated camera, you can easily add an external USB webcam for video functionality.
Is it safe to leave my webcam uncovered?
While it’s unlikely a cybercriminal is actively watching you, leaving your webcam uncovered does present a potential privacy risk if your device is compromised. Many security experts and concerned users opt for physical webcam covers for peace of mind. Regularly reviewing app permissions and maintaining strong cybersecurity practices are also crucial defenses.
Conclusion
Your laptop’s webcam is a powerful tool for connection, creativity, and productivity. Understanding how to activate it, manage its settings, and optimize its performance can significantly enhance your digital life. From critical video conferences to casual chats and content creation, a well-managed webcam setup ensures you present your best self.
Always prioritize your privacy by understanding access controls and considering physical covers. With the tips and insights provided, you’re now equipped to confidently use your laptop’s webcam, troubleshoot common issues, and even upgrade your setup for a superior experience.