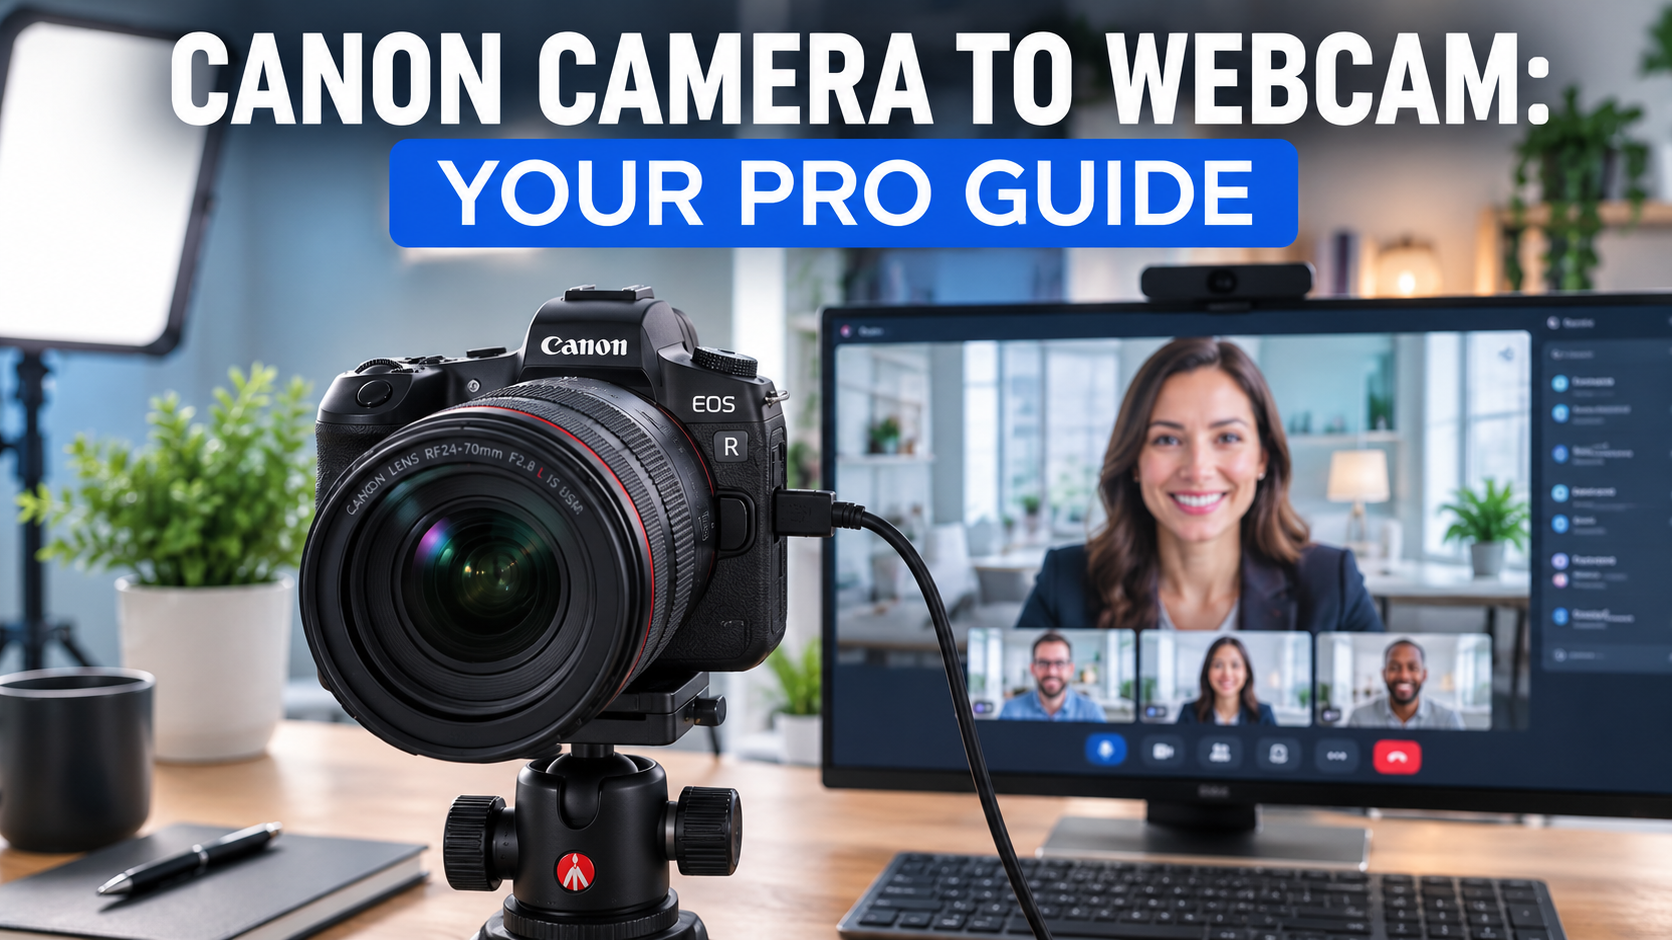
Transforming your Canon camera into a high-quality webcam significantly elevates your video calls, live streams, and content creation. You can achieve this using Canon’s free EOS Webcam Utility software, a USB cable, or by leveraging an HDMI capture card for superior resolution and feature control.
The demand for high-quality virtual communication has never been greater, driven by the continued rise of remote work and the creator economy. Upgrading from a built-in laptop webcam to a dedicated Canon camera provides a noticeable improvement in image quality, depth of field, and overall professionalism, giving you a competitive edge in any virtual setting.
Understanding the Advantages of a Canon Webcam Setup
Using a Canon camera as a webcam provides substantial benefits over standard integrated webcams. These advantages stem from superior optics and advanced sensor technology.
Unmatched Video Quality and Professional Aesthetics
Canon DSLRs and mirrorless cameras deliver significantly better image quality than traditional webcams. Their larger sensors capture more light, producing clearer images with less noise, especially in challenging lighting conditions. The ability to use interchangeable lenses allows for a desirable shallow depth of field, commonly known as bokeh, which professionally blurs backgrounds and keeps your subject sharp and in focus. “DSLRs and mirrorless cameras are wonderful options thanks to their fantastic video quality, flexibility, and ability to produce a professional-looking stream for a modest investment,” states an expert from Switcher Studio.
Enhanced Control Over Image and Lighting
Canon cameras offer extensive manual controls for exposure, ISO, aperture, and white balance. This granular control allows you to fine-tune your video feed to match your environment perfectly. Standard webcams often rely on automatic settings, which can lead to inconsistent or poorly exposed video. Additionally, many Canon cameras provide clean HDMI output, removing on-screen display elements for a professional, uncluttered feed.
Essential Equipment for Your Canon Webcam Setup
Setting up your Canon camera as a webcam requires a few key pieces of equipment. The specific items depend on whether you choose the USB-only method or the HDMI capture card method.
Canon EOS Webcam Utility Software
Canon offers a free software solution called EOS Webcam Utility Pro. This application allows many compatible Canon EOS DSLR, mirrorless, and PowerShot cameras to function as a plug-and-play USB webcam. It simplifies the setup process by eliminating the need for additional hardware like capture cards for basic functionality.
USB Cable
A reliable USB cable is crucial for connecting your Canon camera to your computer. The type of USB cable varies by camera model, typically Mini-USB or USB-C. Using the original Canon USB cable or a high-quality, reversible cable is recommended to avoid connection issues and ensure stable data transfer.
HDMI Capture Card (Optional, for higher quality)
For the highest quality video output, including 1080p or even 4K resolution, an HDMI capture card is necessary. This device converts the camera’s HDMI output into a signal your computer recognizes as a webcam input. Popular options include the Elgato Cam Link 4K. While more expensive, a capture card often provides superior resolution and reliability compared to the USB-only software method.
Power Adapter or Dummy Battery
Canon cameras are not designed for continuous video recording or streaming without external power. A dedicated AC power adapter or a dummy battery (a battery-shaped adapter that plugs into an AC outlet) is essential to prevent your camera from shutting down due to battery drain or overheating during extended use.
Tripod or Mount
A stable tripod or desk mount positions your camera correctly and keeps it steady. This ensures consistent framing and avoids shaky footage. Choose a mount that suits your workspace and camera weight.
Appropriate Lens
The lens you choose significantly impacts your webcam’s visual output. A wide-angle lens (e.g., 24-35mm equivalent on full-frame) is generally suitable for most webcam scenarios, providing a natural perspective. Lenses with a wide aperture (low f-number like f/1.8 or f/2.8) create attractive background blur, isolating you from your environment.
- Prime Lenses: Offer superior image quality and wider apertures for better bokeh, but lack zoom flexibility. Examples include Canon RF 35mm f/1.8 Macro IS STM or Canon EF 50mm f/1.8 STM.
- Zoom Lenses: Provide versatility for adjusting your field of view without physically moving the camera. Look for lenses with a constant wide aperture.
Setting Up Your Canon Camera for Webcam Use
There are two primary methods to use your Canon camera as a webcam: via USB with Canon’s EOS Webcam Utility Pro software, or via HDMI with a capture card.
Method 1: Using Canon EOS Webcam Utility Pro (USB Connection)
This method is simpler and more affordable, requiring minimal additional hardware.
Check Camera Compatibility: Verify that your Canon camera model is supported by the EOS Webcam Utility Pro software. Canon maintains an updated list on its website.
Download and Install Software: Visit the official Canon support website for your region (e.g., usa.canon.com) and download the EOS Webcam Utility Pro. Ensure you select the correct operating system (Windows 10/11 or macOS 12/13/14). Follow the installation prompts, which may include rebooting your computer.
Prepare Your Camera:
- Power your camera using an AC adapter or a dummy battery to ensure continuous operation.
- Set your camera to Movie Mode or Video Mode (manual exposure is often preferred).
- Disable Wi-Fi and Bluetooth connections to prevent interference with the USB connection.
- Ensure the camera is not in playback mode.
Connect Camera to Computer: Use a suitable USB cable to connect your Canon camera to a USB port on your computer. Avoid USB hubs or extensions if possible, as they can sometimes cause connection issues.
Select “EOS Webcam Utility Pro” in Your Application: Open your preferred video conferencing or streaming software (e.g., Zoom, Microsoft Teams, OBS Studio, Streamlabs). In the video settings, select “EOS Webcam Utility Pro” as your video source. If the camera is not detected, ensure any other Canon software (like EOS Utility) is completely closed, as they can conflict.
Method 2: Using an HDMI Capture Card (HDMI Connection)
This method typically provides higher resolution and uncompressed video quality, often with audio pass-through.
Check Camera for Clean HDMI Output: Confirm your Canon camera supports clean HDMI output. This feature removes all on-screen graphics, menus, and overlays from the HDMI feed, essential for a professional look. Many recent Canon mirrorless cameras like the EOS R series (R, R5, R6, R7, R8, R10, R50) and some DSLRs (e.g., 90D, 5D Mark IV) offer this.
Acquire HDMI Capture Card and Cables: Purchase an HDMI capture card (e.g., Elgato Cam Link 4K) and the appropriate HDMI cable for your camera (e.g., Mini-HDMI to HDMI, Micro-HDMI to HDMI).
Prepare Your Camera:
- Power your camera using an AC adapter or dummy battery.
- Set your camera to Movie Mode (Manual exposure recommended).
- Access the camera’s menu and configure the HDMI output settings. Look for options like “HDMI info disp.” and select “Clean FHD output” or “Clean 4K output” to disable on-screen information.
- Disable autofocus display if it appears on the HDMI feed for older DSLRs.
Connect Camera, Capture Card, and Computer:
- Connect one end of the HDMI cable to your camera’s HDMI port.
- Connect the other end of the HDMI cable to the input port of your HDMI capture card.
- Plug the HDMI capture card into a USB port on your computer.
Select Capture Card in Your Application: In your video conferencing or streaming software, select your HDMI capture card (e.g., “Elgato Cam Link 4K”) as the video source. The capture card typically also passes audio, allowing you to use your camera’s microphone if desired, though an external microphone is often recommended for better audio quality.
Troubleshooting Common Canon Webcam Issues
Even with careful setup, you might encounter issues. Here are common problems and their solutions.
No Video or Black Screen
Check Camera Compatibility: Ensure your Canon camera model is listed as compatible with the EOS Webcam Utility Pro.
Confirm Camera Mode: The camera must be in Movie Mode or Video Mode. It will not function as a webcam in photo modes.
Verify USB Connection: Use the original Canon USB cable or a known good, high-quality cable. Try a different USB port on your computer. Avoid unpowered USB hubs.
Close Conflicting Software: Ensure Canon’s standard EOS Utility software is not running in the background. It conflicts with the Webcam Utility. Quit it from your system tray.
Restart Devices: Log out of your video conferencing software, power off the camera, unplug it, reboot your computer, then reconnect and power on the camera.
Video Freezing or Lagging
Open LCD Screen: For some models, like the Canon M50, opening the vari-angle LCD screen can resolve freezing or lagging issues.
Check USB Bandwidth: If using EOS Webcam Utility, the USB 2.0 protocol can be a bottleneck, limiting resolution to 576p on some older cameras. Consider using a capture card if 1080p is essential.
Reduce Resolution/Frame Rate: In your streaming software, try reducing the video resolution or frame rate. While Canon cameras are powerful, lower settings can improve stability if your computer or internet connection struggles.
Overheating
Continuous video output can cause some cameras to overheat and shut down, particularly older DSLR models like the EOS 7D Mark II.
Use External Power: Always use an AC adapter or dummy battery to reduce strain on the camera’s internal battery and manage heat.
Optimize Camera Settings: Reduce ISO and use natural light to minimize sensor workload. Ensure sufficient airflow around the camera.
Monitor Usage: If your camera has a dedicated video recording limit (e.g., 30 minutes), be aware that continuous streaming might trigger similar thermal shutdowns.
Optimizing Your Canon Webcam for Best Performance
Achieving a professional look requires more than just connecting your camera. Fine-tuning settings and your environment makes a significant difference.
Camera Settings for Superior Video
Manual Exposure (M Mode): Take control of your exposure to prevent automatic flickering or brightness changes. Set your camera to Manual (M) mode for movies.
Shutter Speed: A good rule is to set your shutter speed to double your frame rate for a natural motion blur. For 30 frames per second (fps) streaming, use 1/60th of a second. For 60fps, use 1/120th of a second.
Aperture (f-stop): Use a wide aperture (lower f-number like f/1.8 to f/4) to achieve a shallow depth of field, blurring your background and making you stand out. Experiment to find the balance between blur and keeping yourself in focus.
ISO: Keep ISO as low as possible (e.g., 100-800) to minimize digital noise or grain in your video. Only increase it if necessary for proper exposure in low light.
White Balance (WB): Set white balance manually (e.g., Daylight, Cloudy, or a custom Kelvin temperature) to ensure accurate colors. Auto White Balance can shift colors unexpectedly. Start around 5200K for daylight.
Autofocus: Use continuous autofocus modes like Face Detection or Eye-Tracking AF to keep yourself consistently in focus, especially if you move. For static shots, One-Shot AF can be set initially, then switched to manual focus to prevent hunting.
Picture Profile: Select a neutral or flat picture profile (e.g., “Standard” with reduced sharpness, contrast, saturation) or a dedicated “neutral” profile if available. This provides a clean base for potential color grading in post-production or live streaming software.
Lighting for Professional Appearance
Good lighting is paramount for any video setup.
Key Light: Position your main light source in front of you, slightly off to one side. This illuminates your face evenly and creates depth.
Fill Light: A softer light on the opposite side reduces harsh shadows created by the key light.
Backlight (Hair Light): A light placed behind and above you can separate you from the background, adding dimension and a professional glow.
Soft Diffused Light: Use softboxes, umbrellas, or diffusion panels over your lights to create a flattering, even illumination.
Avoid Backlighting: Never sit directly in front of a bright window or light source without adequate front lighting, as this will silhouette you.
Optimizing Your Environment
Clean Background: Ensure your background is tidy and uncluttered. A simple, appealing background enhances professionalism.
Minimal Distractions: Remove anything that might divert attention from you. Less visual clutter helps viewers focus.
Acoustics: Reduce echo by adding soft furnishings, curtains, or acoustic panels. Clear audio is as important as good video.
Advanced Tips for Professional Canon Webcam Streaming
Push your Canon webcam setup further with these advanced techniques and considerations.
Using Multiple Cameras
For dynamic live streams or presentations, incorporating multiple camera angles adds production value. While the EOS Webcam Utility Pro typically supports only one camera, an HDMI capture card setup with a multi-input switcher (like a Blackmagic ATEM Mini) allows you to connect and switch between several Canon cameras.
Integrating External Microphones
While some Canon cameras can capture audio via HDMI (when using a capture card), dedicated external microphones provide significantly better sound quality. Connect a USB microphone directly to your computer or use an audio interface for XLR microphones. Syncing audio and video is crucial for a polished presentation.
Monitoring Your Feed
Regularly check your video and audio feed during live sessions. Use your streaming software’s preview window to monitor exposure, focus, and framing. A separate monitor can display your output for critical assessment.
Computer Performance Considerations
Streaming high-resolution video from a DSLR or mirrorless camera requires a capable computer. Ensure your system meets the minimum requirements for your streaming software and the Canon EOS Webcam Utility Pro. Sufficient RAM, a modern processor, and a dedicated graphics card contribute to a smooth streaming experience.
Choosing the Right Canon Camera for Webcam Applications
Many Canon cameras can serve as webcams, but some models offer better features for streaming. Consider factors like clean HDMI output, autofocus performance, and battery life.
| Camera Series | Key Features for Webcam Use | Considerations | Example Models |
|---|---|---|---|
| EOS R Mirrorless (Full-Frame & APS-C) | Excellent image quality, advanced autofocus (Eye AF), clean HDMI output (often 4K), good low-light performance, USB-C for power/data. | Newer models, can be pricier. Some may still have overheating limits during extended 4K. | EOS R5, R6 Mark II, R7, R8, R10, R50 |
| EOS M Mirrorless (APS-C) | Compact size, good image quality, some offer clean HDMI (1080p), compatible with EOS Webcam Utility Pro. | Some models (M50 Mark I) may not have clean HDMI output without utility. Battery life can be shorter. | EOS M50 Mark II, M200, M6 Mark II |
| EOS DSLR (Rebel Series, x0D Series) | Good value, reliable, many compatible with EOS Webcam Utility Pro. Some offer clean HDMI. | Older models might have limitations (e.g., 7D Mark II overheating). May not have the latest autofocus tech. | EOS 90D, 80D, Rebel SL3, Rebel T8i |
| PowerShot (Advanced Compacts) | Portable, convenient, some models support clean HDMI and EOS Webcam Utility Pro. | Smaller sensors than DSLRs/mirrorless, less bokeh. | PowerShot G5 X Mark II, G7 X Mark III, PowerShot V10 |
For serious streamers, models with clean HDMI and robust video features are ideal. For casual use, a compatible EOS DSLR or mirrorless camera with the free EOS Webcam Utility Pro offers a significant upgrade over standard webcams.
FAQ
What is the Canon EOS Webcam Utility Pro?
The Canon EOS Webcam Utility Pro is free software that enables compatible Canon cameras to function as high-quality webcams when connected to a computer via USB. It eliminates the need for an HDMI capture card for basic webcam functionality.
Do I need a capture card if I use the Canon EOS Webcam Utility Pro?
No, you do not need a capture card when using the Canon EOS Webcam Utility Pro, as the software allows your camera to connect directly via USB. However, an HDMI capture card typically provides higher resolution and uncompressed video quality, often preferred for professional streaming.
Which Canon cameras are compatible with the EOS Webcam Utility Pro?
A wide range of Canon EOS DSLR, mirrorless (EOS R and EOS M series), and select PowerShot cameras are compatible with the EOS Webcam Utility Pro. You should check Canon’s official website for an up-to-date list of supported models.
What resolution can I expect when using my Canon camera as a webcam?
With the EOS Webcam Utility Pro and a USB connection, the resolution might be limited, with some older camera models capping at around 576p due to USB 2.0 bandwidth limitations. Using an HDMI capture card, you can achieve full 1080p HD or even 4K resolution, depending on your camera’s clean HDMI output capabilities and the capture card itself.
How do I prevent my Canon camera from overheating during long streaming sessions?
To prevent overheating, always power your camera with an AC adapter or a dummy battery instead of relying on the internal battery. Optimize camera settings by reducing ISO and ensuring adequate airflow around the camera. Some older models are more prone to thermal shutdowns.
Can I use my Canon camera’s microphone when streaming?
When using an HDMI capture card, your camera’s audio can often be passed through to your computer, allowing you to use its built-in microphone. However, the EOS Webcam Utility (USB connection) typically does not transmit audio, requiring a separate microphone for sound. For professional audio quality, an external microphone is always recommended.
Conclusion
Transforming your Canon camera into a webcam is a significant upgrade for anyone seeking superior video quality for virtual meetings, content creation, or live streaming. Whether you choose the accessible EOS Webcam Utility Pro via USB or invest in an HDMI capture card for maximum resolution, the result is a dramatically more professional and engaging visual presence. By understanding the necessary equipment, configuring optimal camera settings, and troubleshooting common issues, you can leverage your Canon gear to deliver stunning, high-quality video that truly stands out.