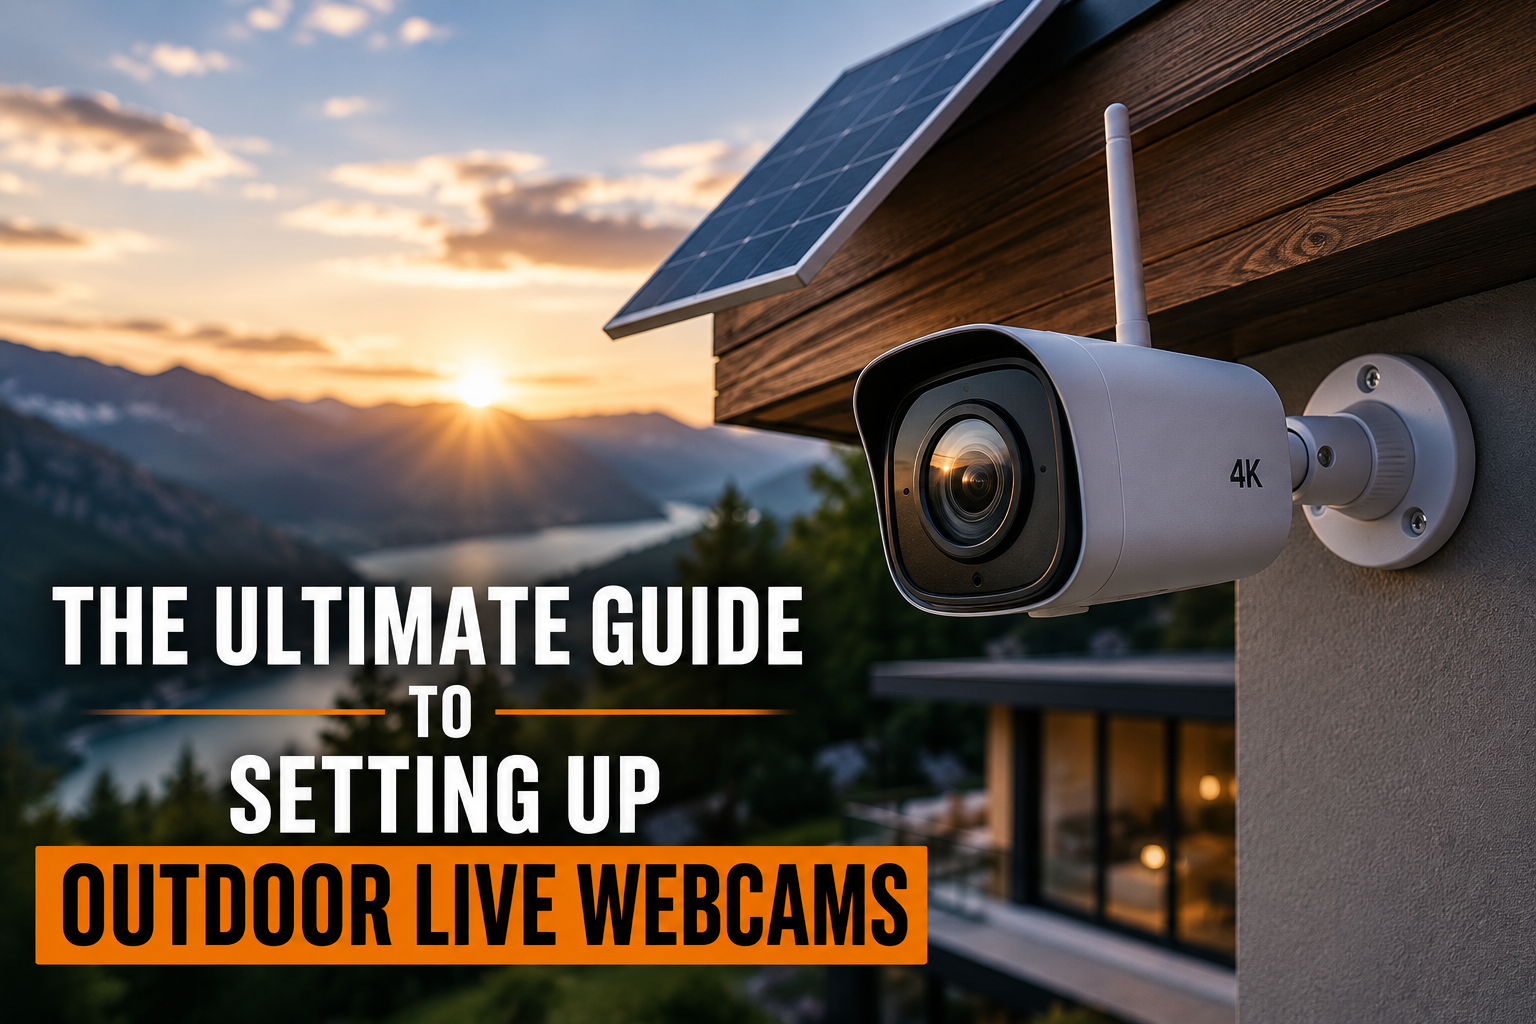
Setting up a live outdoor webcam enables real-time monitoring, public streaming, or personal observation. This guide provides a comprehensive, step-by-step process for a reliable and high-quality outdoor camera installation. You will learn about equipment selection, power solutions, internet connectivity, and legal considerations to ensure a successful setup.
Understanding Your Outdoor Webcam Project
Before purchasing any equipment, define your webcam’s purpose and placement. Consider if you need a camera for security, wildlife observation, public scenic views, or a construction time-lapse. This clarity guides essential decisions about camera features, network infrastructure, and overall budget.
Defining Your Purpose
Your project’s goals determine critical camera specifications. A security camera needs robust motion detection and night vision, while a scenic view cam prioritizes high resolution and wide field of view. Clearly outlining your objectives prevents unnecessary expenses and ensures optimal performance.
Site Assessment and Planning
Conduct a thorough site survey to identify the best camera location. Evaluate factors like power source accessibility, internet signal strength, mounting surface stability, and potential obstructions. Consider the camera’s field of view to cover the desired area effectively.
Choosing the Right Outdoor Webcam
Selecting the correct camera is crucial for performance and longevity. Outdoor webcams must withstand various weather conditions and provide reliable video quality. IP cameras are generally preferred for live streaming due to their network capabilities.
IP Camera vs. Analog Camera
IP (Internet Protocol) cameras connect directly to your network, offering digital video streams and advanced features. Analog cameras, or CCTV cameras, require a Digital Video Recorder (DVR) to convert their signal to digital for network access. IP cameras generally provide superior image quality and easier remote access for live streaming applications.
Essential Camera Features for Outdoor Use
Prioritize features like high resolution (1080p or 4K) for clear images and robust weatherproof ratings (IP65, IP66, or IP67) for durability. Look for cameras with infrared (IR) night vision for low-light conditions and a wide dynamic range (WDR) to handle challenging lighting. Optical zoom offers greater flexibility than digital zoom for detailed viewing.
Consider the camera’s field of view (FoV) to match your coverage area. Pan-Tilt-Zoom (PTZ) cameras offer remote control over direction and zoom, ideal for dynamic monitoring. Fixed-lens cameras are simpler and often more cost-effective for static views.
| Feature | Description | Benefit for Outdoor Webcams |
|---|---|---|
| Resolution | Pixels making up the image (e.g., 1080p, 4K) | Clearer, more detailed video capture. |
| Weatherproof Rating (IP) | Indicates resistance to dust and water ingress | Ensures camera survival in rain, snow, and dust. |
| Night Vision (IR) | Infrared LEDs for visibility in low light or darkness | Provides continuous monitoring capability 24/7. |
| Wide Dynamic Range (WDR) | Balances extreme light and dark areas in a scene | Prevents washed-out bright spots or overly dark shadows. |
| Field of View (FoV) | Angular extent of the scene captured by the camera | Determines how much area the camera can see. |
| Optical Zoom | Lens-based zoom, maintains image quality | Allows for detailed close-ups without pixelation. |
Brands and Models to Consider
Reputable brands like Axis, Hanwha Vision (formerly Samsung Techwin), Hikvision, and Dahua offer professional-grade outdoor IP cameras. For consumer-friendly options, consider brands such as Reolink, Arlo, and Eufy, often featuring easier setup and cloud integration. Always check reviews for real-world performance and reliability.
Powering Your Outdoor Webcam
Reliable power is critical for continuous outdoor webcam operation. The best power solution depends on your camera type, location, and access to electrical outlets. Consider both wired and wireless power options carefully.
Power over Ethernet (PoE)
Power over Ethernet (PoE) simplifies installation by delivering both power and data through a single Ethernet cable. This eliminates the need for a separate power outlet near the camera. PoE is ideal for distances up to 328 feet (100 meters) from your network switch or injector.
Ensure your chosen IP camera supports PoE and that you have a PoE-capable network switch or a PoE injector. This method reduces cable clutter and simplifies wiring, making it a popular choice for many outdoor setups. Verify your Ethernet cable is rated for outdoor use and direct burial if applicable.
AC Power (Traditional Outlet)
If a standard electrical outlet is available near your camera’s mounting location, AC power offers a straightforward solution. You will need an outdoor-rated power supply and weatherproof conduit to protect the wiring. This method ensures consistent power without relying on network equipment.
Always use a Ground Fault Circuit Interrupter (GFCI) protected outlet for outdoor electrical connections to prevent electrical hazards. Ensure all connections are secure and sealed against moisture. Consult an electrician for new outdoor wiring installations to comply with local codes.
Solar Power Solutions
Solar power is an excellent option for remote locations without easy access to AC power or Ethernet. A solar panel charges a battery, which then powers the camera. This setup requires careful calculation of your camera’s power consumption and local sun exposure.
Key components include a solar panel, a charge controller, and a deep-cycle battery. Choose a solar panel large enough to generate sufficient power even on cloudy days, and a battery with enough capacity for continuous operation overnight. Position the solar panel for maximum sun exposure throughout the day, typically facing south in the Northern Hemisphere.
Battery Power
Some outdoor webcams come with built-in rechargeable batteries. These are convenient for temporary setups or locations where wiring is impossible. However, battery life is limited and requires frequent recharging or replacement, making them less ideal for continuous live streaming. Battery-powered cameras are better suited for motion-activated recording rather than 24/7 live feeds.
Internet Connectivity for Live Streaming
A stable internet connection is paramount for live outdoor webcam streaming. Without it, your video feed will experience buffering, drops, or complete outages. Evaluate your location’s internet options to choose the most reliable method.
Wired Ethernet Connection
A wired Ethernet connection provides the most stable and reliable internet connection for an outdoor webcam. Running an outdoor-rated Ethernet cable from your router or PoE switch directly to the camera ensures minimal latency and maximum bandwidth. This is generally preferred for critical applications.
Burying or properly securing the Ethernet cable protects it from environmental damage and tampering. Use waterproof connectors and junction boxes at all connection points. A wired connection avoids interference issues common with wireless setups.
Wi-Fi (Wireless Connection)
Wi-Fi offers flexibility, eliminating the need to run network cables. However, outdoor Wi-Fi signals can be susceptible to interference, distance limitations, and physical obstructions. Ensure a strong Wi-Fi signal at your camera’s location.
Consider using a Wi-Fi extender, a mesh Wi-Fi system, or a dedicated outdoor access point to boost signal strength. Position Wi-Fi antennas correctly for optimal reception. Choose cameras with robust external antennas for better wireless performance.
Cellular Data (4G/5G)
For truly remote locations without wired or Wi-Fi access, cellular data is a viable solution. This requires a cellular-enabled camera or a separate cellular modem/router with a SIM card and data plan. Cellular plans can be expensive, especially with continuous streaming, so monitor data usage.
Ensure strong cellular reception at the camera site by checking coverage maps for your chosen carrier. Use external high-gain antennas if necessary to improve signal quality. Cellular solutions often include built-in battery backup for power outages.
Mounting and Physical Installation
Proper physical installation ensures camera stability, security, and optimal viewing angles. The mounting surface and location significantly impact your camera’s performance and longevity.
Secure Mounting Locations
Choose a sturdy, immovable surface like an exterior wall, pole, or eaves. Ensure the mounting point can support the camera’s weight and resist strong winds. High mounting locations deter tampering and provide a wider field of view. Avoid mounting too high, which can obscure details.
Weatherproofing and Protection
Even cameras with high IP ratings benefit from additional protection. Consider using a protective housing or placing the camera under an overhang to shield it from direct rain, snow, and harsh sunlight. This extends the camera’s lifespan and maintains clearer images. Regularly inspect seals and cables for signs of wear.
Cable Management and Protection
Protect all cables from moisture, UV radiation, and physical damage. Use outdoor-rated cables, conduit, or cable clips to secure wiring neatly along walls or poles. Seal any entry points into buildings to prevent water ingress. Proper cable management also deters vandalism.
Network Configuration and Software Setup
Once physically installed, your outdoor webcam needs proper network configuration to stream live. This involves assigning an IP address, configuring port forwarding, and choosing streaming software.
Assigning IP Addresses and Network Setup
Most IP cameras use DHCP to automatically obtain an IP address from your router. For more stable access, assign a static IP address to your camera within your router’s settings. This ensures the camera’s address never changes, simplifying remote access. Record the camera’s IP address for future reference.
Access your camera’s web interface via its IP address using a web browser. Here you can configure settings like video quality, motion detection zones, and user authentication. Strong passwords are essential to protect your camera from unauthorized access.
Port Forwarding and Dynamic DNS (DDNS)
To access your live stream from outside your local network, you’ll need to configure port forwarding on your router. This directs external traffic on a specific port to your camera’s internal IP address. Be aware that port forwarding can introduce security risks if not properly secured with strong camera passwords.
If your internet service provider assigns a dynamic public IP address, use a Dynamic DNS (DDNS) service. DDNS services map a memorable hostname to your changing public IP address, allowing consistent remote access. Many cameras and routers have built-in DDNS client support.
Choosing Streaming Software or Platform
Various platforms can host your live outdoor webcam stream. For public viewing, services like YouTube Live, Twitch, or dedicated webcam streaming platforms are popular. These platforms handle the streaming infrastructure, making it easier to share your feed. Ensure your chosen platform supports RTMP (Real-Time Messaging Protocol) if your camera outputs that stream type.
For private monitoring, many IP cameras come with their own software or integrate with Network Video Recorders (NVRs) or Video Management Software (VMS). Cloud-based services offer remote access and storage without complex local setup. Evaluate costs and features like recording, alerts, and multi-camera support.
Security Best Practices
Securing your outdoor webcam protects your privacy, network, and live stream from unauthorized access. Neglecting security can lead to your camera being compromised or even used for malicious purposes.
Strong Passwords and User Management
Change default camera passwords immediately to strong, unique combinations of letters, numbers, and symbols. Create separate user accounts with different access levels if multiple people need to access the camera. Regularly update camera firmware to patch known security vulnerabilities.
Network Segmentation and Firewalls
Consider isolating your webcam on a separate VLAN (Virtual Local Area Network) to segment it from your main home or business network. This limits potential access if the camera is compromised. Configure your router’s firewall to block unnecessary incoming connections to your camera. Disable UPnP (Universal Plug and Play) on your router, as it can automatically open ports without your explicit permission.
Encrypting Your Stream
Utilize cameras and streaming platforms that support encrypted connections (HTTPS/SSL/TLS) for your video stream. Encryption protects your video feed from eavesdropping as it travels across the internet. Always verify that your chosen streaming service encrypts data in transit and at rest.
Legal and Privacy Considerations in the US
Understanding the legal implications of outdoor webcams, especially those streaming publicly, is crucial. Laws vary by state and local jurisdiction, so conduct thorough research.
Public vs. Private Property
Generally, it is legal to record video in public spaces where there is no reasonable expectation of privacy. This includes areas visible from your property that are accessible to the public. However, recording individuals on private property without consent can be illegal, even if that property is next to a public space. Avoid pointing cameras directly into neighbors’ private yards or windows.
Consent and Notification
For public-facing webcams, particularly those with audio recording capabilities, explicit consent or clear notification may be required. Many states have “two-party consent” laws for audio recording. Clearly display signs indicating surveillance if people are likely to be recorded on your property. Always prioritize privacy and transparency.
Data Retention and Sharing
Be mindful of how long you retain recorded footage and how it is shared. Some regulations, like those for businesses, might dictate data retention policies. If you are sharing the stream publicly, consider if any content could inadvertently violate privacy or copyright. Consult local legal counsel if you have concerns about specific use cases.
Maintenance and Troubleshooting
Regular maintenance ensures your outdoor webcam operates reliably and provides clear footage. Knowing common troubleshooting steps can quickly resolve issues.
Routine Cleaning and Inspection
Periodically clean the camera lens to remove dirt, dust, spiderwebs, or water spots that can obscure the view. Check cables for fraying, damage, or loose connections. Inspect the mounting hardware for rust or loosening, tightening as needed. These simple checks prevent common problems.
Firmware Updates
Regularly check for and install firmware updates from your camera manufacturer. Firmware updates often improve performance, add new features, and patch security vulnerabilities. Follow manufacturer instructions carefully during the update process to avoid bricking the device.
Common Troubleshooting Steps
If your stream goes offline, first check the camera’s power supply and internet connection. Reboot the camera and your router to refresh network connections. Verify your port forwarding rules or DDNS service are still active. Low video quality might indicate insufficient bandwidth, a dirty lens, or incorrect camera settings. Consult your camera’s manual or manufacturer support for specific error codes or persistent issues.
FAQ
What is the best type of camera for an outdoor live stream?
An IP camera with a high weatherproof rating, good resolution (1080p or 4K), and strong low-light performance is generally best for outdoor live streams.
How do I power an outdoor webcam in a remote location?
For remote outdoor locations, solar power with a battery backup or cellular-enabled cameras are effective solutions where traditional AC power or PoE is unavailable.
Can I use Wi-Fi for an outdoor webcam?
Yes, Wi-Fi can be used, but ensure a strong signal at the camera’s location, possibly using an outdoor Wi-Fi extender or a mesh system. Wired Ethernet offers greater stability.
Do I need port forwarding for my outdoor webcam?
Port forwarding is often needed to access your live stream from outside your local network. However, some cloud-based camera services can bypass this requirement.
Is it legal to record my neighbor’s property with an outdoor webcam?
Recording public areas is generally legal, but pointing a camera directly at a neighbor’s private property without consent can violate privacy laws. Research local regulations.
What is Dynamic DNS (DDNS) and do I need it?
DDNS maps a consistent hostname to your internet’s dynamic public IP address, allowing reliable remote access. You need it if your ISP assigns a dynamic IP and you use port forwarding.
Conclusion
Setting up a live outdoor webcam requires careful planning and execution, from selecting the right camera to ensuring robust power and network connectivity. Prioritize weatherproofing, strong security measures, and adherence to legal privacy guidelines for a successful and ethical installation. Regular maintenance will extend the life and reliability of your outdoor streaming system.