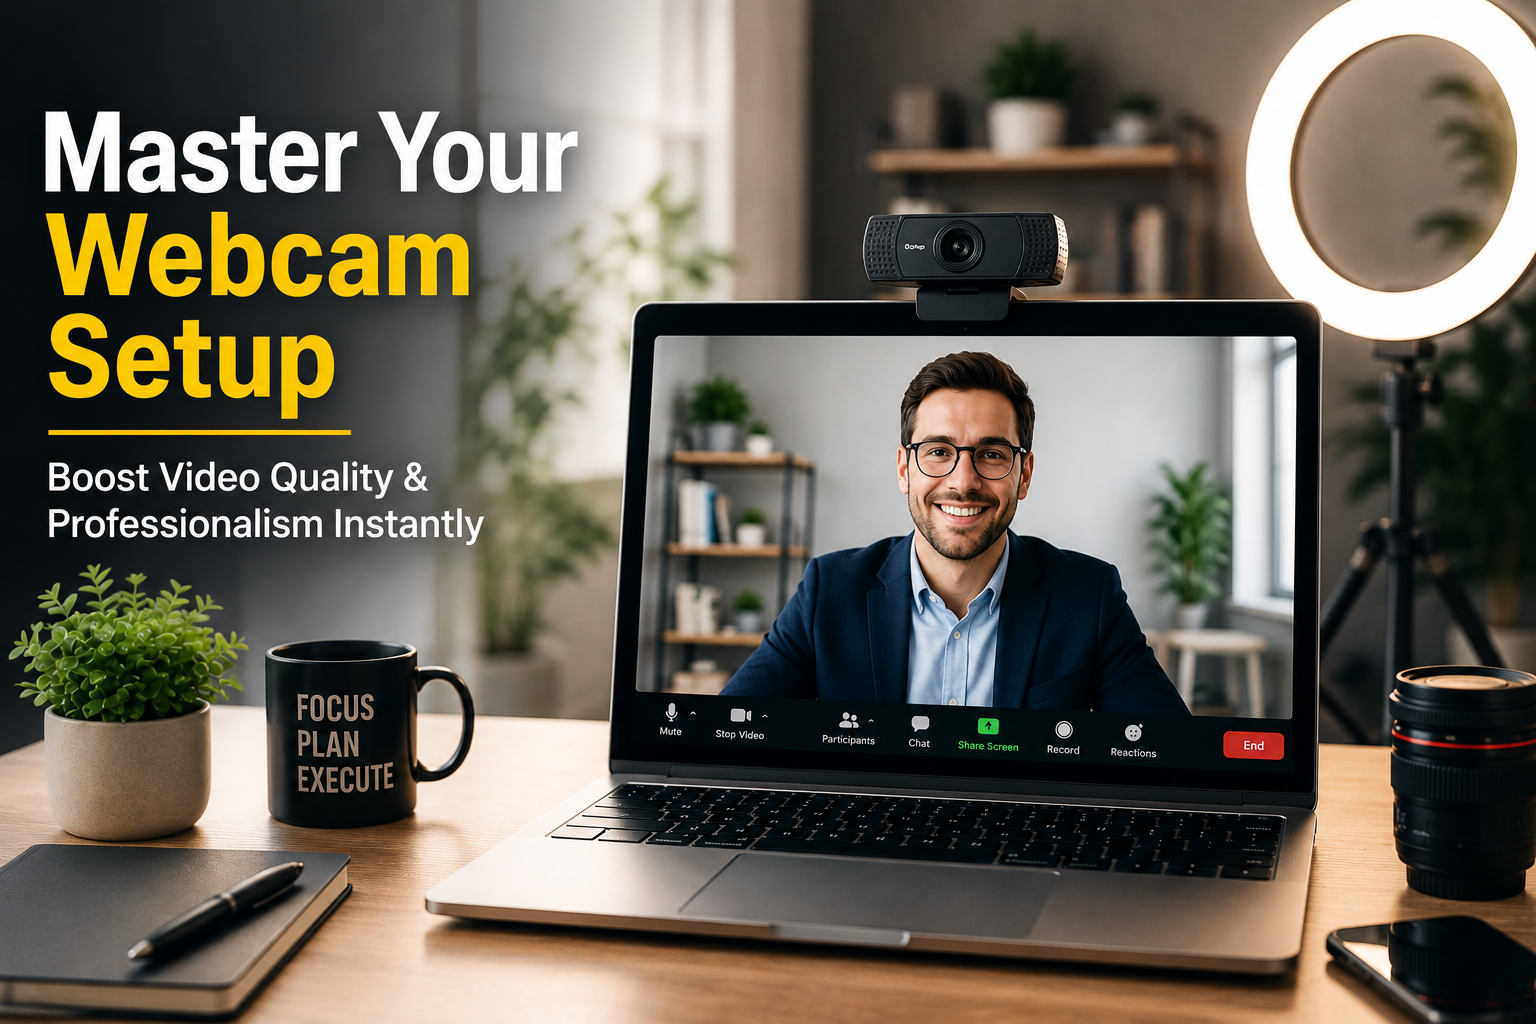
Attaching an external webcam to your laptop is a straightforward process, typically involving plugging the webcam into an available USB port, allowing your operating system to automatically install drivers, and then selecting the webcam within your chosen communication or recording application. Most modern webcams are designed for plug-and-play functionality, making installation quick and simple.
While your laptop’s built-in camera offers convenience, it often falls short in video quality, lighting adaptability, and audio performance, especially for critical video calls, content creation, or online teaching. Upgrading to an external webcam can dramatically improve your virtual presence, offering superior resolution, better low-light performance, and clearer sound to ensure you always make the best impression.
Understanding Why an External Webcam is Essential for Enhanced Visuals
For many users, the built-in webcam on a laptop is sufficient for casual use. However, for professionals, content creators, or anyone seeking a more polished online presence, the limitations of integrated cameras quickly become apparent. External webcams offer significant advantages in image quality, flexibility, and audio.
Laptop manufacturers often prioritize thin designs and lower price points, which can lead to compromises in built-in webcam components. This typically results in smaller sensors, less advanced lenses, and poorer low-light performance. External webcams, by contrast, have more space for higher-quality components, leading to better resolution, speed, fluidity, and color balance.
Key Benefits of an External Webcam
- Higher Resolution: Even the best built-in webcams rarely exceed 720p resolution, while most external webcams offer at least 1080p Full HD, with many providing 4K resolution for much greater picture quality.
- Improved Low-Light Performance: External cameras often feature better light sensitivity, which allows them to produce clearer images in dimly lit environments, preventing dark and grainy video.
- Better Audio Quality: Many external webcams include built-in stereo microphones with noise-canceling features, offering a high-definition audio experience that surpasses typical laptop microphones.
- Greater Flexibility and Control: You can easily adjust the angle, position, and field of view of an external webcam, unlike fixed built-in cameras. This flexibility is crucial for optimal framing, especially if you use an external monitor.
- Advanced Features: High-end external webcams come with features like autofocus, auto-framing, digital zoom, and advanced white balance, which significantly enhance video quality and user experience.
- Easier Troubleshooting and Upgrades: If an external webcam malfunctions, you can easily troubleshoot or replace it. Built-in cameras are harder to fix as they are part of the laptop’s internal components.
According to research, high-quality external cameras are essential for businesses to enhance virtual collaboration and boost productivity, while individuals benefit from superior video for content creation and online learning.
Choosing the Right External Webcam for Your Needs
Selecting the ideal external webcam depends on your specific use case, budget, and desired features. Understanding key specifications will help you make an informed decision. These include resolution, frame rate, field of view, and microphone quality.
Key Factors to Consider When Buying a Webcam
- Resolution: This defines the clarity of your video, measured in pixels.
- 1080p (Full HD): Sufficient for most video calls, online meetings, and casual streaming. Many common video conferencing platforms like Zoom and Google Meet support up to 1080p.
- 4K (Ultra HD): Offers significantly sharper images and richer details. While excellent for recording high-quality video presentations or content, 4K often requires more bandwidth and may be overkill for standard video calls as most platforms don’t support it.
- Frame Rate (FPS): Measured in frames per second, this determines the smoothness of motion in your video.
- 30 FPS: Standard for most video calls, providing a smooth and natural look.
- 60 FPS: Ideal for fast-moving scenes, gaming streams, or creating slow-motion effects, offering even smoother motion. Higher FPS means larger file sizes.
- Autofocus: A webcam with autofocus automatically adjusts the lens to keep you sharp, even if you move. This is a significant upgrade from fixed-focus cameras.
- Field of View (FOV): This refers to how much of the scene the camera captures.
- A narrower FOV (e.g., 75-90°) is good for individual use, focusing on your face.
- A wider FOV (e.g., 120°) is suitable for group meetings or showing more of your surroundings.
- Microphone: Look for webcams with built-in stereo microphones and noise-reduction technology for clearer audio.
- Low-Light Correction: Many external webcams have technology to adjust for poor lighting, preventing dark and grainy images.
- Connectivity: Most webcams connect via USB. Ensure the webcam’s USB connector (USB-A or USB-C) matches an available port on your laptop or that you have a suitable adapter or hub.
Here’s a comparison of common webcam features:
| Feature | Description | Typical for Built-in Laptop Cameras | Typical for External Webcams |
|---|---|---|---|
| Resolution | Clarity of the image (pixels) | Often 720p | 1080p Full HD to 4K Ultra HD |
| Frame Rate (FPS) | Smoothness of motion | Often 20-30 FPS | 30 FPS to 60 FPS (or higher) |
| Autofocus | Automatic lens adjustment for sharpness | Rarely present | Common feature |
| Field of View (FOV) | Amount of scene captured | Fixed, often narrow | Adjustable, wider options available |
| Microphone Quality | Clarity of audio input | Basic, can pick up background noise | Often stereo, noise-reducing, clearer |
| Low-Light Correction | Ability to perform well in dim lighting | Poor, resulting in grainy images | Advanced, provides clearer images |
| Flexibility | Ease of physical adjustment | Fixed position | Highly adjustable, can be mounted |
Before You Begin: What You’ll Need
Preparing before you connect your webcam ensures a smooth setup process. Gather these items to avoid interruptions:
- External Webcam: Your chosen device.
- USB Cable: Most webcams come with an integrated USB cable. Ensure its connector type (USB-A, USB-C) matches an available port on your laptop.
- Laptop with Available USB Port: This is where you’ll connect your webcam. Modern laptops might require a USB-C port, while older ones typically use USB-A.
- Internet Connection: Necessary for downloading drivers or software if your webcam isn’t plug-and-play, or for software updates.
- Webcam’s User Manual or Manufacturer Website: Useful for specific instructions, driver downloads, or troubleshooting unique features.
- Optional: A small tripod or alternative mounting solution if the webcam’s built-in clip isn’t suitable for your setup.
Step-by-Step Guide: Attaching and Setting Up Your Webcam
Connecting an external webcam to your laptop is generally a quick and easy process. Follow these steps to set up your webcam and get it running.
1. Physical Connection
First, locate an available USB port on your laptop. This could be a standard rectangular USB-A port or a smaller, reversible USB-C port. Most webcams come with a USB cable attached. Plug the webcam’s USB cable directly into a free USB port on your laptop.
If your laptop only has USB-C ports and your webcam has a USB-A connector, you will need a USB-C to USB-A adapter or a USB-C hub. Ensure the connection is secure.
2. Mounting the Webcam
Most external webcams include a built-in clip or stand designed to rest securely on top of your laptop screen. Carefully place the webcam on the center of your laptop’s screen bezel, ensuring it is stable and positioned at eye level for the best video angle.
Alternatively, some webcams come with a tripod mount, allowing you to place it on your desk or a separate tripod for more flexible positioning. Experiment with different placements to find an Tangle that frames you effectively.
3. Driver Installation
Upon connecting, your laptop should typically detect the new webcam automatically. Modern operating systems like Windows 10/11 and macOS often install generic drivers without requiring any action from you. You might see a notification indicating “Device is ready to use.”
If your webcam has advanced features or doesn’t work immediately, you may need to install specific drivers or software from the manufacturer. Check the included CD (if any) or visit the webcam manufacturer’s official website to download the latest drivers and installation software. Follow the on-screen instructions to complete the installation, and restart your computer if prompted.
4. Configuring Settings in Your Operating System
After physical connection and driver installation, you need to ensure your operating system recognizes and is set to use the external webcam. This also involves granting applications permission to access your camera.
For Windows (Windows 10/11):
- Open Settings by pressing
Windows key + I. - Navigate to Bluetooth & devices, then select Cameras.
- Under “Connected cameras,” select your external webcam from the list. Windows will typically start the camera, display a preview, and show controls for basic adjustments like brightness, contrast, and rotation.
- Next, go to Privacy & security, then click on Camera. Ensure “Camera access” is turned on and that your preferred applications (e.g., Zoom, Microsoft Teams, Camera app) have permission to use your camera.
For macOS:
- Connect the webcam to your Mac. The operating system should automatically recognize it.
- Open System Settings (or System Preferences on older macOS versions).
- Click on Security & Privacy, then select the Privacy tab.
- In the left sidebar, click on Camera. Ensure your chosen applications (e.g., FaceTime, Photo Booth, web browsers) are checked, allowing them to access your external webcam. You might need to click the lock icon and enter your administrator password to make changes.
- If you have multiple cameras, you can select your external webcam within individual applications. For example, in FaceTime, click Video in the menu bar and choose your external webcam. In Photo Booth, click Camera in the menu bar.
5. Testing Your Webcam
After configuring the settings, it’s crucial to test your webcam to ensure it’s working correctly and that the video and audio quality meet your expectations.
- Windows: Open the built-in Camera app by searching for “Camera” in the Start menu. The app should display a live feed from your webcam. If your laptop has a built-in camera, you may need to switch to your external webcam within the app’s settings.
- macOS: Open Photo Booth from your Applications folder. You should see yourself on screen. If not, go to the “Camera” menu at the top and select your external webcam.
- Online Test: Numerous websites offer free webcam testing services. Search for “online webcam test” and allow camera access when prompted to check video and audio.
- Video Conferencing Apps: Open your preferred application (Zoom, Microsoft Teams, Google Meet, Skype) and go to its video/audio settings. Select your external webcam as the video input device and its microphone as the audio input. Most apps provide a preview window to check your feed.
Optimizing Your Webcam Experience
Beyond simply connecting your webcam, several factors can significantly impact your video quality and overall online presence. Optimizing your lighting, background, and audio will make a substantial difference.
1. Mastering Your Lighting
Good lighting is perhaps the most impactful factor for webcam video quality. Poor lighting can make even a high-resolution webcam appear dark and grainy.
- Face the Light Source: Position yourself so that the brightest light source (e.g., a window or a lamp) is in front of you, illuminating your face directly. Avoid having a bright light source behind you, as this will silhouette you.
- Use Soft, Even Light: Diffused light is more flattering and reduces harsh shadows. Natural daylight from a window is often ideal. If using artificial lights, consider a ring light or an LED panel. Even a simple desk lamp can help; bounce it off a wall or diffuse it with paper to soften the light.
- Avoid Overhead Lighting: Overhead lights can cast unflattering shadows on your face.
- Consider a Background Light: A subtle light illuminating your background can add depth and help your webcam expose the entire shot evenly, preventing your face from looking overexposed compared to a dark background.
“Lighting is the most direct, but still the most overlooked factor in regards to image quality,” says an expert from a content creation resource.
2. Crafting Your Background
Your background sets the stage for how you are perceived on screen. A cluttered or chaotic background can distract viewers.
- Keep it Clean and Simple: Aim for a clean, neutral space with minimal distractions.
- Create Depth: Position yourself a little distance from the background to avoid harsh shadows and create a sense of depth.
- Subtle Decor: A plant, a bookshelf, or a piece of art can add warmth and personality without competing with your face.
- Virtual Backgrounds: Many video conferencing platforms offer virtual background or blur features. These work best when your actual background is tidy.
3. Enhancing Your Audio
Clear audio is just as important as good video for effective communication. While external webcams often have better microphones, further optimization can be beneficial.
- Use a Headset or External Microphone: For the best audio quality, consider using a dedicated headset with a microphone or an external USB microphone. These devices typically offer superior noise cancellation and clearer voice pickup than built-in webcam microphones.
- Minimize Background Noise: Choose a quiet environment. Close windows and doors, and turn off any noisy appliances like fans or air conditioners.
- Speak Clearly: Position yourself at an appropriate distance from your microphone for optimal voice capture.
4. Fine-Tuning Webcam Software Settings
Most webcams and operating systems allow you to adjust various settings to improve image quality.
On Windows, you can access basic camera settings through Settings > Bluetooth & devices > Cameras. For more advanced controls on Mac, third-party tools like Webcam Settings or iGlasses can unlock manual adjustments for brightness, contrast, and saturation.
Troubleshooting Common Webcam Issues
Even with a straightforward setup, you might encounter issues with your external webcam. Here’s how to diagnose and fix common problems.
| Issue | Possible Cause | Solution Steps |
|---|---|---|
| Webcam not detected/working |
|
|
| Poor image quality (blurry, dark, grainy) |
|
|
| Microphone not working |
|
|
| Video freezing or lagging |
|
|
Advanced Webcam Usage
Once you’ve mastered the basics, you can explore more advanced ways to leverage your external webcam for even greater functionality and control.
Using Multiple Webcams
For more complex setups, such as streaming with different angles or demonstrating products, you might consider using multiple webcams. Your operating system and most streaming software can handle multiple camera inputs simultaneously.
- Connection: Connect each webcam to a separate USB port on your laptop or a powered USB hub to ensure sufficient bandwidth.
- Software Selection: In streaming software like OBS Studio, you can add multiple video capture devices as sources and switch between them seamlessly. For video conferencing, most platforms only allow one active video feed at a time, but you can usually switch between connected cameras in their settings.
Leveraging Software for Enhanced Features
Many webcams come with proprietary software that unlocks advanced features beyond basic OS controls. Additionally, third-party tools can significantly enhance your video.
- Manufacturer Software: This often provides granular control over zoom, pan, tilt, white balance presets, exposure, and color correction. Always check your webcam’s manufacturer website for their dedicated application.
- Virtual Camera Software: Tools like OBS Studio can act as a virtual camera, allowing you to apply live effects, color correction, mild sharpening, or custom overlays before sending the video feed to your conferencing application.
- AI-Powered Features: Some advanced webcams and software offer AI-driven features like auto-framing (keeping you centered in the shot), gaze correction, and even virtual background removal without a green screen.
“In 2026 and beyond, remote and hybrid work aren’t just alternatives; they’re the backbone of modern collaboration. And with video being your primary visual touchpoint, your image quality can influence how professional and trustworthy you appear,” states an article on improving webcam quality, emphasizing the importance of a polished video presence.
FAQ
Do I need drivers for an external webcam?
Most modern external webcams are plug-and-play, meaning your operating system (Windows or macOS) will automatically detect and install the necessary generic drivers when you plug them in. However, some webcams with advanced features may require you to download and install specific software or drivers from the manufacturer’s website for full functionality.
Can I use multiple webcams with my laptop?
Yes, you can connect and use multiple webcams with your laptop. Most operating systems and streaming software (like OBS Studio) support multiple video input devices. Ensure you have enough available USB ports or a powered USB hub, and select the desired webcam within each application’s settings.
What is the best resolution for a webcam?
For most users, a 1080p (Full HD) webcam is ideal, providing clear, sharp video suitable for video conferencing, online classes, and casual streaming. While 4K webcams offer superior detail, many video conferencing platforms do not yet support resolutions higher than 1080p, and 4K requires more bandwidth.
How do I switch between my laptop’s built-in camera and an external webcam?
You typically switch between cameras within the settings of the application you are using (e.g., Zoom, Google Meet, Microsoft Teams, or your computer’s Camera app). Look for video or camera settings, and you should find a dropdown menu or option to select your preferred camera device from the list of connected cameras.
Why is my external webcam not showing up in my video call app?
Several factors can cause this. First, ensure it’s properly plugged into a functional USB port. Next, check your operating system’s privacy settings to confirm that the app has permission to access the camera. You might also need to update or reinstall the webcam’s drivers, or simply restart your computer.
Conclusion
Attaching an external webcam to your laptop is a relatively simple upgrade that yields significant improvements in video and audio quality. By following the straightforward steps of physical connection, driver installation, and proper configuration, you can quickly enhance your virtual presence for everything from professional meetings to connecting with loved ones. Remember that optimizing your lighting, background, and audio, along with fine-tuning software settings, will unlock the full potential of your external webcam, ensuring you always present your best self in any online interaction. Investing a little time in a quality external webcam and its setup can truly revolutionize your digital communication.