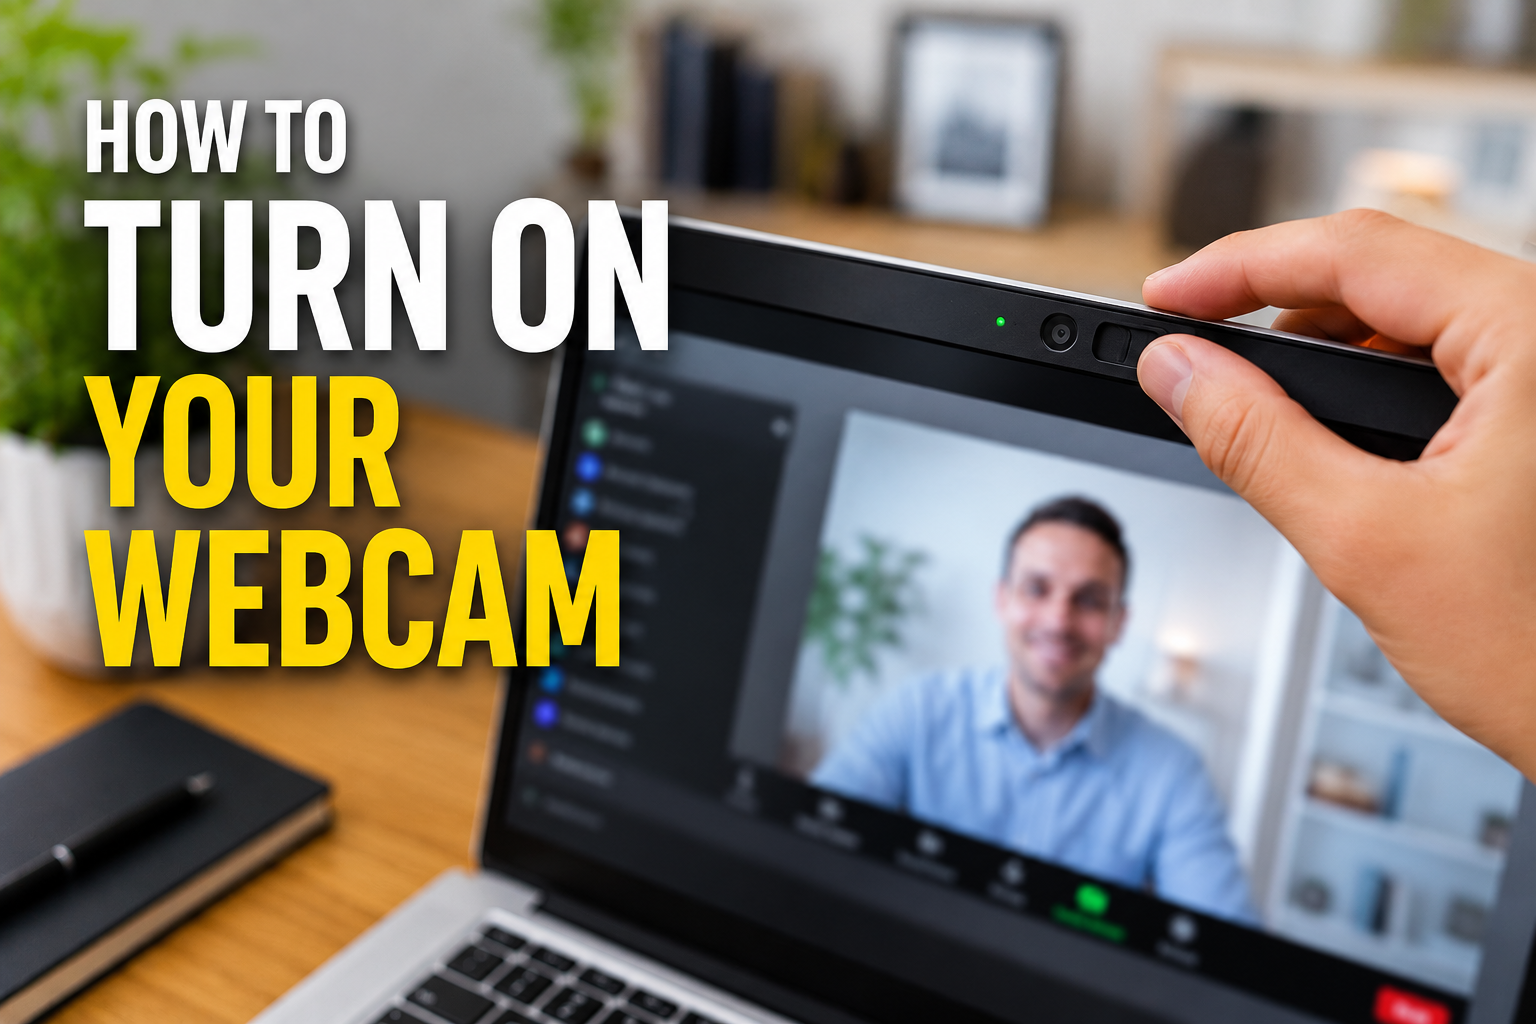
Turning on your webcam on a laptop usually involves checking physical privacy settings, adjusting system-wide camera access permissions, and ensuring individual applications have permission to use the camera. Most modern laptops integrate webcams directly above the screen, and while convenient, they often come with privacy features that can disable them. Understanding these settings is key to getting your camera working when you need it.
In today’s interconnected world, a functional webcam is no longer a luxury but a necessity for work, education, and staying connected with loved ones. Whether you’re jumping on a video conference for a critical business meeting, attending an online class, or simply catching up with friends, a clear and reliable video feed makes all the difference. This comprehensive guide will walk you through the practical steps to activate and troubleshoot your laptop’s webcam, ensuring you’re always ready for your next virtual interaction.
Understanding Why Your Webcam Might Be Off
Several factors can prevent your laptop’s webcam from turning on, ranging from simple physical obstructions to complex software conflicts. Identifying the root cause is the first step toward a quick resolution. Common reasons include physical privacy features, incorrect operating system settings, outdated drivers, or conflicts with other applications.
Many modern laptops prioritize user privacy, leading to the inclusion of physical switches or digital controls that can inadvertently disable the camera. Understanding these mechanisms is crucial before diving into software troubleshooting. Additionally, software-related issues, such as restrictive permissions or outdated drivers, can easily be overlooked but often contribute to a non-functional webcam.
Physical Privacy Features
Manufacturers are increasingly adding physical privacy controls to laptops. These features offer a robust layer of security by literally blocking or disconnecting the camera.
- Webcam Privacy Shutter: Many laptops have a small, sliding cover directly over the webcam lens. This physical shutter blocks the camera’s view. Simply slide it open to reveal the lens.
- Webcam Kill Switch: Some laptop models feature a dedicated physical switch on the side of the laptop or near the camera itself. This switch physically cuts power to the webcam, making it undetectable by the operating system.
- Keyboard Function Keys: Look for a key on your keyboard’s function row (F1-F12) with a camera icon, often with a slash through it. Pressing this key, sometimes in combination with the Fn key, can toggle the webcam on or off.
Software and System Settings
Beyond physical controls, operating system settings play a significant role in webcam functionality. Both Windows and macOS have comprehensive privacy controls that dictate which applications can access your camera. These settings are designed to protect your privacy but can sometimes prevent legitimate applications from using the webcam.
- Operating System Privacy Settings: Windows and macOS have system-wide privacy settings that control camera access for all applications. If these are disabled, no app can use your webcam.
- App-Specific Permissions: Even if system-wide access is enabled, individual applications may require explicit permission to use your camera. This is a common security measure for apps like Zoom, Microsoft Teams, or Google Meet.
- Outdated or Corrupt Drivers: The webcam relies on software drivers to communicate with your operating system. Outdated, corrupt, or missing drivers can lead to the camera not being detected or functioning incorrectly.
- Antivirus or Firewall Software: Security software can sometimes be overly aggressive, blocking legitimate webcam access to prevent unauthorized use.
- Conflicting Applications: If another application is already using the webcam in the background, it might prevent other apps from accessing it, leading to an error.
How to Turn On Your Webcam in Windows Laptops
For Windows users, enabling your webcam typically involves a few key areas: checking physical switches, adjusting privacy settings, verifying device manager status, and ensuring drivers are up-to-date. These steps apply to both Windows 10 and Windows 11.
Step 1: Check Physical Switches and Privacy Shutters
Before diving into software, always perform a quick physical check. Many laptops, including models from HP and Lenovo, feature physical mechanisms to disable the webcam.
- Locate the Privacy Shutter: Look for a small slider directly above the camera lens. Slide it to the open position to uncover the lens.
- Find the Webcam Kill Switch: Inspect the sides of your laptop for a small toggle switch, often marked with a camera icon. Ensure it is in the “on” position.
- Use Function Keys: On your keyboard, press the function key (e.g., F1-F12) that has a camera icon, sometimes with a line or slash through it. You might need to press the Fn key simultaneously.
Step 2: Adjust Windows Privacy Settings
Windows has robust privacy controls for your camera. These settings determine whether applications can access your webcam at all.
For Windows 11:
- Open Settings by pressing
Windows key + I. - In the left sidebar, select Privacy & security.
- Under “App permissions,” click on Camera.
- Ensure that “Camera access” is toggled On. This allows individual users to choose camera access.
- Also, ensure that “Let apps access your camera” is toggled On to allow Microsoft Store apps to use it.
- Scroll down to the list of specific apps and toggle camera access On for the applications you want to use (e.g., Zoom, Microsoft Teams).
- For desktop apps (like web browsers or older video-calling apps not from the Microsoft Store), ensure “Let desktop apps access your camera” is also toggled On.
For Windows 10:
- Open Settings by pressing
Windows key + Ior clicking the Start menu and selecting the gear icon. - Click on Privacy.
- In the left-hand menu, select Camera under “App permissions.”
- Ensure “Camera access for this device” is enabled. If it’s off, click Change and toggle it On.
- Toggle “Allow apps to access your camera” to On.
- Scroll down and enable camera access for specific apps you intend to use.
- For desktop apps, ensure “Allow desktop apps to access your camera” is toggled On.
Step 3: Check Device Manager and Update Drivers
The Device Manager is where Windows lists all connected hardware, including your webcam. If the camera isn’t showing up or has an error, it often points to a driver issue.
- Right-click the Start button (or press
Windows key + X) and select Device Manager. - Expand the “Cameras” or “Imaging devices” section.
- Look for your webcam (e.g., “Integrated Camera” or “USB Video Device”).
- If you see a yellow exclamation mark next to it, the driver has an issue. Right-click on your webcam and select “Update driver.” Then choose “Search automatically for drivers.”
- If the camera is listed but appears disabled (e.g., with a down arrow icon), right-click it and select “Enable device.”
- If updating doesn’t work, try right-clicking the camera, selecting “Uninstall device,” and then restarting your computer. Windows will often reinstall the driver automatically upon reboot.
Step 4: Test Your Camera with the Camera App
Windows includes a built-in Camera app, which is the easiest way to test if your webcam is functioning correctly after making changes.
- Press
Windows key + S, type “Camera,” and open the Camera app from the search results. - If your webcam is working, you should see a live video feed of yourself.
- If the camera works here but not in other applications, the issue likely lies with the specific application’s settings rather than the camera itself.
How to Turn On Your Webcam in macOS Laptops
macOS also implements strong privacy measures for webcam access. Enabling your webcam on a MacBook or other Apple laptop primarily involves checking application permissions in System Settings.
Step 1: Check for Physical Covers or Indicators
Similar to Windows laptops, some Mac accessories or third-party covers might block your camera. Always start with a physical check.
- Check for Camera Covers: Ensure no physical covers or stickers are obstructing the webcam lens.
- Observe the Indicator Light: Most Mac webcams have a small green LED indicator light that illuminates when the camera is active. If you expect the camera to be on but don’t see the light, it’s not active.
Step 2: Adjust macOS System Settings for Camera Permissions
macOS strictly controls which applications can access your camera. You need to grant explicit permission for each app you want to use with your webcam.
- Click the Apple menu in the top-left corner of your screen and select System Settings (or System Preferences on older macOS versions).
- Scroll down and click on Privacy & Security.
- In the right-hand pane, scroll down and click on Camera.
- You will see a list of applications that have requested camera access. Ensure the checkbox next to the applications you want to use with your webcam is checked (e.g., FaceTime, Zoom, Photo Booth).
- If an app isn’t listed, it means it hasn’t requested access yet. Try opening the app and initiating a video call; it should prompt you for permission.
Step 3: Test Your Camera with a Built-in App
Use a native macOS app to confirm your webcam is functional after adjusting settings.
- Open FaceTime or Photo Booth from your Applications folder.
- If your camera is working correctly, you should see your live video feed.
Troubleshooting Common Webcam Issues
Even after following the basic activation steps, you might encounter issues. Webcam problems can be frustrating, but many are easily resolved with targeted troubleshooting. Knowing how to diagnose these issues quickly can save you time and hassle.
The Camera App Shows “We Can’t Find Your Camera” or “No Input Device Detected”
This error message often indicates that your operating system isn’t detecting the webcam hardware. This can stem from driver issues, a physically disabled camera, or even a hardware malfunction.
- Restart Your Laptop: A simple reboot can often resolve temporary glitches and reinitialize hardware.
- Check Device Manager (Windows): Revisit the Device Manager. If the camera is missing from “Cameras” or “Imaging devices,” or if it has an error icon, try updating or reinstalling the driver. If it’s completely absent, it might be a hardware issue.
- Check BIOS/UEFI Settings (Windows): Some laptops allow you to disable the integrated camera at the hardware level through the BIOS/UEFI settings. Restart your computer and press the designated key (often F2, F10, Del, or Esc) to enter BIOS. Look for an option related to “Integrated Peripherals” or “Security” and ensure the camera is enabled.
- Run the Camera Troubleshooter (Windows): Windows 10 and 11 have built-in troubleshooters that can automatically detect and fix common camera problems. Go to Settings > System > Troubleshoot > Other troubleshooters, then run the Camera troubleshooter.
Webcam Works in One App, Not Another
If your webcam functions perfectly in one application (like the built-in Camera app) but fails in another (like Zoom or a browser), it’s almost always a permission issue with the specific application.
- Review App Permissions: Go to your operating system’s privacy settings (Windows: Settings > Privacy & security > Camera; macOS: System Settings > Privacy & Security > Camera) and ensure the problematic application has explicit permission to use the camera.
- Check In-App Settings: Many video conferencing or streaming applications have their own internal camera settings. Open the app’s settings (often under “Audio & Video” or “Devices”) and ensure the correct webcam is selected.
- Close Competing Applications: Make sure no other applications are using the webcam in the background, as some apps can monopolize camera access. Check Task Manager (Windows) for background processes.
Poor Image Quality or Freezing Video
If your webcam is working but the video is blurry, grainy, dark, or frequently freezing, it’s often related to lighting, software updates, or minor glitches.
- Improve Lighting: Ensure you have adequate lighting in your environment. Good front lighting can dramatically improve image quality.
- Update Drivers and OS: Ensure your camera drivers and operating system are fully updated. These updates often include performance improvements and bug fixes.
- Check for Software Conflicts: Temporarily disable any third-party camera enhancement software or even antivirus programs to see if they are interfering.
- Adjust Camera Settings (if available): Some camera apps or drivers allow you to adjust brightness, contrast, and white balance. Check your laptop manufacturer’s camera software or the Windows Camera settings (Settings > Bluetooth & devices > Cameras > Select your camera) for these options.
Optimizing Your Webcam Experience
Once your webcam is successfully activated, there are steps you can take to enhance your video quality and overall experience. From ensuring proper lighting to selecting the right webcam for your needs, optimization can make a significant difference.
Tips for Better Video Quality
Achieving a professional and clear image doesn’t always require expensive equipment. Simple adjustments can often yield impressive results.
- Lighting is Key: Position yourself facing a light source (like a window or a lamp) rather than having it behind you. This prevents backlighting and silhouettes.
- Clean the Lens: A smudged lens can drastically reduce image clarity. Gently wipe your webcam lens with a microfiber cloth.
- Stable Environment: Ensure your laptop is on a stable surface to prevent shaky video.
- Proper Background: Choose a clean, uncluttered background that is well-lit and free of distractions.
- Internet Connection: A stable and fast internet connection is crucial for smooth video streaming, especially in high resolution.
Internal vs. External Webcams: When to Upgrade
While built-in laptop webcams offer convenience, external webcams often provide superior performance and flexibility. This is especially true if you frequently participate in video calls or create content.
| Feature | Built-in Webcam | External Webcam |
|---|---|---|
| Image Quality | Typically 720p, often grainy in low light. | Often 1080p, 4K, with better sensors and low-light performance. |
| Flexibility/Angles | Fixed angle, limited by laptop screen position. | Adjustable angles, can be positioned independently. |
| Features | Basic; lacks advanced features like autofocus, digital zoom. | Advanced features like autofocus, noise cancellation, adjustable field of view, better mics. |
| Portability | Integrated, always with the laptop. | Separate device, requires carrying, but often compact. |
| Privacy Control | Relies on physical shutters/switches or software settings. | Can be physically unplugged for absolute privacy. |
| Cost | Included with laptop. | Additional purchase, varying price points. |
An external webcam is a worthwhile investment for anyone seeking higher resolution, improved low-light performance, and more control over their video output. “Most webcams in laptops are an afterthought,” notes a Reddit user, highlighting that they are often 720p 20fps sensors with poor lenses. External models allow for better positioning and often include superior software for fine-tuning.
Webcam Security and Privacy Considerations
The convenience of a webcam also comes with inherent privacy and security risks. It’s crucial to adopt best practices to prevent unauthorized access and protect your personal space. Being proactive about webcam security is a vital part of digital hygiene.
Protecting Yourself from Unauthorized Access
Cybersecurity expert Justin Jaffe emphasizes the importance of physical solutions: “If webcam privacy is important to you, be sure you buy a laptop with a shutter that physically blocks the webcam or a switch that disconnects it.” While software settings help, physical barriers offer the most reliable protection.
- Use Physical Covers: Employ a physical webcam cover or slide the built-in privacy shutter when not in use. This provides an undeniable barrier against potential spying.
- Utilize Kill Switches: If your laptop has a physical webcam kill switch, use it when you don’t need the camera. This completely cuts power to the device, making it inaccessible to software.
- Regularly Review Permissions: Periodically check your operating system’s camera privacy settings to ensure only trusted applications have access. Revoke permissions for any apps you don’t recognize or no longer use.
- Keep Software Updated: Ensure your operating system, web browser, and all applications are up to date. Software updates often include security patches that fix vulnerabilities hackers could exploit.
- Use Strong Antivirus Software: A reputable antivirus program can help detect and block malware that attempts to access your webcam without your permission.
- Be Wary of Suspicious Links: Avoid clicking on suspicious links or downloading attachments from unknown sources, as these can be vectors for malware designed to compromise your camera.
FAQ: Common Webcam Questions
How do I know if my laptop has a built-in webcam?
Most modern laptops come with a built-in webcam located at the top center of the screen bezel. Look for a small lens, often accompanied by a tiny LED indicator light.
Can I turn on my laptop camera using a keyboard shortcut?
Yes, many laptops have a function key (often F1-F12) with a camera icon that, when pressed alone or with the Fn key, can toggle the webcam on or off.
What does it mean if the webcam indicator light is on, but I don’t see an image?
If the indicator light is on but there’s no image, it often suggests a software issue, such as an application conflict, incorrect app settings, or a driver problem, rather than a physical hardware failure. Check your app’s internal settings and driver status.
How do I change the default webcam if I have an external one?
In most video conferencing applications (like Zoom, Teams, Skype, Google Meet), you can select your preferred camera from within the application’s video or device settings. In Windows, you can also manage cameras via Settings > Bluetooth & devices > Cameras.
Why is my webcam not working after a Windows update?
Windows updates can sometimes reset privacy settings or cause driver incompatibilities. Recheck your camera privacy settings, update your webcam drivers, and run the built-in camera troubleshooter after a major update.
Conclusion
Mastering your laptop’s webcam doesn’t have to be a daunting task. By systematically checking physical controls, navigating operating system privacy settings, and keeping your drivers updated, you can confidently turn on your webcam and resolve most common issues. The key is to approach the problem methodically, starting with the simplest solutions and moving to more complex software or driver checks. With a functional and optimized webcam, you’re empowered to fully engage in today’s visual communication landscape, ensuring you’re always seen and heard clearly.