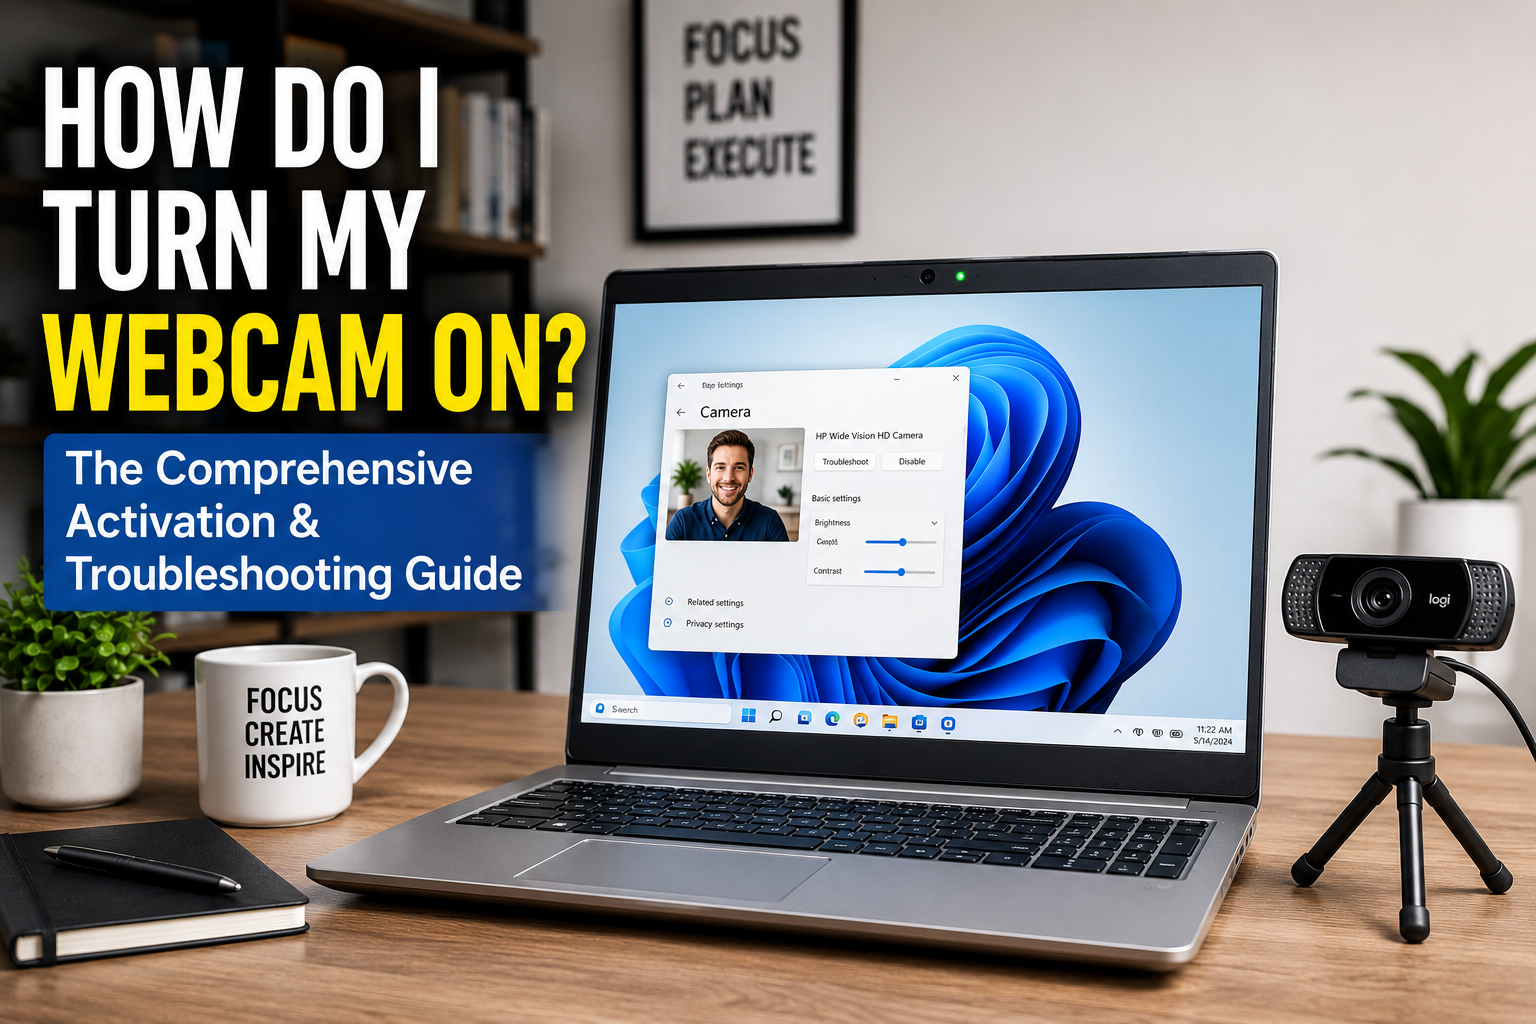
Turning on your webcam typically involves a few key steps: first, ensure any physical privacy shutters or kill switches are disengaged, then verify that operating system privacy settings grant camera access, and finally, select your webcam within the specific application you wish to use. In 2026, webcams are more integral than ever for remote work, virtual classrooms, streaming, and staying connected with loved ones, making a non-functional camera a source of genuine frustration.
A smoothly operating webcam ensures seamless communication and content creation in our increasingly digital world. The webcam market is experiencing rapid growth, projected to reach $12.5 billion in 2026, highlighting our collective reliance on these essential devices. Understanding how to activate and troubleshoot your camera empowers you to participate fully in online interactions, from crucial business meetings to engaging live streams.
Understanding Your Webcam: Internal vs. External
Before diving into activation steps, it is important to understand the type of webcam you are using. Webcams fall into two main categories: internal (integrated) and external (USB).
Internal Webcams (Integrated)
Internal webcams are built directly into devices like laptops, all-in-one desktop computers, and some monitors. These cameras are often located at the top center of your screen bezel.
They are convenient because they require no additional setup beyond ensuring software access. A small LED light usually illuminates next to the lens when the camera is active, providing a visual privacy cue.
External Webcams (USB)
External webcams are standalone devices that connect to your computer, typically via a USB port. These offer greater flexibility in placement and often provide superior video quality compared to integrated cameras.
Setting up an external webcam usually involves plugging it into an available USB port. Your operating system generally installs the necessary drivers automatically.
| Feature | Internal Webcams | External Webcams |
|---|---|---|
| Integration | Built into device (laptops, all-in-ones) | Separate hardware, connects via USB |
| Portability | Highly portable with the device | Less portable, requires connection |
| Video Quality | Often basic, sufficient for common tasks | Typically higher resolution and better optics |
| Flexibility | Fixed position | Adjustable placement, ideal for specific angles |
| Setup | Software activation mostly | Plug-and-play, software activation |
Activating Your Webcam on Windows 11
Windows 11 provides robust controls for webcam access, prioritizing user privacy and security. Follow these steps to ensure your camera is ready for use.
Checking Physical Controls
Many laptops include a physical privacy shutter or a kill switch to disable the webcam at a hardware level. This is a crucial first check if your camera is not working.
Look for a small slider directly over the webcam lens or a dedicated key on your keyboard (often a function key with a camera icon). Ensure any such switch is in the “on” or “open” position.
Windows Settings: Privacy & Security
Windows 11 centralizes camera permissions in its Settings application. This is often the primary reason a webcam isn’t working.
- Open Settings: Click the Start button (Windows icon) and select “Settings” (gear icon), or press
Windows key + I. - Navigate to Camera Settings: In the left sidebar, click “Privacy & security.” Then, in the right pane, scroll down to “App permissions” and select “Camera.”
- Enable Camera Access: Ensure the “Camera access” toggle is set to On. This grants the system permission to use any camera connected to your device.
- Allow Apps to Access Your Camera: Below “Camera access,” verify that “Let apps access your camera” is also toggled On. This enables individual applications to request camera access.
- Specific App Permissions: Scroll down further to “Choose which apps can access your camera.” Here, you can individually toggle access for Microsoft Store apps like the built-in Camera app. Make sure the specific application you intend to use has its toggle set to On.
- Desktop App Access: For non-Microsoft Store applications, such as Zoom, Microsoft Teams, or web browsers (Chrome, Edge), you need to ensure “Let desktop apps access your camera” is set to On. These applications cannot be individually controlled like Store apps.
“Many users overlook privacy settings, especially after a system update,” says cybersecurity expert Dr. Evelyn Reed. “These settings are the most common hurdle to a functional webcam, designed to give you granular control over who or what can see you.”
Enabling in Device Manager
If your webcam is not detected or showing an error, the Device Manager can help. This tool manages all hardware connected to your computer.
- Open Device Manager: Right-click the Start button and select “Device Manager” from the list, or search for “Device Manager” in the Start menu.
- Locate Your Webcam: Expand the “Cameras” or “Imaging devices” category. Your webcam should be listed here, often by its manufacturer name (e.g., “HP Webcam” or “Integrated Webcam”).
- Enable Device: If you see a downward-pointing arrow icon next to your webcam, it means the device is disabled. Right-click it and select “Enable device.”
- Update Driver: If the webcam is enabled but not working, right-click it and select “Update driver.” Choose “Search automatically for drivers” first. If that doesn’t work, select “Browse my computer for drivers,” then “Let me pick from a list of available drivers on my computer,” and try “USB Video Device.”
Using the Camera App
Windows 11 includes a native Camera app for quick testing. Open the Start menu, type “Camera,” and click the app icon. If your camera functions here, the issue is likely with the specific application you’re trying to use.
Troubleshooting Common Issues on Windows
Even after checking basic settings, you might encounter issues. Here are common solutions:
- Restart Your Computer: This simple step resolves approximately 60% of webcam issues by clearing temporary software conflicts and resetting drivers.
- Check Physical Connections: For external webcams, ensure the USB cable is securely plugged into a working USB port. Try a different USB port or even a different computer if available.
- Close Conflicting Applications: Only one application can typically use the webcam at a time. Close any other apps that might be accessing your camera (e.g., Zoom, Teams, Photo Booth).
- Antivirus or Firewall Interference: Your security software might be blocking webcam access. Check your antivirus settings to ensure the application you’re using or the webcam itself is not restricted. You might need to “whitelist” your webcam.
- Rollback or Reinstall Drivers: If a recent driver update caused issues, you can try rolling back the driver in Device Manager. If all else fails, uninstall the webcam driver, restart your computer, and Windows will attempt to reinstall it automatically.
Activating Your Webcam on macOS
Mac users also have privacy controls to manage webcam access. Most Macs feature an integrated camera, often called a FaceTime camera.
Checking Physical Controls
Unlike some Windows laptops, Macs generally do not have physical kill switches for their built-in cameras. However, some users opt for physical webcam covers for enhanced privacy. Ensure any such cover is open or removed when you want to use your camera.
System Settings: Privacy & Security
macOS carefully manages which applications can access sensitive hardware like your camera.
- Open System Settings: Click the Apple menu () in the top-left corner of your screen, then select “System Settings.”
- Navigate to Camera Settings: In the sidebar, click “Privacy & Security.” Then, scroll down and click “Camera.”
- Grant App Permissions: You will see a list of applications that have requested or been granted camera access. Toggle the checkbox next to the application you wish to use (e.g., Zoom, FaceTime, Photo Booth) to enable its access to the camera.
Note: Apple’s built-in apps like FaceTime and Photo Booth usually have camera access by default.
Using Photo Booth or FaceTime
To quickly test your Mac’s camera, open the Photo Booth or FaceTime application. The camera should automatically activate, and a green indicator light will illuminate next to the lens. This light confirms your camera is on and functioning.
Troubleshooting Common Issues on macOS
If your Mac webcam isn’t working, consider these solutions:
- Only One App at a Time: Ensure no other application is currently using the camera. Mac cameras are often exclusive, meaning only one app can access them simultaneously.
- Restart the Application: Close and reopen the application that is trying to use the camera.
- Restart Your Mac: A full system restart can resolve underlying software glitches affecting camera functionality.
- Check for macOS Updates: Ensure your macOS is up to date, as updates often include bug fixes and improved hardware compatibility.
Continuity Camera (iPhone as Webcam)
For users with an iPhone (iPhone 8 or later running iOS 16.1 or higher) and a Mac (running macOS Ventura or later), Apple offers Continuity Camera. This feature allows you to use your iPhone’s high-quality cameras as your Mac’s webcam.
To enable it, ensure both devices have Bluetooth and Wi-Fi on, are on the same Wi-Fi network, and are signed into the same Apple ID. Then, simply select your iPhone as the camera source in your video application on your Mac.
Activating Your Webcam on ChromeOS
Chromebooks are popular for their simplicity, and turning on the webcam follows a similar straightforward approach.
Accessing the Camera App
The easiest way to activate and test your Chromebook’s camera is through the built-in Camera app. Click the Launcher (circle icon usually in the bottom-left), find and click the “Camera” app. This should automatically turn on your webcam.
Permissions and Settings
ChromeOS also manages camera permissions to protect your privacy.
- System Settings for Camera Access: Click on the time in the bottom-right corner, then click the “Settings” gear icon. Go to “Privacy and security,” then “Site settings.” Under the “Permissions” section, find “Camera.”
- Enable Camera: Ensure that “Camera access” is turned On. Also, verify that the correct camera is selected if you have multiple options (e.g., built-in vs. external USB webcam).
- Browser Permissions: When using a webcam for a website (like Google Meet or a social media site), the browser will typically ask for permission. Always click “Allow” when prompted by a trusted site. You can manage these permissions directly in Chrome browser settings under “Privacy and security” > “Site settings” > “Camera.”
Physical Webcam Controls and Indicators
Physical controls and visual indicators are essential features for webcam privacy and usability. They offer tangible assurances that your camera is off when not in use.
Privacy Shutters
A privacy shutter is a small, physical cover that slides over your webcam lens. Many newer laptops come with integrated shutters. For older devices or external webcams, adhesive shutters are widely available.
These shutters provide a definitive visual and physical block, ensuring no accidental or unauthorized viewing. Cybersecurity experts often recommend them as a basic security measure.
Physical Kill Switches
Less common but increasingly appearing on certain laptops and some external webcams, a physical kill switch completely disconnects power to the webcam. This is a hardware-level safeguard, offering maximum privacy.
When the kill switch is engaged, the operating system and applications cannot detect or activate the camera. Look for a small switch on the side of your laptop or on the body of an external webcam.
LED Indicators
Most webcams feature a small LED indicator light, typically green or white, situated next to the camera lens. This light illuminates when the camera is actively in use by an application.
The LED is a critical privacy feature, signaling when your camera is on. If this light is on unexpectedly, it suggests an application might be accessing your camera without your explicit knowledge, prompting you to investigate.
Optimizing Your Webcam Experience
Beyond simply turning your webcam on, optimizing its setup and settings can significantly enhance your video quality and overall online presence. The global webcam market size is expected to reach $18.56 billion by 2034, driven by advancements like 4K resolution and AI-enabled features, underscoring the importance of a high-quality video experience.
Lighting Tips
Proper lighting is perhaps the most impactful factor in good webcam video quality.
- Front Lighting is Key: Position a light source (a window, a desk lamp, or a ring light) in front of you, directly facing your face. This illuminates your features evenly, reducing harsh shadows.
- Avoid Backlighting: Do not sit with a bright window or strong light directly behind you. This creates a silhouette effect, making you appear dark and indistinguishable.
- Soft, Diffused Light: Soft lighting is more flattering than harsh, direct light. Use diffusers or position lights slightly off-center to reduce intensity.
Background Considerations
Your background influences your professionalism and how others perceive you during a video call.
- Keep it Tidy: A clean, uncluttered background minimizes distractions and presents a professional image.
- Consider a Simple Backdrop: A plain wall or a bookshelf with a few organized items works well.
- Virtual Backgrounds: Many video conferencing apps offer virtual background features. Ensure your lighting is good for these to work effectively, as poor lighting can lead to fuzzy outlines.
Software Settings for Quality
Most operating systems and webcam software allow you to adjust image parameters. These settings are crucial for fine-tuning your appearance.
- Brightness and Contrast: Adjust these to ensure your face is well-exposed and details are clear, not washed out or too dark.
- White Balance: Corrects color temperature, making sure your skin tones look natural and not too warm (yellow/orange) or too cool (blue).
- Resolution and Frame Rate: Higher resolutions (like 1080p or 4K) and frame rates (30fps or 60fps) offer sharper, smoother video, but require more bandwidth. Adjust these based on your internet connection and application needs.
“In the hybrid work era, your webcam presence is your digital handshake,” notes Dr. Anya Sharma, a communication consultant. “Investing a few minutes in optimizing your lighting and background can dramatically improve how you’re perceived, fostering clearer communication and stronger connections.” The shift toward intelligent auto-framing and AI meeting assistants further underscores the demand for professional-grade webcam features in 2026.
Frequently Asked Questions About Webcams
Why isn’t my webcam showing up in Device Manager?
If your webcam is missing from Device Manager, it could be physically disconnected, disabled by a hardware switch, or have a severe driver issue. Try plugging it into a different USB port, check for physical switches on your device, and then try scanning for hardware changes in Device Manager.
Can I use my phone as a webcam?
Yes, both iPhones and Android phones can be used as webcams. iPhones leverage Apple’s Continuity Camera feature with macOS Ventura or newer. Android users can utilize third-party apps like DroidCam or Camo to turn their phone into a wireless or wired webcam for Windows, macOS, or Linux.
How do I improve my webcam’s video quality?
Improve video quality by optimizing your lighting, ensuring a clean background, and adjusting software settings like brightness, contrast, and white balance. Consider upgrading to an external webcam with better optics for significantly enhanced quality.
What is a webcam privacy shutter?
A webcam privacy shutter is a physical cover, either built-in or an add-on, that slides over the camera lens. It physically blocks the camera’s view, providing a robust and undeniable layer of privacy protection against unauthorized access.
Why does my webcam sometimes turn off unexpectedly?
Unexpected webcam shutdowns can stem from various causes, including software conflicts, outdated drivers, power management settings, or issues with the application itself. Check for conflicting apps, update your drivers, and ensure your power settings aren’t set to turn off USB devices to save power.
Turning On Your Webcam: A Seamless Connection
Mastering how to turn on your webcam and resolve common issues is an essential skill in today’s interconnected world. Whether you rely on an integrated camera or an external USB model, the fundamental steps involve checking physical controls, managing operating system privacy settings, and configuring specific application permissions.
By understanding these processes and implementing basic troubleshooting techniques, you can ensure your camera is always ready for your next video call, stream, or content creation session. The growing webcam market, valued at $12.5 billion in 2026, reflects our deepening reliance on these devices for everything from remote work to personal communication. Staying connected and visible has never been more straightforward.