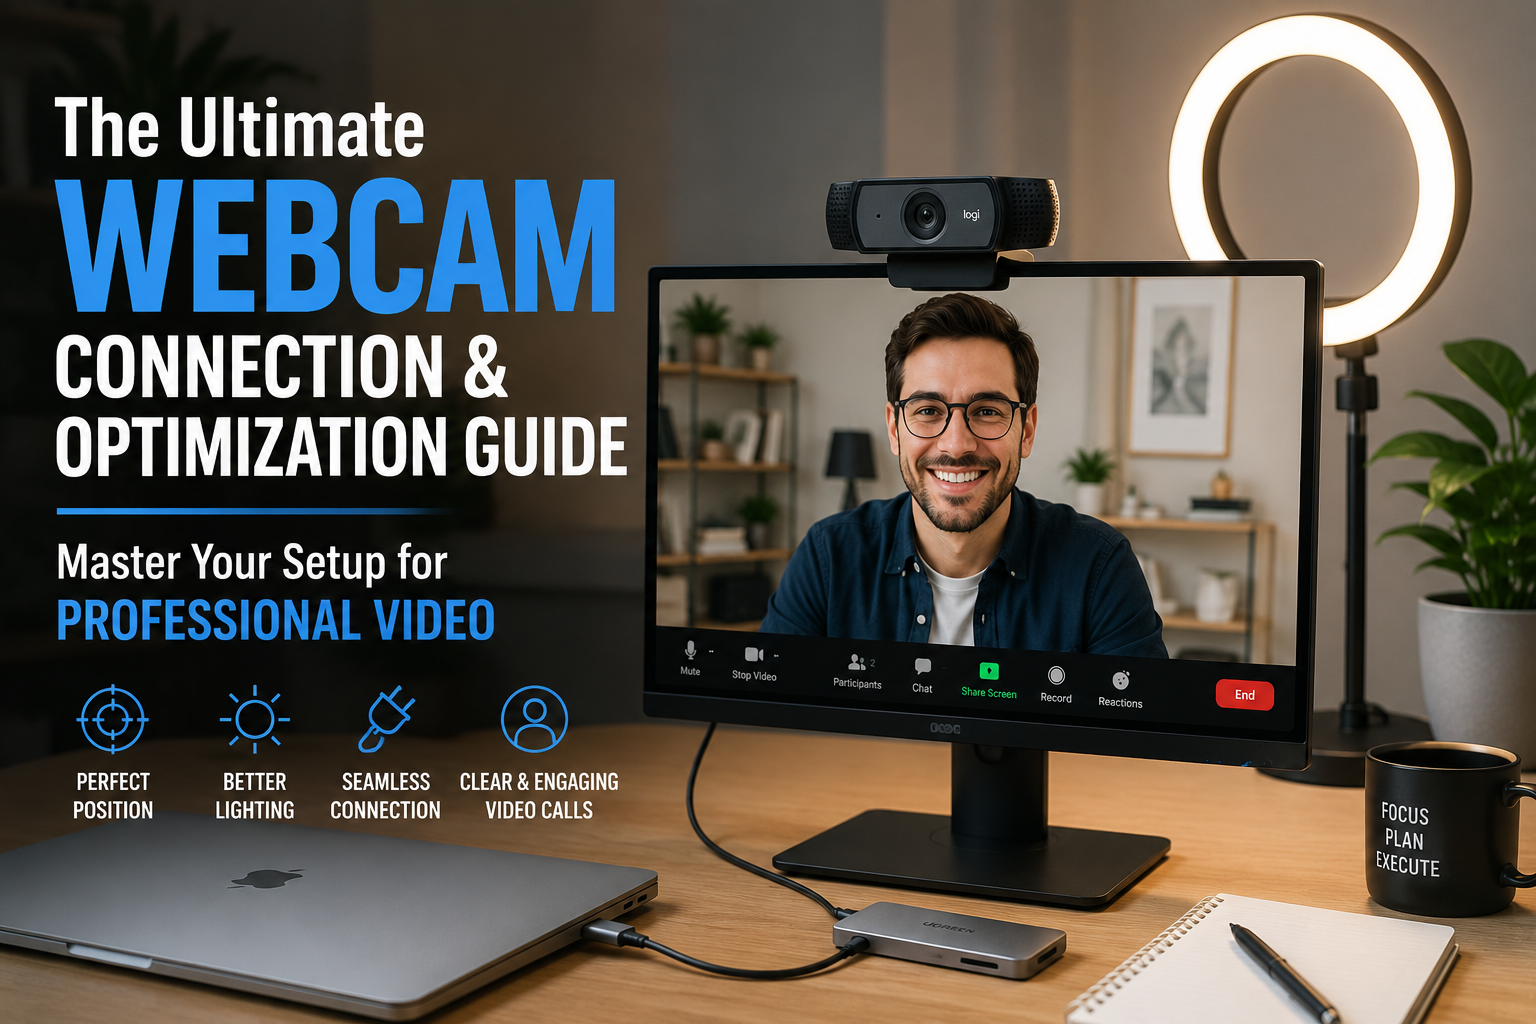
Connecting a webcam to your computer is generally a straightforward process. For most modern external webcams, you simply plug the USB cable into an available USB port on your desktop or laptop, and your operating system will automatically recognize the device and install the necessary drivers. Once connected, you may need to select the webcam as your preferred video input in the application you intend to use, such as a video conferencing platform or streaming software.
In today’s digital landscape, a reliable webcam is more than just a peripheral; it’s a window to virtual connections. Whether you are collaborating with colleagues, catching up with family, or creating content, optimizing your webcam setup ensures a clear and engaging experience. This guide will walk you through everything from understanding different webcam types to troubleshooting common issues, empowering you to achieve seamless video communication.
Understanding Webcam Types and Connection Methods
Before you connect, it is helpful to understand the main types of webcams and how they typically interface with your computer. This knowledge helps you choose the right device and anticipate the connection process. Each type offers distinct advantages and may require different setup approaches.
Wired Webcams: The USB Standard
Most external webcams connect to your computer via a USB cable. This connection type provides a stable and reliable data transfer for video and audio. Modern webcams are often designed for plug-and-play functionality, meaning they work instantly without extensive manual setup.
You will typically find two common USB connector types: USB-A and USB-C. USB-A is the rectangular port found on most older computers and many peripherals. USB-C is smaller, reversible, and commonly found on newer laptops and devices, often supporting faster data transfer. If your webcam has a USB-A connector and your computer only has USB-C ports, you may need an adapter.
Wireless Webcams: Freedom from Cables
Wireless webcams offer greater flexibility in placement by eliminating the need for a physical data cable to the computer. These devices typically connect using either Wi-Fi or Bluetooth technology.
- Wi-Fi Webcams: These cameras often connect directly to your home network, allowing for remote monitoring and integration with smart home systems. Setting them up usually involves a dedicated mobile app for network configuration.
- Bluetooth Webcams: Bluetooth models connect directly to your computer over a short-range wireless connection. This is less common for high-resolution streaming webcams due to bandwidth limitations, but it is suitable for basic video calls.
The primary benefit of wireless webcams is placement flexibility, allowing you to position the camera independently of your computer’s physical location. This can be particularly useful for capturing wider angles or specific views. However, they may require a separate power source and a strong, stable wireless signal.
Preparing for Connection: Before You Plug It In
A little preparation can make the webcam connection process smoother and help avoid common hiccups. Taking these steps ensures your system is ready for the new hardware.
Checking System Compatibility
Most modern webcams are compatible with current operating systems like Windows 10/11 and macOS. However, it is always a good idea to quickly check the webcam’s packaging or manufacturer’s website for specific system requirements. This ensures your computer meets the minimum specifications for optimal performance.
Gathering Necessary Equipment
For a wired webcam, you will need the webcam itself, its USB cable, and an available USB port on your computer. If your computer has different USB port types than your webcam cable (e.g., USB-C on the computer and USB-A on the webcam), have an appropriate adapter ready. For wireless webcams, ensure they are charged or have their power adapter, and have your Wi-Fi network name and password handy if it’s a Wi-Fi model.
Driver Installation: The Software Side
Many contemporary webcams are UVC (USB Video Class) compliant, meaning they use a universal standard that allows operating systems like Windows and macOS to recognize them automatically without manual driver installation. This is often referred to as “plug-and-play.”
However, some webcams, especially high-end models or specialized cameras, may require specific drivers or software from the manufacturer. If your webcam does not work immediately, visit the manufacturer’s official support website, locate your webcam model, and download the latest drivers or accompanying software. Install any provided software before plugging in the webcam, and restart your computer if prompted.
Step-by-Step: Connecting a Wired USB Webcam
Connecting a wired USB webcam is typically a quick process. The exact steps for configuring settings may vary slightly between operating systems.
For Windows Users
Windows operating systems, particularly Windows 10 and 11, generally handle webcam connections with ease.
Physical Connection: Locate an available USB port on your computer. This can be on the front or back of a desktop tower, or on the side of a laptop. Plug the webcam’s USB cable firmly into the port.
Driver Recognition: Your Windows operating system should automatically detect the new hardware and attempt to install the necessary drivers. You might see a “Device setup completed” notification.
Verify and Configure Camera Settings:
Open the Start menu and type “Camera” to launch the built-in Camera app. This should display a live feed from your webcam.
To manage settings, go to Start > Settings > Bluetooth & devices > Cameras. Here, you can select your connected webcam to adjust webcam settings.
Crucially, check Privacy & security > Camera settings. Ensure “Camera access” is turned on and that specific applications have permission to use your webcam.
If your webcam includes a microphone, configure its settings in Settings > System > Sound, under the “Input” section. Select your webcam’s microphone and adjust its level.
Testing: Launch your preferred video conferencing or streaming application (e.g., Zoom, Microsoft Teams, Skype). In the application’s settings, find the video or camera input options and select your external webcam. Confirm that your video feed and audio are working correctly.
For macOS Users
Mac computers are also designed for easy integration with most USB webcams, often requiring minimal setup.
Physical Connection: Plug the webcam’s USB cable into an available USB port on your Mac. If your Mac uses USB-C ports exclusively, you may need a USB-A to USB-C adapter or a USB-C compatible webcam.
Driver Recognition: macOS will typically recognize the webcam automatically. Most UVC (USB Video Class) compliant webcams work immediately.
Privacy Settings: macOS prioritizes privacy. You will need to grant applications permission to access your camera.
Go to Apple menu > System Settings (or System Preferences on older macOS versions).
Click on Security & Privacy (or Privacy).
Select Camera in the left sidebar. Ensure the checkbox next to the applications you want to use with your webcam (e.g., FaceTime, Photo Booth, Zoom) is enabled.
Testing: Open an application that uses a camera, such as Photo Booth or FaceTime. In FaceTime, click “Video” in the menu bar and choose your external webcam. In Photo Booth, click “Camera” in the menu bar and select your external webcam. For third-party apps, navigate to their video or camera settings and choose your external camera from the list of available devices.
Step-by-Step: Setting Up a Wireless Webcam
Wireless webcam setup differs from wired connections, relying on network protocols for communication.
Bluetooth Webcams
Connecting a Bluetooth webcam involves pairing the device with your computer.
Activate Pairing Mode: Turn on your Bluetooth webcam and put it into pairing mode. Refer to the webcam’s manual for specific instructions, as this usually involves holding a button until an indicator light flashes.
Enable Bluetooth on Your Computer:
Windows: Go to Start > Settings > Bluetooth & devices. Ensure Bluetooth is toggled “On.”
macOS: Go to Apple menu > System Settings > Bluetooth. Ensure Bluetooth is enabled.
Pair the Device: In your computer’s Bluetooth settings, select “Add device” or “Add Bluetooth or other device.” Choose your webcam from the list of discovered devices and follow any on-screen prompts to complete the pairing.
Test Connection: Open a camera-enabled application and select your Bluetooth webcam as the video input.
Wi-Fi Webcams
Wi-Fi webcams, often designed for security or remote monitoring, usually require a dedicated app for initial setup.
Power On and Initial Connection: Plug your Wi-Fi webcam into a power outlet. For the first-time setup, some Wi-Fi cameras might require a temporary wired Ethernet connection to your router.
Download the Mobile App: Most Wi-Fi cameras come with a dedicated mobile application. Download and install this app on your smartphone or tablet.
App-Based Setup: Open the mobile app and follow its instructions to add your new camera. This usually involves:
Creating an account or logging in.
Scanning a QR code on the camera or entering a serial number.
Connecting the camera to your Wi-Fi network by entering your network name (SSID) and password. Ensure you are connecting to a 2.4GHz Wi-Fi network, as most cameras support this band.
Configure Settings: Within the app, you can often adjust video quality, motion detection, and other camera-specific settings.
Access from Computer: Once configured through the app, you can typically access the webcam’s feed via a web browser or a desktop application provided by the manufacturer. You will need to log in using the credentials established during the app setup.
Troubleshooting Common Webcam Connection Issues
Even with careful setup, you might encounter issues. Most webcam problems have straightforward solutions.
“Webcam Not Detected”
This is a common issue when a new webcam isn’t recognized.
Check Physical Connections: Ensure the USB cable is fully and securely inserted into the port on both the webcam and the computer. Try a different USB port on your computer, as some ports might be faulty. Avoid unpowered USB hubs or front-case ports for initial setup.
Restart Your Computer: A simple restart can often resolve connectivity glitches by refreshing your system’s device recognition.
Try Another Device: If possible, connect the webcam to a different computer. This helps determine if the issue is with the webcam itself or your original computer.
Driver Problems
Outdated or corrupted drivers are frequent culprits for webcam malfunctions.
Update Drivers:
Windows: Open Device Manager (search for it in the Start menu). Expand “Cameras” or “Imaging devices,” right-click your webcam, and select “Update driver.” Choose “Search automatically for drivers.”
If Windows cannot find a driver, visit the webcam manufacturer’s website and download the latest driver specifically for your model and operating system. Uninstall the old driver first, then install the new one.
Reinstall Drivers: If an update doesn’t work, try uninstalling the webcam driver from Device Manager and then restarting your computer. Windows will usually attempt to reinstall the driver automatically upon reboot.
Privacy Settings Blocking Access
Operating system privacy settings can prevent applications from accessing your webcam.
Windows: Go to Start > Settings > Privacy & security > Camera. Ensure “Camera access” is turned on and that individual apps are allowed to use your camera.
macOS: Go to Apple menu > System Settings > Security & Privacy > Camera. Verify that your desired applications have permission.
Poor Video Quality
Issues like grainy images or low frame rates can diminish your experience.
Lighting: Ensure you have adequate lighting in front of you, not behind you. Poor lighting can make your image appear dark and grainy. “The best place for your lighting devices will depend on several factors,” says Evan Perry Grove, a professional webcam setup expert. “There is one firm rule, though: ‘concentric with your camera’ is not the right spot for your ring light.”
Resolution Settings: In your webcam’s software or the application settings, check the resolution and frame rate. Higher settings require more bandwidth but provide better quality.
Clean Lens: A smudged lens can significantly degrade image quality. Gently clean your webcam lens with a soft, lint-free cloth.
Internet Connection: For online calls, a slow or unstable internet connection can lead to poor video quality. Close unnecessary applications that might be consuming bandwidth.
Port Issues
Sometimes, the problem isn’t the webcam but the port it’s connected to.
Try a Different USB Port: As mentioned, a faulty or underpowered USB port can prevent a webcam from functioning correctly. Switch to another port, ideally a USB 3.0/3.1 port if available, which provides more power.
Avoid Hubs (Initially): For initial setup, connect the webcam directly to your computer rather than through a USB hub or docking station, as some hubs can cause power or compatibility issues.
Optimizing Your Webcam for Best Performance
Once connected, fine-tuning your webcam settings and environment can significantly enhance your video quality and overall presence.
Placement and Lighting
Strategic placement and effective lighting are key to a professional appearance.
Eye-Level Positioning: Position your webcam at eye level or slightly above. This creates a more flattering and natural angle, avoiding unflattering up-the-nose shots. You can use a laptop stand, a stack of books, or a tripod to achieve this.
Frontal Lighting: The most crucial lighting rule is to have a light source in front of you, illuminating your face. Avoid strong light sources directly behind you, such as a window, as this will silhouette you and make you appear underexposed.
Avoid Glare: If you wear glasses, position your light source slightly higher and pointed downwards to prevent glare.
Clean Background: Choose a clean, uncluttered background to minimize distractions. You can also use virtual backgrounds or blur effects available in many video conferencing applications.
Software Settings and Features
Many webcams come with their own software, or you can adjust settings within your operating system or video applications.
Adjusting Image Settings: Fine-tune brightness, contrast, saturation, and sharpness to achieve a balanced and clear image. Many modern webcams also offer autofocus, white balance, and exposure control.
Resolution and Frame Rate: Select the highest resolution and frame rate that your webcam and internet connection can comfortably support for the best video quality.
Audio Configuration: If your webcam has a built-in microphone, ensure it is selected as the audio input in your computer’s sound settings and in your applications. Adjust the microphone levels to avoid being too quiet or too loud.
Security and Privacy Considerations
Webcams, like any connected device, present privacy and security concerns.
A simple physical webcam cover or even a piece of opaque tape can prevent unauthorized viewing when the camera is not in use.
Strong Passwords: For wireless webcams, especially those connected to a network, use strong, unique passwords for both the device and your Wi-Fi network.
Update Firmware and Software: Regularly update your webcam’s firmware and associated software to patch security vulnerabilities.
Privacy Settings: Restrict camera access to only trusted applications in your operating system’s privacy settings.
Antivirus/Anti-Malware: Install and regularly update antivirus or anti-malware software to detect and block malicious attempts to access your webcam.
The Value of an External Webcam: Why Upgrade?
While many laptops include built-in webcams, an external webcam often offers significant advantages in performance and features.
Laptop manufacturers often prioritize thin designs and competitive pricing, leading to compromises in built-in camera quality. External webcams, by contrast, have more space for higher-quality components.
| Feature | Built-in Webcam | External Webcam |
|---|---|---|
| Resolution | Typically 720p, sometimes 1080p. | Often 1080p, 4K, or even higher. |
| Image Quality | Basic, often grainy in low light, limited color accuracy. Small components limit performance. | Superior clarity, better low-light performance, improved color balance, noise reduction. |
| Audio Quality | Basic microphones, limited noise cancellation. | Often features built-in stereo microphones with noise cancellation for clearer sound. |
| Flexibility/Placement | Fixed at the top of the screen, limited angle control. | Adjustable placement (clip-on, tripod mount), wider field of view, ability to adjust angles. |
| Advanced Features | Few to none. | Autofocus, optical zoom, low-light correction, adjustable field of view, ring lights. |
| Cost | Included with laptop/PC. | Additional investment (ranging from $30-$200+). |
For anyone serious about video conferencing, streaming, or content creation, the investment in a quality external webcam is easily justified. It significantly enhances your visual and audio presence, making a better impression in virtual interactions.
FAQ: Your Webcam Connection Questions Answered
How do I know if my webcam is working?
The simplest way to check if your webcam is working is to open your computer’s built-in camera application (e.g., “Camera” on Windows, “Photo Booth” or “FaceTime” on macOS). If you see a live video feed, your webcam is generally functioning.
Do I need to install drivers for my webcam?
Most modern webcams are plug-and-play and do not require manual driver installation, as your operating system will automatically install generic UVC (USB Video Class) drivers. However, some advanced or specialized webcams may require specific drivers from the manufacturer’s website to unlock full features.
Can I use a webcam on multiple computers?
Yes, you can use a single external webcam on multiple computers. Simply unplug the USB cable from one computer and plug it into another. Each computer will recognize the device, and you may need to select it as the default camera in the applications you use.
What’s the difference between a built-in and an external webcam?
A built-in webcam is integrated into your laptop or monitor, offering convenience but often with limited quality and flexibility. An external webcam is a separate device that connects via USB, typically offering superior resolution, better low-light performance, clearer audio, and adjustable positioning for enhanced video quality.
Conclusion: Clear Connections for Clear Communication
Connecting a webcam to your computer is a fundamental step toward effective virtual communication in today’s interconnected world. By understanding the types of webcams, following simple connection steps, and knowing how to troubleshoot common issues, you can ensure a smooth setup. Whether you opt for a plug-and-play USB model or a more advanced wireless solution, optimizing your webcam’s placement, lighting, and software settings will significantly enhance your on-camera presence. Investing a little time in these details creates a clearer, more professional, and more engaging experience for all your video interactions.