If you’re wondering how to turn on your Dell laptop webcam, the good news is that for most modern Dell systems, the integrated webcam is typically “always on” by default when an application requests access. However, several factors, ranging from privacy settings to disabled drivers or even a physical shutter, can prevent it from working. This guide will walk you through every step to ensure your Dell webcam is ready for your next video call or content creation project, covering common issues and advanced troubleshooting techniques.
Understanding how your webcam operates and the various settings that can impact its functionality is key to quickly resolving any issues. We’ll delve into the practical steps and insights needed to get your camera up and running, ensuring you can connect with confidence, whether for a crucial business meeting or a casual chat with friends.
Understanding Dell Webcam Basics
Dell laptops integrate a webcam directly into the display bezel, often at the top center. These cameras are generally designed as plug-and-play devices, meaning they should function automatically without complex setup in most modern Windows operating systems. When you open an application like Zoom, Microsoft Teams, or the native Camera app, the webcam should activate on its own.
How Dell Webcams Function
Modern Dell webcams rely on the operating system and installed drivers to communicate with applications. When an application needs camera access, Windows acts as an intermediary, checking privacy settings and driver status before granting permission. This layered approach ensures both functionality and security.
Many Dell models include a small LED indicator next to the webcam lens. This light illuminates when the camera is actively in use, serving as a visual cue for your privacy and security.
Common Reasons Your Webcam Might Not Be Working
While Dell webcams are generally reliable, several common issues can prevent them from turning on or functioning correctly. Identifying the root cause is the first step toward a solution.
- Physical Privacy Shutter: Many newer Dell laptops include a tiny slider that physically blocks the camera lens.
- Windows Privacy Settings: The operating system has strict controls over which applications can access your camera.
- Disabled in Device Manager: The webcam might be accidentally disabled within Windows’ Device Manager.
- Outdated or Corrupt Drivers: Software drivers facilitate communication between the hardware and the operating system; outdated or damaged drivers can cause issues.
- Function Key Disability: Some Dell laptops have a dedicated function key or key combination to toggle the webcam on or off.
- Application-Specific Settings: Individual applications (like Zoom or Teams) have their own camera settings that might override system defaults.
- Hardware Malfunction: In rare cases, the webcam itself may have a physical defect.
Step-by-Step Guide to Activating Your Dell Webcam
Follow these steps in order to diagnose and resolve most Dell webcam issues, starting with the simplest solutions.
1. Check for a Physical Privacy Shutter
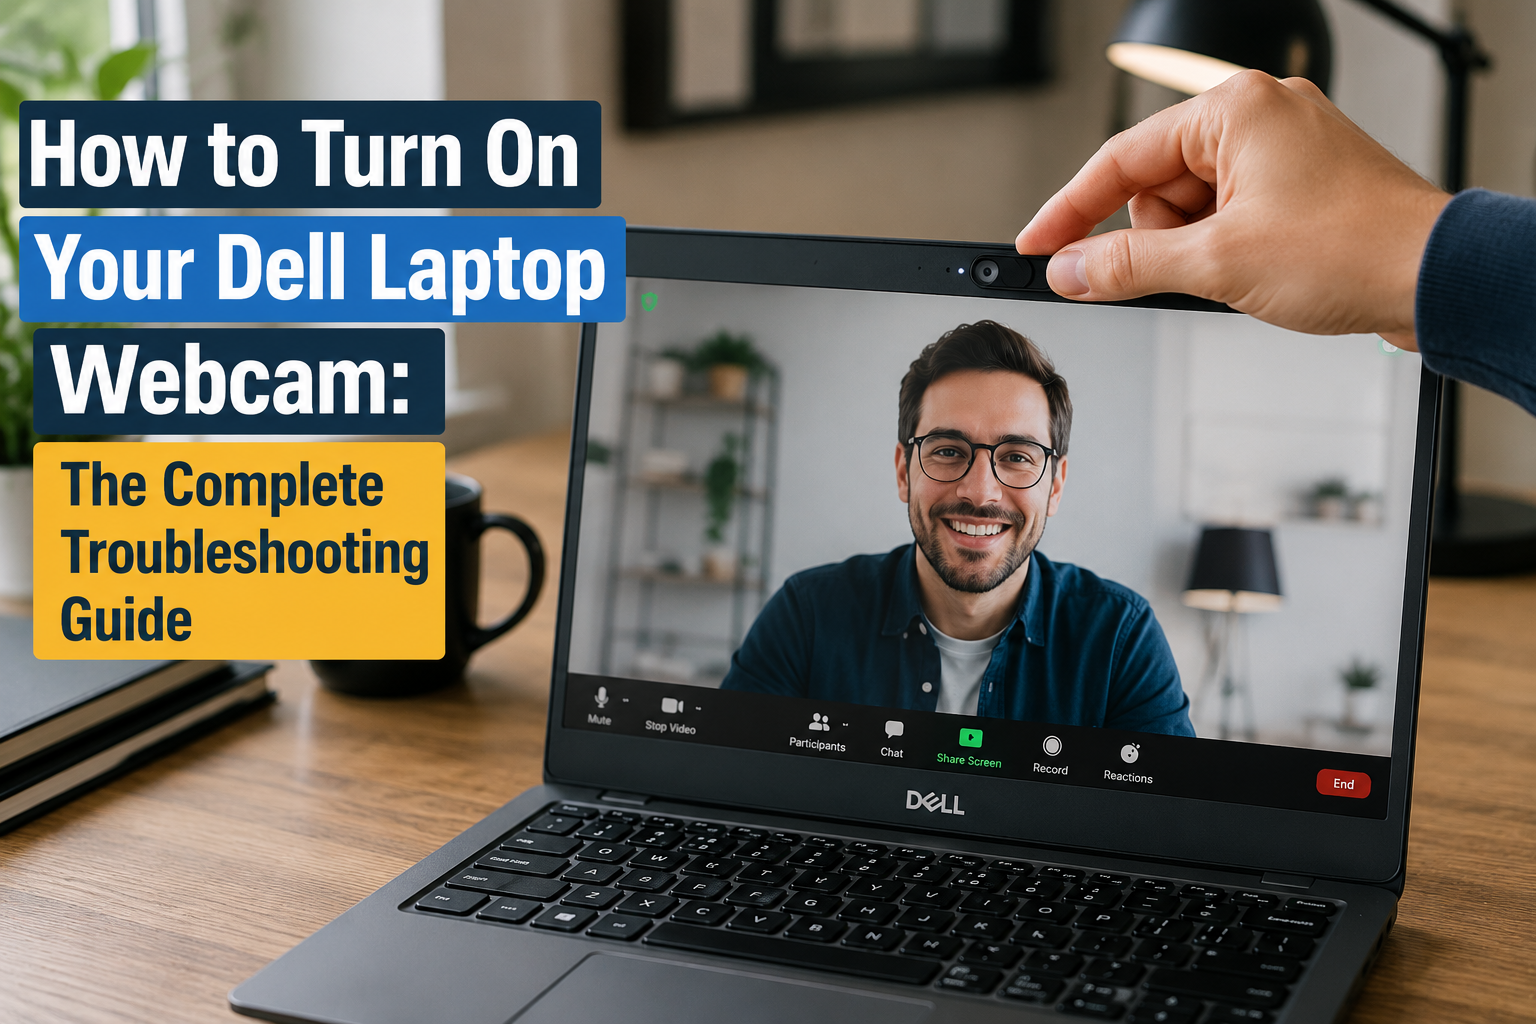
Many contemporary Dell laptop models, including some in the Latitude, XPS, and Inspiron series, feature a small, physical slider directly over the webcam lens. This is a crucial privacy feature. Ensure this shutter is open and not obstructing the camera. You’ll typically find a small switch that slides left or right to uncover or cover the lens. This is often the simplest fix and easily overlooked.
2. Use Keyboard Function Keys
Dell laptops often incorporate dedicated function key combinations to enable or disable hardware components, including the webcam. Look for a key on your keyboard, usually one of the ‘F’ keys (F1-F12), that has a camera icon. Common combinations include Fn + F6, Fn + F9, or Fn + F10. Pressing the ‘Fn’ key simultaneously with the appropriate ‘F’ key can toggle the webcam’s status. If you don’t see a camera icon, consult your laptop’s specific model manual.
3. Verify Windows Privacy Settings
Windows 10 and Windows 11 include robust privacy controls that can restrict camera access for applications. This is a common culprit if your webcam isn’t turning on.
- Right-click the Start button and select Settings.
- In the Settings window, click on Privacy & security (for Windows 11) or Privacy (for Windows 10).
- On the left-hand pane, under “App permissions,” select Camera.
- Ensure that “Camera access” (Windows 11) or “Camera access for this device” (Windows 10) is toggled On. If it’s off, click the “Change” button and toggle it on.
- Below that, make sure “Let apps access your camera” (Windows 11) or “Allow apps to access your camera” (Windows 10) is also toggled On.
- Scroll down to “Choose which apps can access your camera” and verify that the specific application you want to use (e.g., Zoom, Microsoft Teams, the Camera app) has permission to access your webcam.
Cybersecurity expert Sarah Thompson, CEO of SecureLink Solutions, advises, “Always be mindful of your privacy settings. Windows offers granular control over hardware access, which is your first line of defense against unwanted camera use. Regularly reviewing these permissions is a critical security habit.”
4. Check Device Manager for Webcam Status
The Device Manager provides an overview of all hardware connected to your laptop. If the webcam is disabled here, it won’t function.
- Right-click the Start button and select Device Manager.
- In the Device Manager window, expand the category for “Cameras” or “Imaging devices.” You should see your webcam listed, typically as “Integrated Webcam” or “Dell Webcam.”
- If the webcam icon has a down arrow next to it, it means the device is disabled. Right-click on it and select “Enable device.”
- If you see a yellow exclamation mark or a red “X,” it indicates a driver issue or a problem with the device itself.
5. Update or Reinstall Webcam Drivers
Drivers are essential software that allows your operating system to communicate with your webcam hardware. Outdated, corrupt, or missing drivers are a frequent cause of webcam issues.
- In Device Manager, right-click on your Integrated Webcam (under “Cameras” or “Imaging devices”).
- Select “Update driver.”
- Choose “Search automatically for drivers.” Windows will attempt to find and install the latest compatible driver.
- If Windows reports that the best driver is already installed, or if the problem persists, try uninstalling the driver. Right-click the webcam again and select “Uninstall device.” Confirm the uninstallation.
- After uninstalling, restart your Dell laptop. Windows will typically reinstall the generic webcam driver automatically upon startup.
- For the most up-to-date and specific drivers, visit the official Dell Support website (support.dell.com). Enter your laptop’s Service Tag or model number to find drivers specifically for your system. Download and install the latest webcam driver available.
As IT professional Mark Jensen from TechSolutions puts it, “Drivers are the unsung heroes of hardware. Keeping them current, especially for integrated components like webcams, ensures smooth operation and prevents compatibility glitches that often manifest as ‘not working’ errors.”
6. Test Your Webcam with the Camera App
After performing the above steps, it’s a good idea to test your webcam using Windows’ built-in Camera application. This app provides a quick and reliable way to verify if the camera hardware and basic drivers are functioning correctly.
- Search for “Camera” in the Windows search bar and open the Camera app.
- If the app opens and displays a live feed, your webcam is generally working. This indicates that any further issues might be specific to other applications.
7. Troubleshoot Specific Application Settings
If your webcam works fine in the Windows Camera app but not in a particular video conferencing tool like Zoom, Microsoft Teams, Google Meet, or Skype, the issue likely lies within that application’s settings.
- Open the problematic application.
- Navigate to its Settings (often found under a gear icon or your profile picture).
- Look for a “Video” or “Camera” section within the settings.
- Ensure that the correct webcam (e.g., “Integrated Webcam”) is selected from the dropdown menu, especially if you’ve ever connected an external webcam.
- Check for any specific in-app privacy or permission settings that might be blocking camera access.
Advanced Troubleshooting for Persistent Webcam Issues
If the above steps haven’t resolved your webcam problem, it’s time to explore more advanced solutions. These steps delve deeper into system integrity and hardware diagnostics.
Performing a System Restore
If your webcam suddenly stopped working after a recent software installation, Windows update, or driver change, a System Restore might revert your system to a previous working state. This process won’t affect your personal files, but it will undo system changes made since the restore point.
- Search for “Create a restore point” in the Windows search bar and open the relevant control panel option.
- Click on the “System Restore” button.
- Follow the prompts to choose a restore point dated before your webcam stopped working.
Running Dell Diagnostics
Dell laptops come with built-in diagnostic tools that can help identify hardware failures. These tests can confirm if your webcam itself is physically damaged or if the issue is purely software-related.
- Dell SupportAssist: Many Dell systems have SupportAssist pre-installed. You can open SupportAssist, go to the “Troubleshooting” or “Hardware Scan” section, and run a comprehensive test that includes the webcam.
- ePSA Diagnostics: To access pre-boot system assessment (ePSA) diagnostics, restart your Dell laptop and repeatedly press the F12 key when the Dell logo appears. From the boot menu, select “Diagnostics” and allow the tests to run. The ePSA tool will check various hardware components, including the webcam. If an error code appears for the camera, record it and contact Dell support.
Considering a Clean Windows Installation (Last Resort)
If all software troubleshooting fails, and Dell diagnostics confirm no hardware issue, a clean installation of Windows can resolve deep-seated software conflicts or operating system corruption. This is a drastic step and should only be considered as a last resort. Always back up all your important data before proceeding with a clean installation, as it will erase everything on your primary drive.
When to Consider an External Webcam or Repair
If Dell diagnostics indicate a hardware failure, or if you’ve exhausted all software troubleshooting steps without success, you may need to consider an alternative. An external USB webcam is often a cost-effective and convenient solution, providing superior image quality in many cases. Brands like Logitech, Razer, and Microsoft offer a wide range of reliable external webcams. Alternatively, if your laptop is still under warranty or you prefer the integrated solution, contacting Dell support for a repair may be an option. However, out-of-warranty repairs for integrated components can sometimes be more expensive than purchasing a high-quality external camera.
Maintaining Your Dell Webcam for Optimal Performance
Once your Dell webcam is functioning, a few simple practices can help ensure its longevity and consistent performance.
Regular Driver Updates
Periodically check the Dell Support website for driver updates for your specific laptop model. While Windows often handles generic driver updates, manufacturer-specific drivers can offer better performance and compatibility. Dell’s SupportAssist application can also automate this process, scanning for and installing available updates.
Cleaning the Lens
Over time, dust, fingerprints, or smudges can accumulate on the webcam lens, affecting image clarity. Gently wipe the lens with a soft, lint-free microfiber cloth. Avoid using harsh chemical cleaners, which can damage the lens coating. A slightly dampened cloth with distilled water can be used for stubborn smudges, followed by a dry wipe.
Protecting Your Privacy
Whether it’s a physical shutter or Windows privacy settings, actively manage your webcam’s access. Always use the physical shutter when the camera is not in use, and regularly review which applications have permission to access your camera in Windows settings. This vigilance is crucial for your digital security.
“In an increasingly connected world, personal privacy is paramount,” states Dr. Evelyn Reed, a digital privacy researcher at the University of California. “Simple habits, like using a physical camera cover and regularly auditing application permissions, are surprisingly effective tools in maintaining control over your digital footprint.”
Frequently Asked Questions About Dell Webcams
Why does my Dell laptop webcam have a black screen?
A black screen typically points to an issue with privacy settings, a disabled device, or a driver problem. First, check your Windows Camera privacy settings to ensure access is enabled. Then, verify the webcam’s status in Device Manager and try updating or reinstalling its drivers.
How do I enable my Dell webcam in Windows 11?
In Windows 11, access Settings > Privacy & security > Camera. Make sure both “Camera access” and “Let apps access your camera” are toggled to “On.” Don’t forget to check for any physical privacy shutters on your laptop that might be covering the lens.
Is there a hotkey to turn on the webcam on a Dell laptop?
Yes, many Dell laptops feature a function key combination to control the webcam. This is often Fn + F6, Fn + F9, or Fn + F10. Look for a small camera icon on one of your F-keys. Pressing Fn along with that key will typically toggle the webcam on or off.
Can a Dell webcam be turned on remotely?
While legitimate remote access tools can enable a webcam with explicit user consent and proper security protocols, unauthorized remote activation without consent is a serious cybersecurity threat. Always use strong, unique passwords, keep your operating system and antivirus software updated, and be wary of suspicious links or attachments to prevent malicious access.
My webcam light is on, but I don’t see an image. What’s wrong?
If the webcam’s indicator light is on, it means the camera is receiving power and is active, but the image isn’t displaying correctly. This often indicates a software conflict, a corrupted video stream, or a specific application setting issue rather than a hardware failure. Try restarting the application, updating drivers, or testing with the Windows Camera app to isolate the problem.
Bringing Your Dell Webcam Back to Life
Having a functional webcam on your Dell laptop is essential for modern communication and productivity. By methodically working through the troubleshooting steps outlined in this guide, from checking physical shutters and privacy settings to managing drivers and running diagnostics, you can resolve the vast majority of webcam issues. Empowering yourself with this knowledge ensures you’re always ready to connect, create, and collaborate without interruption, making frustrating webcam problems a thing of the past.