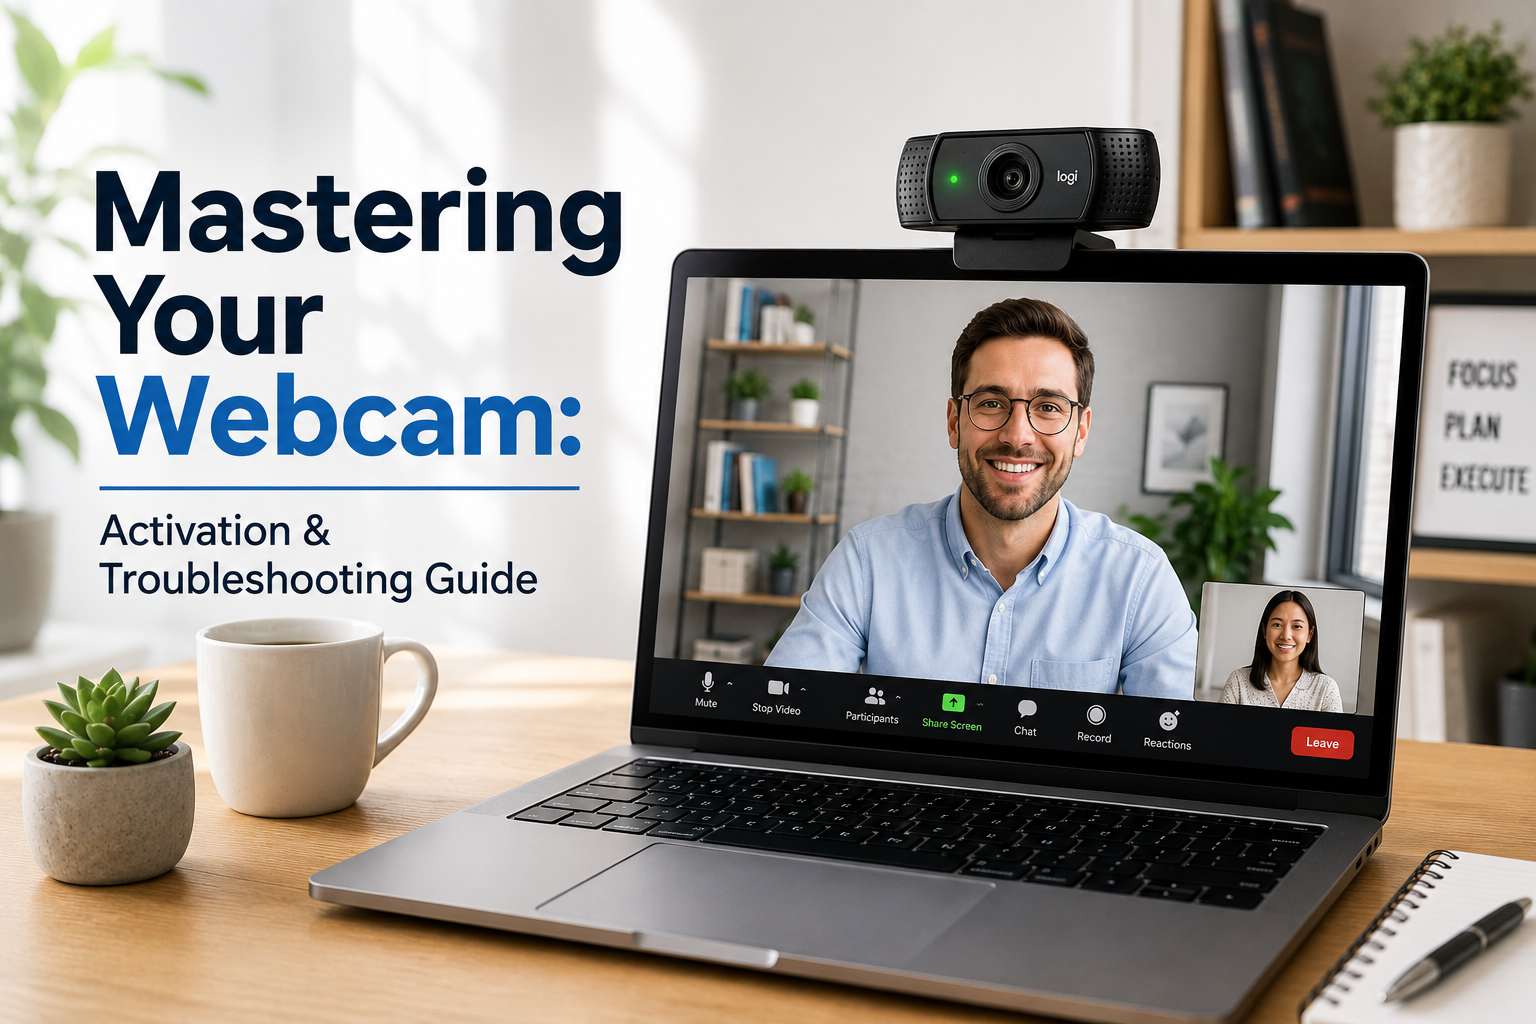
Turning on your webcam is usually a straightforward process, whether it’s an integrated camera on your laptop or an external device. Generally, you simply open an application that uses the camera, such as a video conferencing tool or a dedicated camera app, and the webcam should activate automatically. However, several factors, including privacy settings, physical covers, and driver issues, can prevent it from working immediately, requiring a few essential steps to enable it.
In today’s interconnected world, webcams are indispensable tools for communication, creativity, and connection. From virtual team meetings and online classes to streaming and capturing memories, understanding how to properly activate and manage your webcam is a fundamental digital skill. This guide will walk you through everything you need to know, transforming potential frustrations into seamless experiences.
Understanding Your Webcam: What It Is and How It Works
A webcam, short for web camera, is a video camera that feeds images or videos in real time to a computer network. These devices are crucial for visual communication in the digital age.
Webcams essentially function as digital eyes for your computer. They capture light through a lens, convert it into digital data, and then transmit this data to your computer for processing and display. This process allows you to send live video feeds to others or record content locally.
Internal Webcams: Integrated Convenience
Many laptops, all-in-one PCs, and even some monitors come with a webcam built directly into the device. These are known as internal or integrated webcams. They offer unparalleled convenience, as they are always connected and ready to use, typically located at the top center of your display.
For example, MacBook laptops have a camera tucked into the top of the screen. Newer 14-inch and 16-inch MacBook Pro models often feature a 1080p camera, while older MacBook Air or 13-inch MacBook Pro models might have a 720p camera. A small light, often green, illuminates next to the lens to indicate when the camera is active, providing a clear visual privacy cue.
External Webcams: Plug-and-Play Power
External webcams are separate devices that connect to your computer, usually via a USB cable. These offer flexibility and often superior video quality compared to their integrated counterparts. They are popular among streamers, content creators, and professionals seeking enhanced visual fidelity for their virtual presence.
Installing an external webcam is generally a plug-and-play experience. Once connected, your operating system typically recognizes it automatically and installs the necessary drivers. This allows for quick setup and immediate use with compatible applications.
Initial Setup: Plugging In Your External Webcam
If you are using an external webcam, the first step is to ensure it is properly connected to your computer. This simple physical connection is often the overlooked solution to many “webcam not working” issues.
Locate an available USB port on your desktop or laptop. Gently insert the webcam’s USB cable into the port, ensuring a secure fit. For integrated monitor cameras, confirm that the USB upstream cable runs between the monitor and your computer.
If your computer has multiple USB ports, try a different one if the camera doesn’t work initially. Sometimes, a specific port might be faulty or temporarily experiencing an issue.
Turning On Your Webcam in Windows 10/11: The Essential Steps
Windows operating systems, particularly Windows 10 and 11, incorporate robust privacy settings that can prevent applications from accessing your webcam. Understanding these settings is crucial for activation.
Checking Physical Connections and Covers
Before diving into software, always perform a quick physical check. If you have an external webcam, ensure its USB cable is firmly plugged into a functional USB port. For both internal and external cameras, check for any physical privacy covers or shutters. Many laptops and webcams include these to block the lens when not in use. Make sure it is open.
Some laptops also feature a function key (Fn) with a camera icon. Pressing Fn + F-key (the one with the camera icon) can toggle the webcam on or off.
Granting App Permissions
Windows requires explicit permission for apps to use your camera. This is a critical privacy feature that often needs adjustment.
Follow these steps for Windows 10/11:
- Click the Start button (Windows icon) and select Settings (gear icon).
- In the Settings window, click on Privacy & security in the left sidebar (or Privacy in Windows 10).
- Scroll down on the right side to the “App permissions” section and click on Camera.
- First, ensure that Camera access is toggled On. If it’s greyed out, an administrator might need to enable it.
- Next, ensure that Let apps access your camera is toggled On.
- Below this, you’ll see a list of applications. Toggle on access for specific apps you want to use your camera, such as Zoom, Microsoft Teams, or the Camera app. For desktop applications not from the Microsoft Store, ensure “Let desktop apps access your camera” is turned on.
Disabling camera access for apps you don’t use can help tighten webcam security.
Using the Camera App
Windows includes a built-in Camera app, which is excellent for testing your webcam. Open the Start menu, type “Camera,” and click on the Camera app. If your webcam is working, you should see a live video feed. This confirms the camera is functional at a system level.
Troubleshooting Device Manager
If your webcam still isn’t working, the Device Manager can help diagnose driver-related issues.
- Right-click the Start button and select Device Manager.
- Expand the Cameras section (or “Imaging devices”).
- Right-click on your webcam (e.g., “Integrated Camera” or your external webcam’s name).
- If you see “Disable device,” it means the camera is currently enabled. If you see “Enable device,” click it to turn your camera on.
- If there’s a yellow exclamation mark or a downward arrow, it indicates a problem with the driver or that the device is disabled.
Updating or Reinstalling Drivers
Outdated or corrupted drivers are a common cause of webcam malfunctions.
- In Device Manager, right-click your webcam and select Update driver.
- Choose Search automatically for drivers. Windows will try to find and install the latest driver.
- If that doesn’t work, you can try Uninstall device. After uninstalling, restart your computer. Windows will typically reinstall the driver automatically upon reboot.
- For external webcams, visit the manufacturer’s website (e.g., Logitech, Razer) to download the latest drivers directly.
Ensuring your operating system is up to date can also resolve driver and compatibility issues, as updates often include necessary fixes.
Activating Your Webcam on macOS: A Simple Guide
Mac computers, like Windows, prioritize privacy but offer a more streamlined activation process for integrated cameras.
Verifying Physical Connection (External)
For external webcams, ensure the USB cable is securely plugged into an available port on your Mac. If using an adapter, confirm it is functioning correctly. Try different USB ports if the camera isn’t recognized.
Managing Privacy & Security Settings
macOS automatically enables the camera when an application requests access. However, you can manage which apps have this permission.
- Click the Apple menu (top-left corner of your screen) and select System Settings (or System Preferences on older macOS versions).
- In the sidebar, click Privacy & Security (or Security & Privacy).
- Scroll down and click Camera.
- You will see a list of apps that have requested camera access. Ensure the checkbox next to the desired application (e.g., Zoom, Photo Booth, FaceTime) is selected.
- If an app isn’t listed, it might not have requested access yet, or you may need to update your macOS or the application itself.
Apps like FaceTime and Photo Booth, which come with your Mac, automatically have access and don’t usually require explicit permission.
Using Photo Booth or FaceTime
To confirm your Mac’s camera is working, open a native application like Photo Booth or FaceTime. The camera should automatically turn on, and a small green light next to the camera lens will illuminate, indicating it is active.
If the camera doesn’t activate, try quitting all other applications that might be using the camera, as conflicts can occur.
Webcam Activation on Chromebooks: Quick and Easy
Chromebooks are designed for simplicity, and webcam activation is no exception.
Accessing the Camera App
Similar to Windows and macOS, Chromebooks have a built-in Camera app. To open it:
- Click the Launcher (circle icon) on the bottom left of your screen.
- Type “Camera” into the search bar or find the Camera app icon.
- Open the app. You should see a live preview from your webcam.
Checking Permissions
Webcam permissions on Chromebooks are managed through Chrome browser settings. This is especially important for web-based video conferencing tools.
- Click the time in the bottom-right corner of your screen and select Settings (gear icon).
- In the Settings window, navigate to Privacy and Security.
- Click on Site settings.
- Scroll down to the “Permissions” section and click Camera.
- Ensure that Sites can ask to use your camera is selected, or that your camera is set to “Allowed.”
- If you have an external webcam, use the dropdown menu at the top of this section to select your preferred camera.
Some Chromebooks might also have a physical camera switch; ensure it’s turned on.
Turning On Your Webcam for Specific Applications
Even if your operating system has camera access enabled, individual applications may still require permission or selection of the correct device.
Video Conferencing Apps (Zoom, Microsoft Teams, Google Meet)
Video conferencing platforms are where webcams shine. Each app usually has its own camera settings within its interface.
- Zoom: After joining a meeting, click the Up Arrow next to the “Start Video” button. Here, you can select your webcam from a list of available devices and often access video settings for adjustments.
- Microsoft Teams: During a call or meeting setup, look for device settings (often a gear icon). You can choose your camera from the dropdown menu under “Camera.”
- Google Meet: Before or during a meeting, click the Settings icon (gear icon). Navigate to the “Video” section to select your camera.
Always ensure these applications have permission to access your camera in your operating system’s privacy settings. This is a common requirement across all platforms.
Streaming Software (OBS Studio)
For more advanced users, streaming software like OBS Studio requires adding your webcam as a “source.”
- In OBS Studio, under the “Sources” dock, click the + icon.
- Select Video Capture Device.
- Choose an existing device or create a new one.
- From the dropdown menu, select your desired webcam. You should see a preview in the OBS canvas.
Web Browsers (for web-based video calls)
When using web-based video call services (like Google Meet via Chrome or a browser-based meeting platform), your browser also needs camera permission. Most browsers will prompt you when a website requests camera access. Always click “Allow” for trusted sites.
- Chrome: Go to Settings > Privacy and security > Site Settings > Camera. Ensure the correct camera is selected and the site is allowed.
- Safari (macOS): Go to Safari > Settings > Websites > Camera. Set the permission for specific websites or for “When visiting other websites.”
- Firefox/Edge: Similar settings can be found in their respective privacy and site permissions sections.
Common Webcam Problems and How to Solve Them
Even with proper setup, webcams can sometimes act up. Knowing how to troubleshoot effectively saves time and frustration. As an industry expert, I’ve seen that many issues stem from simple causes. A reliable solution like simply restarting your computer often resolves about 60% of webcam issues, clearing temporary software conflicts and resetting drivers.
Webcams can stop working due to restrictive privacy settings, driver issues, or conflicts with applications.
Webcam Not Detected
If your computer doesn’t recognize the camera, check these points:
- Physical Connection: For external webcams, unplug and replug the USB cable. Try a different USB port or even a different computer to rule out a faulty port or camera.
- Device Manager (Windows): Check if the camera appears under “Cameras” or “Imaging devices.” If it has a yellow exclamation mark, there’s a driver issue.
- Driver Issues: Update or reinstall the webcam driver through Device Manager or the manufacturer’s website.
- System Updates: Ensure your operating system is fully updated, as updates often include driver and compatibility fixes.
Black Screen or No Video
This usually indicates the camera is detected but not providing a video feed.
- Privacy Settings: Double-check your operating system’s camera privacy settings to ensure overall access and individual app permissions are granted. This is a top reason cameras stop working after system updates.
- Physical Shutter/Cover: Many webcams, especially on laptops, have a physical slide or sticker that covers the lens. Make sure it’s open.
- In-App Selection: Within the application (Zoom, Teams, etc.), ensure the correct webcam is selected if you have multiple cameras connected.
- Antivirus/Firewall: Security software can sometimes interfere with webcam access. Check your antivirus settings to see if it’s blocking camera usage.
Poor Video Quality
If your video is blurry, pixelated, or dull, consider these factors:
- Lighting: Poor lighting is the most common culprit. Ensure you have adequate front lighting.
- Resolution Settings: Check the video quality settings within your application. Some apps might default to lower resolutions to save bandwidth.
- Internet Connection: A weak or unstable internet connection can degrade video quality in real-time streaming.
- Drivers: Ensure your camera drivers are up-to-date.
Webcam Being Used by Another Application
Only one application can typically use your webcam at a time. If you get an error that the camera is in use, close all other apps that might be accessing it. On macOS, a green light next to the camera indicates it’s active, so if it’s on unexpectedly, check for other open apps.
Microphone Issues (if integrated)
If your webcam has an integrated microphone and it’s not working, check the following:
- Mute Status: Ensure the microphone isn’t muted in your application or operating system settings.
- Privacy Settings: Verify microphone permissions in your OS privacy settings (similar to camera permissions).
- Input Device: In your application’s audio settings, make sure the correct microphone (your webcam’s mic) is selected as the input device.
Optimizing Your Webcam Experience: Tips for Better Video Quality
Beyond simply turning it on, optimizing your webcam setup can significantly enhance your presence in virtual interactions.
Lighting Matters
Good lighting is paramount for clear video. Position yourself so that light comes from in front of you, illuminating your face. Avoid strong backlighting, which can make you appear as a silhouette. Natural light from a window is ideal, but a ring light or desk lamp positioned behind your monitor can also work wonders. “If you are using the camera/video feature, please make sure it is positioned properly and your lighting is adequate,” advises the University of New Mexico on virtual meeting etiquette.
Background and Framing
Your background should be clean, uncluttered, and professional. A plain wall or a subtle background works best to minimize distractions. Many virtual meeting platforms allow you to blur your background or use virtual backgrounds if your physical space isn’t ideal.
Frame yourself from the top of your head to your shoulders or chest. Position your camera at eye level to create a more natural and engaging “eye contact” experience with your audience. “Look at the camera when you’re talking and listening,” suggests Robert Half, emphasizing the importance of simulating eye contact for engagement.
Audio Considerations
While this article focuses on video, good audio is equally important for a seamless virtual experience. If your webcam has an integrated microphone, ensure it’s positioned to pick up your voice clearly. Consider using headphones or an external microphone for better sound quality and to reduce echo and background noise. Always remember to mute your microphone when not speaking to avoid transmitting distracting background sounds.
Software Settings
Many webcams and applications offer advanced settings for brightness, contrast, saturation, and white balance. Experiment with these to fine-tune your image, especially if you find your video is too dark, washed out, or has an unnatural color cast. Some newer Macs, for instance, offer features like Center Stage, Portrait mode, and Edge Light to enhance video calls. Dell also notes that some camera manufacturers provide their own apps for additional configuration.
Ensure your applications and operating system are regularly updated. These updates often include performance improvements and bug fixes that can enhance your webcam’s functionality and video quality.
FAQs About Webcam Activation
How do I know if my webcam is on?
Most webcams, especially integrated ones, have a small LED indicator light that illuminates when the camera is active. On Macs, this is typically a green light.
Why is my webcam showing a black screen?
A black screen usually indicates a privacy setting is blocking access, a physical shutter is closed, or another application is already using the camera. Check your operating system’s camera privacy settings and ensure any physical covers are open.
Can I turn on my webcam without an app?
No, a webcam generally requires an application to activate and display its feed. On most operating systems, the camera automatically turns on when you open an app that uses it, such as a camera app, video conferencing software, or Photo Booth on a Mac.
How do I fix a webcam that won’t turn on?
Start by checking physical connections and any privacy shutters. Then, verify camera permissions in your operating system settings. If issues persist, try restarting your computer, updating or reinstalling camera drivers, and testing the webcam with a different application.
What should I do if my external webcam isn’t recognized?
Ensure the USB cable is firmly plugged into a functional port. Try a different USB port or even another computer to isolate the issue. Check Device Manager (Windows) or System Information (macOS) to see if the device is listed and if there are any driver problems.
Conclusion
Turning on your webcam and maintaining its functionality is a fundamental aspect of modern digital life. While the process is often automatic, understanding the underlying mechanisms and common troubleshooting steps empowers you to quickly resolve any issues that may arise. By paying attention to physical connections, privacy settings, driver updates, and application permissions, you can ensure your webcam is always ready for seamless communication and content creation.
A well-functioning webcam, coupled with good lighting and proper framing, significantly enhances your virtual presence. Investing a little time in understanding these aspects means you’re not just turning on a device; you’re actively engaging with the world, making every video call and recording clear, professional, and impactful.