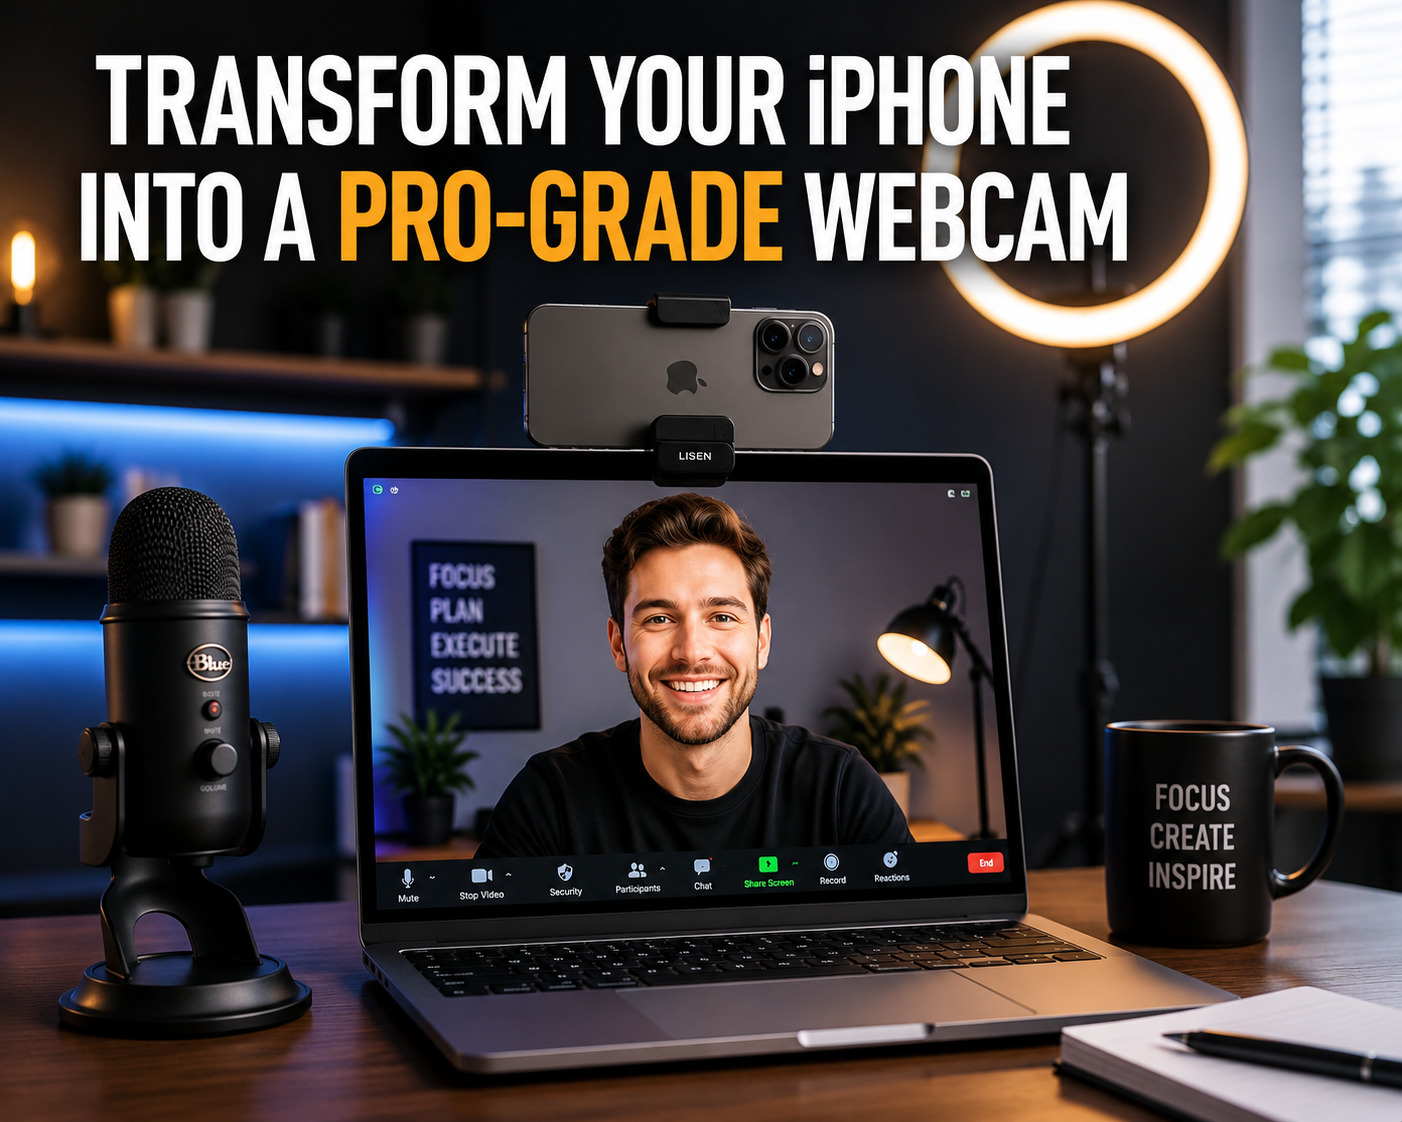
You can effortlessly transform your iPhone into a high-quality webcam for your computer, significantly upgrading your video call and streaming experience. This capability leverages the iPhone’s superior camera technology, offering a stark improvement over most built-in laptop webcams.
The ubiquity of video communication, from remote work to online education and social connections, makes high-quality video more important than ever. While many laptops come with integrated webcams, their image quality often falls short. Your iPhone, with its advanced optics and powerful image processing, presents an immediate and effective solution to achieve a professional visual presence.
Why Turn Your iPhone into a Webcam? The Quality Advantage
Modern iPhones house sophisticated camera systems that far outstrip the capabilities of most standard webcams. These devices feature larger sensors, advanced lenses, and powerful image signal processors that enable them to capture stunning detail, vibrant colors, and handle challenging lighting conditions with ease.
Even years-old iPhone models often deliver superior video quality compared to many dedicated webcams. “The iPhone’s camera is leagues ahead of any webcam,” states Reincubate, creators of the popular Camo app. “Short of connecting a $1,500 DSLR camera to your computer, nothing will come close.”
While many laptop webcams in 2026 offer 2MP (1080p) resolution, resolution alone does not guarantee quality. Most lack autofocus, resulting in blurry images, and struggle with small sensors and subpar lenses. In contrast, iPhones boast impressive autofocus, auto-exposure, and dynamic range, leading to a more polished and professional appearance on video calls. The global video conferencing market is expected to reach an estimated $41.62 billion in 2026, highlighting the increasing demand for reliable and high-quality virtual communication.
Choosing Your Method: Continuity Camera vs. Third-Party Apps
When converting your iPhone into a webcam, you generally have two primary approaches: Apple’s native Continuity Camera feature for macOS users or versatile third-party applications that support both macOS and Windows.
Each method offers distinct advantages and considerations regarding setup, features, and compatibility. Understanding these differences will help you select the best solution for your specific needs.
| Feature | Continuity Camera (macOS) | Third-Party Apps (e.g., Camo, EpocCam) |
|---|---|---|
| Compatibility | macOS only (iPhone XR, XS, or later running iOS 16+; Mac running macOS Ventura 13+). | macOS and Windows (specific OS versions vary by app, many support older iPhones/Android). |
| Ease of Setup | Extremely seamless, often automatic if devices meet requirements. | Requires installing both iPhone app and desktop client, then connecting. |
| Connectivity | Wireless (Wi-Fi and Bluetooth) or wired (USB). | Wireless (Wi-Fi) or wired (USB). |
| Core Features | Center Stage, Desk View, Portrait Mode, Studio Light. | Lenses control, resolution/frame rate, manual controls (exposure, white balance, focus), digital zoom, virtual backgrounds, green screen, image adjustments. (Features vary by app and premium tiers). |
| Cost | Free (built into iOS and macOS). | Free versions with limitations (e.g., watermark, lower resolution); Pro versions often require subscription or one-time purchase. |
| Advanced Control | Limited manual camera controls within macOS. | Extensive manual camera controls, color grading, and styling options. |
macOS Continuity Camera: Seamless Integration for Apple Users
Apple’s Continuity Camera is a powerful, built-in feature that seamlessly integrates your iPhone’s camera with your Mac. It allows you to use your iPhone as a webcam for FaceTime, Zoom, and other video conferencing applications directly within macOS.
The main appeal of Continuity Camera lies in its simplicity and deep integration within the Apple ecosystem. It leverages the advanced camera system of your iPhone to provide professional-looking videos without needing additional software.
Key features include Center Stage, which keeps you automatically centered in the frame even as you move, and Desk View, which uses the iPhone’s ultrawide camera to show both your face and an overhead view of your desk for demonstrations. Additionally, Portrait Mode can blur your background, and Studio Light enhances your lighting without external equipment. These features enhance your video presence significantly. “Apple’s Continuity Camera makes it easier to capture high-quality footage, and it offers several features that can improve the way you shoot and edit videos,” notes Vimeo.
Setting Up Continuity Camera: A Step-by-Step Guide
Setting up Continuity Camera is remarkably straightforward, often working automatically once your devices meet the requirements. It functions wirelessly or with a USB connection.
Requirements:
- An iPhone XR or later running iOS 16 or newer.
- A Mac running macOS Ventura 13 or later.
- Both devices must be signed in to the same Apple ID with two-factor authentication enabled.
- Wi-Fi and Bluetooth must be turned on for both devices.
- Your iPhone should not be sharing its cellular connection, or using AirPlay or Sidecar.
Steps:
- Position Your iPhone: Place your iPhone in a secure mount on top of your Mac’s display. Ensure the rear camera is facing you. You can connect it via USB to keep it charged or use it wirelessly.
- Select Your iPhone on Mac: Open any video conferencing app like FaceTime, Zoom, or Google Meet on your Mac. Click on the video settings or camera selection menu.
- Choose Your iPhone: Your iPhone should appear as a camera option. Select it from the list. The Continuity Camera features like Center Stage, Portrait Mode, and Studio Light will be available in the Mac’s Control Center video effects menu.
- Enable Continuity Camera on iPhone: If it doesn’t appear, check your iPhone settings: Go to Settings > General > AirPlay & Handoff and ensure Continuity Camera is toggled on. You can also try toggling it off and on again to refresh the connection.
For optimal performance, always connect your iPhone to a power cable during extended use to prevent battery drain.
Third-Party Webcam Apps: Versatility Across Platforms
If you need more advanced control over your video, cross-platform compatibility (especially for Windows users), or if your devices don’t meet Continuity Camera requirements, third-party apps are an excellent alternative. These applications transform your iPhone into a highly customizable webcam, often with features exceeding Apple’s native offering.
Popular choices include Camo by Reincubate and EpocCam by Elgato. These apps typically consist of an iPhone app and a desktop client for your computer.
Benefits:
- Cross-Platform Compatibility: Many apps support both macOS and Windows, making them ideal for mixed-device environments.
- Advanced Controls: These apps often provide granular control over aspects like exposure, white balance, focus, zoom, and even offer cinematic filters or green screen capabilities.
- Wider Device Support: Some third-party apps may support older iPhone models than Continuity Camera.
Considerations:
- Pricing: While many offer free versions, premium features like 1080p+ resolution, watermark removal, and full manual controls often require a subscription or one-time purchase. For example, Camo Pro costs $4.99/month, $39.99/year, or $79.99 for a lifetime license to unlock full features, while EpocCam Pro is a one-time purchase of $7.99.
- Installation: Requires installing software on both your iPhone and computer.
Installing and Using a Third-Party Webcam App: General Steps
While specific steps may vary slightly between apps, the general process for setting up a third-party iPhone webcam app is similar.
- Choose an App: Decide on a third-party webcam app that suits your needs, such as Camo or EpocCam.
- Download iPhone App: Install the chosen app from the Apple App Store on your iPhone.
- Download Desktop Client: Go to the app developer’s website (e.g., Reincubate for Camo, Elgato for EpocCam) and download the corresponding desktop client for your Mac or Windows PC.
- Install Desktop Client: Follow the on-screen instructions to install the desktop software. This often involves granting necessary permissions for camera and microphone access.
- Connect Devices: Open both the iPhone app and the desktop client. Most apps will automatically detect your iPhone via Wi-Fi or USB connection. Ensure both devices are on the same Wi-Fi network for wireless connection.
- Select as Webcam: In your video conferencing or streaming software (e.g., Zoom, Microsoft Teams, OBS Studio), go to the video input settings and select the virtual camera created by your chosen third-party app (e.g., “Camo Camera” or “EpocCam Camera”).
From the desktop client, you can typically adjust various camera settings, preview your video feed, and enable advanced features.
Optimizing Your iPhone Webcam Setup for Professional Results
Simply using your iPhone as a webcam is a significant upgrade, but a few strategic optimizations can elevate your video quality from good to truly professional.
The Importance of Mounting and Positioning
A stable and well-positioned iPhone is crucial for professional video. Handheld video is shaky and distracting. Investing in a proper mount ensures your camera remains steady and at the correct angle.
- Eye-Level Placement: Position your iPhone so its camera is at or slightly above eye level. This creates a more natural and engaging viewing experience for your audience.
- Stable Mounts: Dedicated iPhone mounts designed for laptops or desktop monitors are highly recommended. Apple worked with Belkin to create compatible MagSafe mounts for Continuity Camera. Options like the Belkin iPhone Mount with MagSafe for Mac Notebooks or Mac Desktops provide secure attachment. Other notable mounts include the Neewer SP08 Continuity Camera Mount for versatility with tripods and monitor clipping, and the Sodi Continuity Camera Mount which doubles as a desktop stand.
- Background Considerations: Ensure your background is clean, uncluttered, and professional.
Lighting Your Scene for Impact
Good lighting can drastically improve your video quality, even with the best camera. Professional lighting makes you look clearer, more vibrant, and more engaging.
- Natural Light: The best light source is often natural light from a window, positioned in front of you. Avoid having a bright window directly behind you, as this will silhouette you.
- Dedicated Lighting: For consistent results, especially indoors or in low-light conditions, consider a ring light or softbox. These lights provide soft, even illumination that flatters your face and reduces harsh shadows.
- Three-Point Lighting: For advanced setups, explore basic three-point lighting: a key light (main light source), a fill light (softens shadows), and a backlight (separates you from the background).
- Studio Light Feature: Continuity Camera offers a “Studio Light” effect that brightens your face and dims the background, useful for quick enhancements.
Audio Matters: Beyond the iPhone Mic
While iPhone microphones are capable, external microphones significantly enhance audio clarity, reduce background noise, and deliver a more polished sound. Viewers often tolerate imperfect video more readily than poor audio.
- External Microphone Types:
- Lavalier (lapel) Microphones: Clip directly onto your clothing, providing clear, close-up audio.
- USB Desktop Microphones: Offer excellent quality for stationary setups, connecting directly to your computer.
- Wireless Microphones: Provide freedom of movement, popular for vlogging or presentations.
- Connecting an External Mic:
- For iPhones with a Lightning port (iPhone 14 and earlier), you’ll likely need a Lightning to 3.5mm adapter for traditional wired mics, or a Lightning to USB Camera Adapter for USB microphones.
- Newer iPhones with USB-C ports (iPhone 15 and later) can often connect directly to USB microphones with a USB-C to USB-C cable or use a USB-C to 3.5mm adapter.
- App Integration: Most third-party webcam apps and Continuity Camera will allow you to select your external microphone as the audio input. Ensure microphone permissions are granted in your iPhone’s settings.
Camera Settings and App Features
Both Continuity Camera and third-party apps offer settings to fine-tune your video.
- Resolution and Frame Rate: Aim for 1080p resolution at 30 frames per second (fps) for most video calls. Some apps and iPhones support 4K, which is excellent for recording. Camo’s free version offers up to 720p, while the Pro version unlocks 1080p and higher.
- Manual Controls: Third-party apps like Camo provide extensive manual controls for exposure, white balance, ISO, and shutter speed. This allows you to achieve consistent and professional-looking video regardless of changing environmental conditions.
- Digital Zoom and Cropping: Use these features to frame yourself effectively, but be mindful that excessive digital zoom can reduce image quality.
- In-App Enhancements: Features like Portrait Mode (background blur) and virtual backgrounds can maintain privacy or add a professional touch.
Common Challenges and Troubleshooting Tips
While using your iPhone as a webcam is generally seamless, you might encounter occasional issues. Here are common problems and how to troubleshoot them.
- Connectivity Issues:
- Wi-Fi/Bluetooth: Ensure both your iPhone and computer have Wi-Fi and Bluetooth enabled and are on the same network. Toggle them off and on to refresh.
- USB Connection: If using a cable, try a different USB port or cable. Ensure the connection is secure.
- VPN: A VPN on either device can interfere with the connection. Temporarily disable your VPN.
- iPhone Not Appearing as an Option:
- Compatibility: Verify your iPhone and Mac meet the minimum OS and hardware requirements for Continuity Camera.
- Continuity Camera Setting: On your iPhone, go to Settings > General > AirPlay & Handoff and confirm Continuity Camera is enabled.
- Software Updates: Make sure both your iPhone and Mac are running the latest software updates.
- Restart Devices: A simple restart of both your iPhone and computer can resolve many glitches.
- Check Apple ID: Ensure both devices are signed in with the same Apple ID.
- Other Apps: If another app (like FaceTime) is already using the iPhone camera, it might not be available to your desired application. Close conflicting apps.
- OBS Studio Workaround: If Continuity Camera appears in FaceTime but not other apps (like Chrome), you can route your iPhone’s camera through OBS Studio’s “Virtual Camera” feature. Download OBS Studio, add your iPhone as a “Video Capture Device” source, then start the “Virtual Camera.” Select “OBS Virtual Camera” in your desired application.
- Performance Lag or Freezing:
- Bandwidth: A slow Wi-Fi connection can cause lag, especially for higher resolutions. Try a wired USB connection for better stability.
- Background Apps: Close unnecessary applications on both your iPhone and computer to free up resources.
- iPhone Temperature: Prolonged use can cause your iPhone to heat up, potentially affecting performance. Ensure adequate ventilation.
- Battery Drain:
- Using your iPhone as a webcam, especially wirelessly, consumes significant battery. Always keep your iPhone plugged into a power source during extended use.
- Incoming Calls/Notifications:
- Incoming calls or notifications can interrupt your video feed. Enable Do Not Disturb mode on your iPhone to prevent interruptions during important calls.
The Future of iPhone as a Webcam: Trends and Innovations
The integration of iPhones as high-quality webcams marks a significant shift in how we approach virtual communication. The trend is towards increasingly sophisticated software and hardware working in concert to deliver a seamless, studio-quality experience from everyday devices.
Expect further advancements in computational photography, leveraging the iPhone’s Neural Engine for even more realistic virtual backgrounds, enhanced low-light performance, and intelligent framing capabilities. As video conferencing continues its rapid growth—with the global market reaching an estimated $37.29 billion in 2025 and projections pointing to $41.62 billion in 2026—the demand for superior video quality will only intensify. The average large-company employee spends 12.8 hours per week in meetings, underscoring the importance of high-quality communication tools. Innovations will likely focus on even lower latency, greater cross-platform compatibility, and more intuitive controls, making professional-grade video accessible to everyone.
FAQ
Does Continuity Camera work with Windows?
No, Apple’s Continuity Camera is exclusive to the Apple ecosystem and only works with iPhones connected to Macs. For Windows compatibility, you will need to use a third-party webcam application like Camo or EpocCam.
Do I need a paid app to use my iPhone as a webcam?
Not necessarily. If you have a compatible iPhone and Mac, Apple’s Continuity Camera is free and built into iOS and macOS. Many third-party apps also offer free versions with basic features, though they often include watermarks or lower resolution limits.
What’s the best iPhone model for webcam use?
Any recent iPhone model (iPhone XR or later for Continuity Camera, or generally iPhone 8 and newer for third-party apps) will offer significantly better quality than most built-in webcams. Newer iPhones, especially Pro models, will provide the best results due to their advanced camera systems, larger sensors, and improved low-light performance.
Can I use my iPhone’s microphone when using it as a webcam?
Yes, both Continuity Camera and most third-party webcam apps allow you to use your iPhone’s built-in microphone as the audio input for your computer. For superior audio quality, however, an external microphone is highly recommended.
Conclusion
Leveraging your iPhone as a webcam is one of the most impactful upgrades you can make to your virtual communication setup. Whether you opt for the seamless integration of Apple’s Continuity Camera or the versatile features of a third-party app, you’ll unlock a level of video quality far superior to most conventional webcams. By focusing on proper mounting, effective lighting, and clear audio, you can transform your everyday device into a professional video tool, ensuring you always look and sound your best. This powerful yet accessible solution is a testament to the iPhone’s advanced capabilities and its role in modern digital interactions.