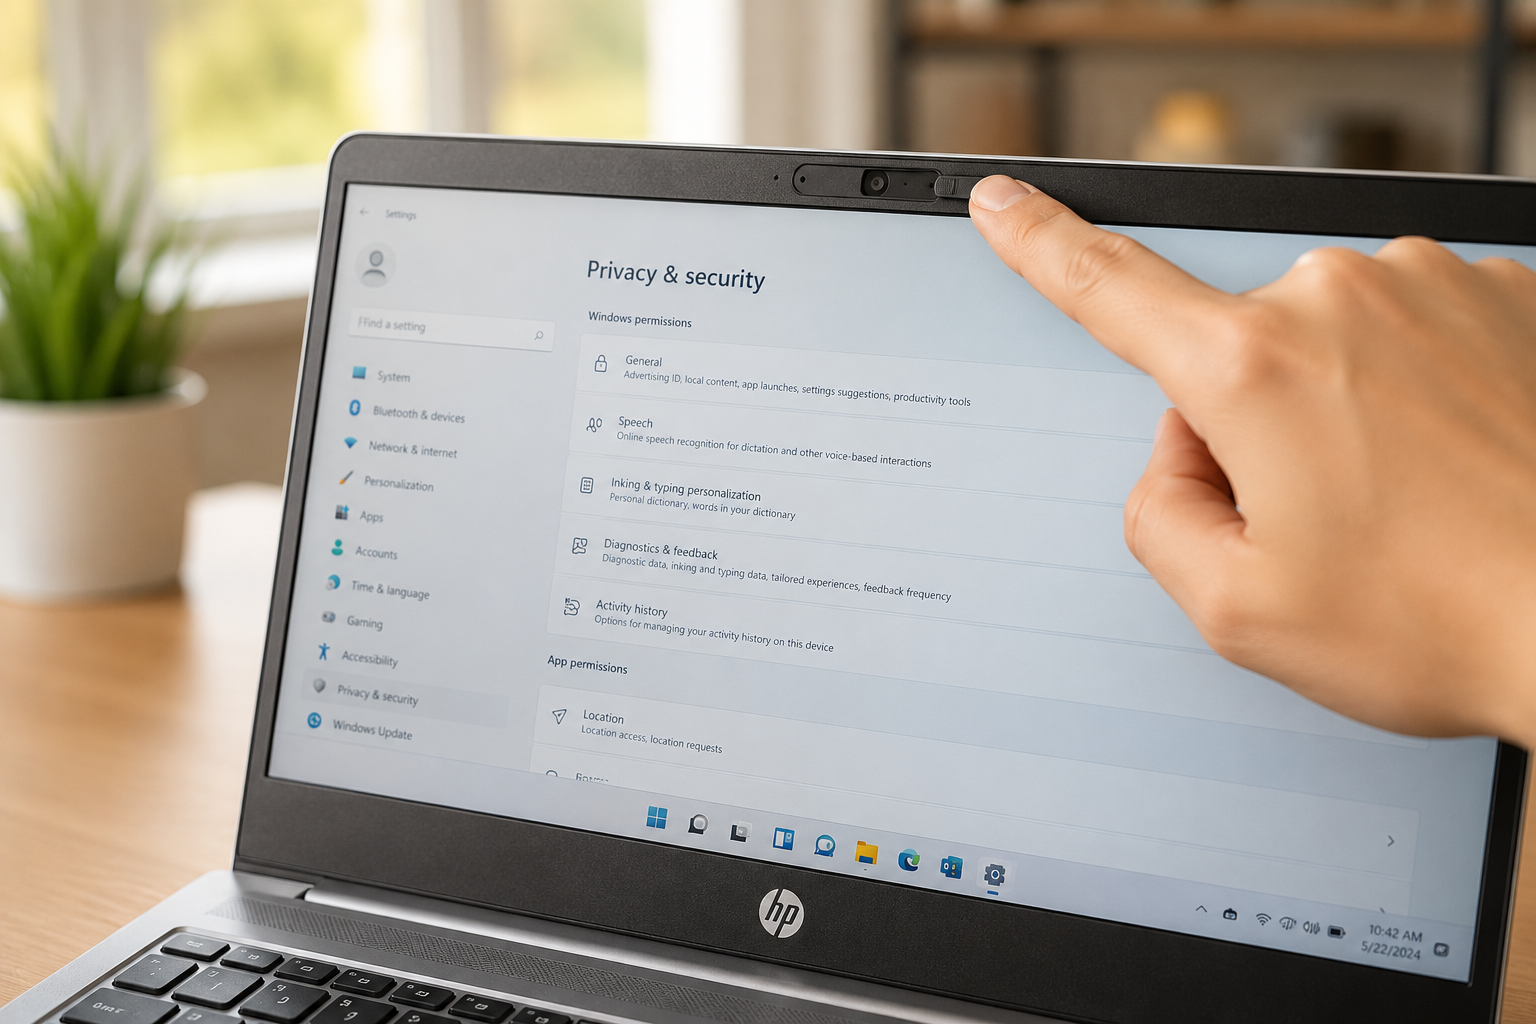
Enabling the webcam on your HP laptop typically involves a few key steps, from checking physical privacy features to configuring Windows settings and ensuring up-to-date drivers. Many HP models feature a physical privacy shutter or a dedicated keyboard key to toggle the camera, which is often the first place to look. After confirming any physical blocks are removed, you’ll need to enable camera access in Windows Settings under the ‘Privacy & security’ section and then ensure individual applications have permission to use your webcam. Finally, updating or reinstalling your webcam drivers through Device Manager or HP Support Assistant can resolve most software-related issues.
In today’s interconnected world, a functional webcam is more than just a convenience; it’s an essential tool for communication, collaboration, and even creativity. Whether you’re joining a crucial video conference for work, attending virtual classes, or connecting with loved ones across distances, knowing how to confidently manage your HP laptop’s camera ensures you’re always ready. This comprehensive guide, forged from practical experience, cuts through the complexity to provide clear, actionable steps, addressing common pitfalls and offering solutions that get your webcam up and running efficiently.
Understanding Your HP Laptop’s Webcam: The Foundation
Most modern HP laptops come equipped with an integrated webcam, typically located at the top center of your screen bezel. This small but powerful component allows for real-time video capture, making video calls, content creation, and biometric authentication possible. Understanding its basic functionality and common points of failure is the first step toward troubleshooting any issues.
The Integrated Webcam: More Than Meets the Eye
An integrated webcam functions like a miniature digital camera built directly into your laptop’s display assembly. It connects to your system’s motherboard and relies on specific drivers to communicate with the operating system (Windows 10 or 11) and applications. While often taken for granted, its seamless operation is crucial for many daily tasks.
Common Reasons Why Your Webcam Might Be Disabled
Several factors can lead to your HP webcam being disabled, ranging from simple oversights to software conflicts. Identifying the root cause is key to applying the correct solution. Some common reasons include:
- Physical Privacy Features: Many HP laptops now include a physical privacy shutter, a small slider that covers the camera lens, or a dedicated webcam kill switch (button) on the keyboard or side of the laptop.
- Windows Privacy Settings: Windows 10 and 11 have robust privacy controls that allow you to block camera access globally or for specific applications.
- Outdated or Corrupt Drivers: The software (driver) that allows your operating system to communicate with the webcam can become outdated or corrupted, preventing the camera from functioning.
- Application-Specific Settings: Individual applications (like Zoom, Microsoft Teams, or Skype) have their own internal camera settings that might inadvertently disable the webcam within that specific app.
- Hardware Malfunction: In rare cases, the webcam itself may have a hardware defect.
“In an era where digital communication is paramount, a non-functional webcam can be a major roadblock,” states Dr. Evelyn Reed, a cybersecurity expert and digital privacy advocate. “Often, the fix is remarkably simple, stemming from overlooked physical controls or software privacy settings.” This highlights the importance of a methodical approach to troubleshooting.
The Essential Steps to Enable Your HP Webcam
To get your HP laptop’s webcam working, follow these steps methodically. We’ll start with the most common and easiest fixes before moving to more advanced solutions.
Step 1: Checking Physical Switches and Privacy Shutters
Before diving into software settings, always check for physical obstructions or privacy controls on your HP laptop. This is a common and easily overlooked solution.
- Webcam Privacy Cover/Shutter: Many HP models feature a tiny slider directly above the webcam lens. Slide it to ensure the lens is uncovered. You should see the clear camera lens, not a black tab.
- Webcam Privacy Switch: Some HP laptops have a small physical switch on the side (left or right edge) of the laptop chassis. Slide this switch to the ‘on’ position, typically away from a camera-off icon.
- Webcam Shutter Key: Look for a dedicated key on the top row of your keyboard (often F8, F9, F10, or F12) that has a camera icon. Press this key. On some models, you might need to press the Fn key simultaneously with the webcam key.
These physical controls are designed to provide a hardware-level privacy block, making them impossible for software to bypass.
Step 2: Enabling the Webcam in Windows Settings
Windows 10 and 11 have centralized privacy settings that control camera access for your device and individual applications. Ensure these are configured correctly.
For Windows 11:
- Right-click the Start button and select Settings.
- In the Settings window, select Privacy & security from the left-hand menu.
- Under the “App permissions” section, click on Camera.
- Ensure the Camera access toggle is set to On. This controls device-wide access.
- Further down, make sure the Let apps access your camera toggle is also set to On.
For Windows 10:
- Right-click the Start button and select Settings.
- In the Settings window, click on Privacy.
- From the left-hand menu, scroll down to “App permissions” and select Camera.
- Under “Allow access to the camera on this device,” click the Change button and ensure the toggle is set to On.
- Make sure Allow apps to access your camera is toggled On.
Step 3: Managing Webcam Access for Applications
Even if global camera access is enabled, specific applications might still be denied permission. You need to grant access to the apps you intend to use with your webcam.
After following Step 2 for your respective Windows version:
- Scroll down on the Camera privacy settings page.
- You will see a list of Microsoft Store apps. Ensure the toggle next to each app you want to use with your camera (e.g., Camera, Skype, Microsoft Teams, Zoom) is set to On.
- For desktop applications (like Chrome, OBS Studio, or some conferencing apps downloaded from the internet), ensure the setting Let desktop apps access your camera is set to On. Desktop apps cannot be individually toggled like Microsoft Store apps.
It’s vital to regularly review these permissions. As cybersecurity expert Asaf Ashkenazi notes, “Each time you give an app permission to use your camera, you put your privacy in the hands of whatever company manages that app.”
Step 4: Updating or Reinstalling Webcam Drivers
Outdated or corrupted drivers are a frequent cause of webcam malfunctions. Updating or reinstalling them can often resolve the issue.
Accessing Device Manager
The Device Manager is your go-to tool for managing hardware drivers in Windows.
- Right-click the Start button (or press Windows key + X) and select Device Manager.
- In Device Manager, expand the Cameras or Imaging devices section. Your webcam will typically be listed here, possibly as “HP Wide Vision Camera,” “Integrated Webcam,” or “USB Video Device.”
Updating Drivers Automatically
Windows can often find and install the latest drivers automatically.
- Right-click your webcam’s name in Device Manager.
- Select Update driver.
- Choose Search automatically for updated driver software.
- Follow any on-screen prompts. If a new driver is found, install it and then restart your laptop.
Manual Driver Reinstallation
If an automatic update doesn’t work or the camera is missing, reinstalling the driver can help.
- In Device Manager, right-click your webcam’s name (or “Unknown device” if your camera isn’t recognized).
- Select Uninstall device.
- If prompted, check the box that says Delete the driver software for this device. Then click Uninstall.
- Restart your HP laptop. Windows will automatically attempt to reinstall a generic or the correct driver upon reboot.
- Check the Camera app after restarting to see if the issue is resolved.
If Windows does not automatically reinstall the driver, you might need to visit the official HP Support website for your specific laptop model. Search for “camera driver” or “webcam driver” under the software and drivers section. Download and install the compatible driver, then restart your laptop. Sometimes, Windows 10 drivers are compatible with Windows 11.
Step 5: Utilizing HP Support Assistant for Driver Management
HP Support Assistant is a pre-installed tool on most HP laptops that helps manage updates, troubleshoot issues, and access support resources.
- Search for “HP Support Assistant” in the Windows search bar and open the application.
- Allow the application to scan your device for updates and issues.
- Navigate to the Updates section.
- Install any recommended camera driver updates.
- Restart your laptop after the installation.
This tool simplifies the process of finding and installing the correct drivers, often more reliably than generic Windows Update.
Troubleshooting Common HP Webcam Issues
Even after following the enablement steps, you might encounter specific issues. Here’s how to address them.
Webcam Not Detected in Device Manager
If your webcam doesn’t appear under “Cameras” or “Imaging devices” in Device Manager, it could be a hardware or deep driver issue.
- Show Hidden Devices: In Device Manager, click View > Show hidden devices. Sometimes, disabled or problematic devices are hidden.
- Scan for Hardware Changes: Click Action > Scan for hardware changes. This forces Windows to rescan for connected devices.
- Check BIOS Settings: Some HP laptops have a BIOS setting to enable or disable the integrated camera. Restart your laptop and repeatedly press F10 (or Esc then F10) to enter BIOS Setup. Look under the Security or Device Security tab for an “Integrated Camera” or “Webcam” option and ensure it’s Enabled. Save changes and exit.
- HP PC Hardware Diagnostics: Power off your laptop, then power it on and immediately tap F2 repeatedly to enter HP PC Hardware Diagnostics. Select Component Tests > Webcam Test. If the test fails, it indicates a hardware issue.
Webcam Showing a Black Screen
A black screen in the Camera app or other applications usually points to a driver conflict or application access issue.
- Ensure No Other App is Using It: Only one application can typically use the webcam at a time. Close any other apps that might be accessing the camera.
- Restart the Camera App: Close the Camera app completely and reopen it.
- Restart Your Laptop: A simple restart can resolve temporary glitches.
- Reinstall Camera App: If the issue persists with the Windows Camera app, you can uninstall and reinstall it from the Microsoft Store.
“Camera Not Found” or Error Codes
These messages indicate that Windows cannot detect or communicate with the webcam.
- Recheck all Privacy Settings: Double-verify both system-wide and app-specific camera access in Windows Settings (Step 2 & 3).
- Update Graphics Drivers: Sometimes, camera functionality is tied to graphics drivers. Ensure your graphics drivers (Intel, NVIDIA, or AMD) are up to date through HP Support Assistant or their respective manufacturer websites.
- System Restore: If the webcam stopped working recently, especially after an update, you can try using System Restore to revert your system to a previous working state.
Performance Tips for Optimal Webcam Usage
Once your webcam is enabled, consider these tips for the best experience:
- Good Lighting: Position yourself in a well-lit environment, ideally with light coming from in front of you.
- Stable Internet Connection: A strong Wi-Fi or wired connection is crucial for smooth video quality during calls.
- Clear Background: A tidy or neutral background helps keep the focus on you.
- Close Unnecessary Apps: Free up system resources by closing applications you don’t need during video calls.
Advanced Configuration and Privacy Settings
Beyond basic enablement, you can fine-tune your webcam’s behavior and enhance your digital privacy.
Adjusting Webcam Settings in Camera App
The built-in Windows Camera app offers basic settings for your webcam.
- Open the Camera app from the Start Menu.
- Click the Settings gear icon (usually in the top right or left corner).
- Here you can often adjust settings like resolution, aspect ratio, framing grid, and timer. Some advanced webcams might offer more options.
For more granular control, third-party webcam software (if provided by HP or a universal webcam utility) can offer features like brightness, contrast, white balance, and pan/tilt/zoom functions.
Privacy and Security: Protecting Your Digital Space
Webcam privacy is a significant concern for many users. A 2019 survey commissioned by HP found that 79% of US consumers are aware their privacy could be compromised via their laptop webcams, with nearly 60% physically covering their webcams. Even FBI Director James Comey has recommended covering webcams.
While enabling your webcam, consider these practices:
- Physical Covers: The most foolproof method for privacy is a physical webcam cover or shutter. HP integrates these into many of its laptops for this very reason. As cybersecurity expert Kavya Pearlman notes, “If you’re still worried, the best thing is a physical device, like a Post-it, to make you feel better that you’re making it impossible.”
- Review App Permissions Regularly: Periodically check which applications have camera access in Windows Settings. Disable access for any apps you don’t actively use with the camera.
- Be Wary of Suspicious Links: Malicious links can download malware that compromises your webcam. Exercise caution with emails and websites.
- Keep Software Updated: Regularly update your operating system, browser, and antivirus software to protect against vulnerabilities.
A 2021 study revealed that 91.5% of medical students were against using webcams in online classes, primarily due to privacy concerns (88.4%) and anxiety (64.4%), underscoring the universal nature of these worries.
Using External Webcams with Your HP Laptop
If your integrated webcam is broken, or you simply need better quality, an external USB webcam is an excellent alternative.
- Plug and Play: Most external webcams are “plug and play.” Simply connect the USB cable to an available port on your HP laptop.
- Driver Installation: Windows will usually detect and install the necessary drivers automatically. If not, follow the manufacturer’s instructions, which might involve installing software from a disc or download.
- Select in Application: In your video conferencing or recording application, navigate to its video/camera settings. You should see an option to select your external webcam from a dropdown list.
Using an external webcam bypasses many of the potential issues with integrated units, offering greater flexibility and often superior image quality.
FAQ: Your Top Questions About HP Webcams Answered
How do I know if my HP laptop has a built-in webcam?
Most HP laptops manufactured in recent years include a built-in webcam. Look for a small lens centered above your screen. Many models also have a small LED light next to it that illuminates when the camera is active.
Why is my HP webcam showing a black screen?
A black screen often points to a physical privacy shutter being closed, incorrect Windows privacy settings, or another application already using the camera. Check your physical shutter/switch, Windows Camera privacy settings, and ensure only one application is trying to access the camera at a time.
Do I need special software to use my HP webcam?
No, you generally don’t need special software. Windows has a built-in Camera app, and most video conferencing tools like Zoom or Microsoft Teams will detect and use your webcam automatically once system permissions are granted.
Can I disable my HP webcam for privacy?
Yes, you can disable your HP webcam. The easiest methods are using a physical privacy shutter/switch, the webcam function key on your keyboard, or disabling camera access in Windows Settings under ‘Privacy & security’ > ‘Camera’.
What should I do if my webcam still isn’t working after all these steps?
If your webcam remains unresponsive, consider performing an HP PC Hardware Diagnostics test to check for a hardware issue. If the test indicates a fault, contacting HP Support for service or considering an external USB webcam would be the next steps.
Conclusion
Enabling and troubleshooting your HP laptop’s webcam can seem daunting, but by systematically checking physical controls, Windows privacy settings, application permissions, and driver status, most issues can be quickly resolved. Remember to prioritize privacy by regularly reviewing permissions and utilizing physical shutters. A functional webcam is a powerful tool, and with the steps outlined in this guide, you can ensure your HP laptop is always ready for your next video call, virtual meeting, or creative project.