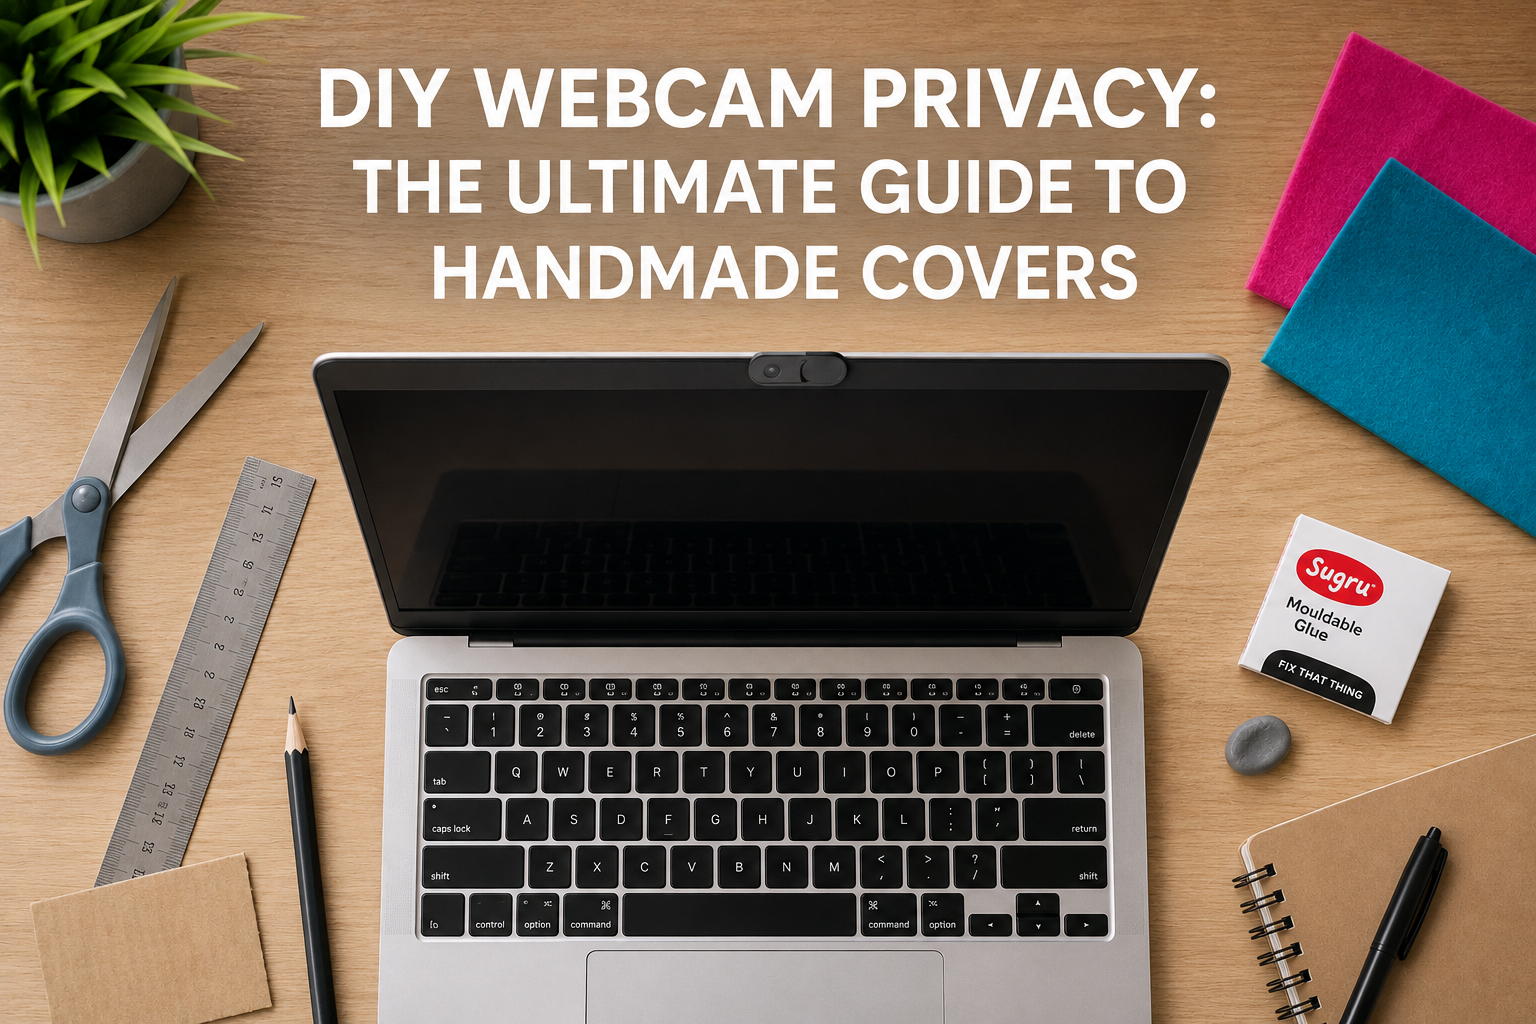
Crafting your own webcam cover is a straightforward and effective way to safeguard your digital privacy. You can easily make a functional cover using common household items like cardboard, plastic, or even a simple sticky note, providing an immediate physical barrier against potential unauthorized access to your camera.
In an age where our lives are increasingly digital, the small lens on your laptop or smartphone represents a potential vulnerability. Protecting this tiny portal offers peace of mind, ensuring that when you’re not actively using your camera, no one else can see through it.
Why a Webcam Cover is Essential for Your Digital Security
Webcam covers offer a crucial layer of digital privacy in an era of constant connectivity. They prevent unauthorized access to your camera, even if your device is compromised by sophisticated malware. This physical barrier acts as a foolproof defense against potential surveillance. For a deep dive into how webcams are used in controlled environments, consider understanding online proctoring.
Cybercriminals can exploit software vulnerabilities to remotely activate webcams without your knowledge. This alarming practice, known as camfecting, poses significant risks for personal security and sensitive information, turning your device into an unintended surveillance tool. For legitimate applications, learn how to record your webcam for content creation.
Understanding the Risks: What Happens Without Protection?
Without a webcam cover, your privacy is vulnerable to various forms of digital intrusion. Malware or phishing attacks can grant attackers control over your camera, potentially leading to identity theft, blackmail, or the leakage of sensitive data.
Cybersecurity specialist Jake Moore at ESET emphasizes the risk, stating, “By leaving your webcam uncovered, you are essentially placing a surveillance camera into your home.” This highlights the constant, unseen threat that an unprotected webcam can pose to your personal space. In 2023, Check Point Research reported that webcam hacking incidents increased by 300% in the last two years, with 1.2 million incidents globally.
Choosing Your DIY Webcam Cover Approach
Deciding on a DIY webcam cover involves selecting materials and a method that best suits your needs and device. You can opt for temporary, easily removable solutions or more durable, reusable options that offer a more permanent shield.
Consider your device type, how often you use your webcam, and the level of craftsmanship you’re comfortable with. Each approach offers distinct advantages for securing your digital space.
Temporary Solutions: Quick Fixes for Immediate Privacy Needs
Temporary covers are ideal for quick privacy needs or when you’re on the go. These solutions use readily available household items and require minimal effort to apply.
They are typically disposable or easily replaceable, making them convenient for short-term security. These options are perfect for immediate peace of mind without a long-term commitment.
- Post-it notes
- Electrical tape
- Small band-aids
- A small piece of paper with painter’s tape
According to an HP-commissioned survey, nearly 60% of consumers physically cover their webcams, with 43% using tape and 35% using a sticky note.
Reusable Options: Durable Designs for Long-Term Protection
Reusable webcam covers offer a more permanent and often more aesthetically pleasing solution. These options usually involve slightly more crafting but provide sustained security and can be customized to your preference.
Such designs are built to last, offering consistent protection without the need for frequent replacement. They can also be a creative way to personalize your device.
- Thin cardboard (e.g., from a cereal box)
- Thin plastic sheets (e.g., old gift card, plastic folder)
- Moldable glue like Sugru
- Felt or craft foam
Step-by-Step Guide: How to Make a Simple Cardboard Webcam Cover
A cardboard webcam cover is an accessible and highly effective DIY project for enhancing your privacy. This method utilizes common household items and requires only basic crafting skills, making it a perfect starting point for anyone.
It provides a secure, removable barrier for your camera, ensuring physical privacy whenever needed. This simple solution offers substantial peace of mind.
Materials You Will Need
- Small piece of thin cardboard (e.g., from a cereal box)
- Scissors or a craft knife
- Ruler
- Pencil
- Double-sided tape or Sugru (for attachment)
The Process: Crafting Your Cardboard Cover
Measure Your Webcam: Carefully measure the dimensions of your webcam and the area immediately surrounding it. Ensure you account for any indicator lights or sensors you might want to remain visible or uncovered. For laptops, it’s crucial to measure the thickness of your chosen material. Apple, for example, warns that covers thicker than
0.1mm can damage MacBook displays due to tight tolerances.Cut a Small Rectangle from Cardboard: Using your ruler and pencil, mark out a rectangle on the cardboard that is slightly larger than your webcam. Cut it out precisely with scissors or a craft knife. The extra size ensures it fully covers the lens without obstructing other features.
Add Adhesive: Apply a small piece of double-sided tape to the back of the cardboard cover, or a small blob of Sugru. If using tape, choose a low-tack option to prevent residue and potential screen damage. Sugru offers a stronger, custom fit that cures into flexible rubber.
Attach the Cover: Carefully position the cardboard piece over your webcam, ensuring the lens is completely obscured. Press gently to secure the adhesive. Remember to remove the cover before closing your laptop, especially if it’s a newer model with tight screen tolerances.
| Adhesive Type | Pros | Cons |
|---|---|---|
| Double-Sided Tape | Easy to apply, widely available, good initial stick, low cost. | Can leave residue, may lose stick over time, not repositionable, potential for screen damage if too strong. |
| Sugru | Strong hold, repositionable (before curing), reusable, forms to shape, minimal residue. | Requires curing time, more expensive, less common, permanent once cured. |
| Painter’s Tape | Very low residue, easily removable, affordable, gentle on surfaces. | Lower adhesion, may require more frequent replacement, not very durable. |
Advanced DIY: Crafting a Sliding Webcam Cover
A sliding webcam cover offers superior convenience and a sleek, integrated design. This project requires a bit more precision and patience but yields a professional-looking cover that allows for easy camera access.
It provides a robust, reusable solution that slides open and closed, giving you instant control over your webcam’s visibility. This design is highly practical for daily use.
What You’ll Need for a Sliding Cover
- Thin plastic sheet (e.g., an old gift card, plastic folder, or credit card)
- Small craft knife or strong scissors
- Fine-grit sandpaper
- Super glue (or strong craft adhesive)
- Thin felt or foam tape
- Ruler
- Pencil
Building Your Sliding Mechanism
Measure Webcam and Surrounding Area: Accurately measure your webcam and the flat surface around it where the cover will sit. You will need to determine the size for both the base piece that adheres to your device and the smaller slider piece.
Cut Two Plastic Pieces: From your thin plastic sheet, cut two rectangular pieces. One will be the base, slightly larger than the area around your webcam. The other will be the slider, just large enough to cover the webcam lens and slide within the base.
Create an Opening in the Base: In the larger base piece, carefully cut a rectangular opening exactly the size of your webcam lens. This opening should align perfectly with the camera when the slider is in the “open” position.
Attach Felt or Foam for Smooth Sliding: Cut small strips of thin felt or foam tape. Apply these strips to the underside of the base piece, along the edges of the webcam opening. These strips will create a track for the slider and prevent scratching your device.
Assemble the Slider: Place the smaller slider piece on top of the felt/foam strips on the base, ensuring it can slide smoothly back and forth to cover and uncover the webcam opening. Secure the felt/foam strips to the base with super glue, being careful not to glue the slider itself.
Secure to Your Device: Once dry, attach the entire sliding mechanism to your device using a strong, yet removable, adhesive. Ensure it is positioned directly over your webcam. Test the sliding action to confirm smooth operation and full coverage.
Alternative DIY Webcam Cover Ideas
Beyond cardboard and sliding mechanisms, many creative options exist for DIY webcam covers. These alternatives utilize different materials, offering unique looks and functionalities tailored to individual preferences.
Exploring these diverse ideas can provide a personalized touch while ensuring your digital privacy. Consider these methods for a distinctive and effective solution.
Using Sugru for a Custom Molded Cover
Sugru, a versatile moldable glue that cures into rubber, creates a custom-fit, durable, and flexible webcam cover. It offers a unique solution for devices with non-flat surfaces or unusual webcam placements.
You can shape Sugru directly around your webcam, allow it to cure, and then easily remove and reattach it. This method provides a strong, yet gentle, barrier against visual intrusion.
- Mold a small piece of Sugru directly over your webcam lens.
- Shape it to create a small tab for easy removal.
- Allow it to cure for 12-24 hours.
- The custom-molded cover will securely fit over your webcam.
Felt or Fabric Covers: Soft and Scratch-Resistant
Felt or other soft fabrics offer a gentle, non-abrasive cover that is ideal for protecting laptop screens from scratches. These materials are particularly useful for devices with tight tolerances where hard plastic might cause damage.
You can cut felt to size and use a small piece of double-sided tape, or even a tiny magnet embedded within the felt, to attach it. This provides a customizable and screen-friendly solution.
- Soft material won’t scratch sensitive screens.
- Easily cut to fit any webcam size or shape.
- Can be customized with various colors or patterns.
- Lightweight and minimal bulk.
Important Considerations for Your DIY Webcam Cover
Before attaching any DIY webcam cover, consider several critical factors to ensure both safety and effectiveness. Proper application prevents damage to your device and maintains its device functionality, especially for modern laptops with delicate screens.
Thoughtful design and material selection are key to creating a cover that is secure, durable, and does not interfere with your device’s operation. Prioritize both privacy and device integrity.
Preventing Screen Damage
Avoid using thick materials or strong, permanent adhesives directly on your laptop screen. Many modern laptops, especially MacBooks, have extremely tight tolerances between the screen and keyboard when closed.
Applying an overly thick cover or one with a harsh adhesive can cause permanent marks, cracks, or dead pixels on the display. Apple explicitly warns against using webcam covers thicker than 0.1mm, roughly the thickness of a piece of printer paper, and advises against adhesives that leave residue.
“It can, many modern laptops have extremely tight tolerances when closed, even a thin cover can press against the screen and cause permanent marks, cracks, or dead pixels,” warns Red Secure Tech. Always remove any cover before closing your laptop, or opt for ultra-thin, soft materials.
Maintaining Aesthetics and Functionality
Design a cover that blends seamlessly with your device’s aesthetics, if possible. More importantly, ensure the cover does not block other crucial components, such as ambient light sensors, microphones, or indicator lights. For detailed guidance on microphone and webcam permissions, you can consult specific tutorials.
A well-made cover should be easy to use and not hinder device operation. It should be simple to open and close or remove and reattach, providing privacy without becoming an inconvenience. If you’re looking to adjust your camera’s field of view, explore options like how to zoom out on your webcam. Approximately 79% of US consumers believe their webcam could compromise their privacy.
FAQ About Webcam Covers
Is a webcam cover really necessary?
Yes, a webcam cover is highly recommended for enhanced digital privacy. It provides a physical barrier against potential unauthorized access to your camera, even if your device is compromised by malware. This simple step offers a foolproof layer of protection against unseen intrusions.
Can a webcam cover damage my laptop screen?
A poorly designed or overly thick webcam cover, or one with a strong, permanent adhesive, can potentially damage your laptop screen. Modern laptops have tight tolerances, so even a thin cover can cause pressure damage, especially to MacBooks. Always use thin materials and gentle adhesives, and remove the cover before closing your laptop.
What is the best material for a DIY webcam cover?
The “best” material depends on your specific needs and device. Cardboard or thin plastic (like an old gift card) are excellent for reusable covers, while Post-it notes or electrical tape work well for temporary solutions. Sugru offers a custom, durable, and flexible option that molds to your device.
How do I ensure my DIY webcam cover stays in place?
For temporary covers, a low-tack adhesive like that on a Post-it note or a small piece of painter’s tape works effectively. For reusable covers, double-sided tape, felt, foam tape, or Sugru can provide a secure yet removable hold. The key is to find an adhesive that holds firmly without leaving residue or damaging your device.
Are commercial webcam covers better than DIY ones?
Commercial webcam covers often offer a sleek, pre-made design and are specifically engineered for various devices, sometimes featuring integrated sliding mechanisms. However, a well-made DIY cover can be just as effective in blocking the camera lens and provides the satisfaction of a personalized, cost-effective solution. The FBI recommends covering your webcam, regardless of whether it’s DIY or commercial.
Conclusion: Secure Your Digital Space with a DIY Webcam Cover
Taking control of your digital privacy is a critical step in today’s interconnected world. Crafting a DIY webcam cover offers an accessible, cost-effective, and empowering solution that provides immediate security against potential digital intrusions.
Whether you choose a simple cardboard cutout, a convenient sliding plastic design, or a custom-molded Sugru cover, the peace of mind knowing your camera is physically blocked is invaluable. Embrace these practical steps to safeguard your personal space and maintain your privacy against unseen surveillance.