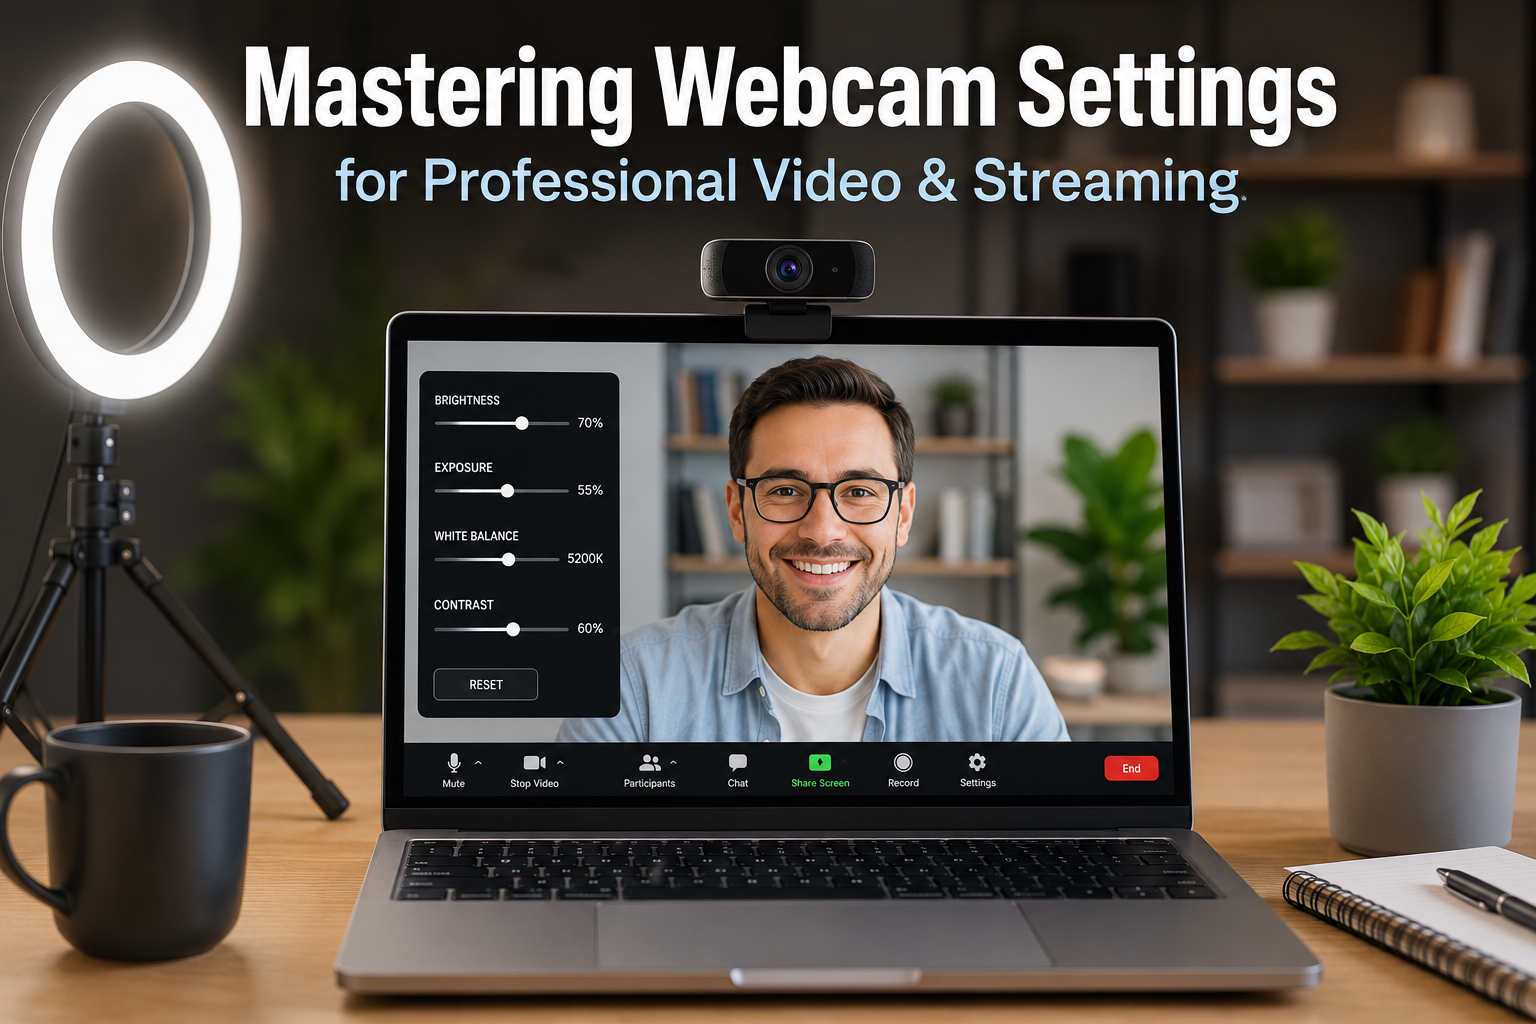
Adjusting webcam settings is crucial for optimizing your appearance in video calls, livestreams, and recorded content. You can typically modify settings like exposure, white balance, brightness, contrast, and resolution using your operating system’s built-in camera application, specialized third-party software, or directly within your video conferencing platform. These adjustments ensure you present a clear, well-lit, and professional image to your audience.
In today’s interconnected world, a clear video presence is more than just a preference; it’s a necessity. With 22% of the American workforce working remotely as of 2025, and 83% of global employees preferring hybrid models, video conferencing has become an essential part of daily business. Mastering your webcam settings can elevate your virtual interactions from passable to polished, making a significant difference in how you’re perceived.
Understanding Core Webcam Settings: What Each Adjustment Does
Each webcam setting controls a specific aspect of your camera’s image, influencing everything from lighting to color accuracy. Knowing what each setting does empowers you to fine-tune your video for optimal quality.
Brightness and Exposure: Illuminating Your Image
Brightness controls the overall luminosity of your video feed. Increasing brightness makes the image appear lighter, while decreasing it makes it darker. It’s often one of the first adjustments people make to compensate for poor lighting conditions.
Exposure refers to the amount of light the camera’s sensor captures. A higher exposure setting allows more light in, brightening the image, which can be useful in dimly lit environments. However, too much exposure can lead to overexposed, washed-out video. Adjusting exposure manually can prevent your webcam from constantly trying to adjust, which often causes flickering.
Contrast: Defining Shadows and Highlights
Contrast defines the difference between the brightest and darkest areas of your image. Increasing contrast makes whites whiter and blacks blacker, leading to a more dramatic and defined look. Decreasing it results in a softer image with less distinction between light and dark tones.
Saturation: Enhancing Color Vibrancy
Saturation controls the intensity or purity of colors in your video. Boosting saturation makes colors more vivid and vibrant, while reducing it can make colors appear muted or even grayscale if set to zero. Find a balance that makes your skin tones look natural.
White Balance: Achieving Accurate Colors
White balance adjusts the color temperature of your video, ensuring that white objects appear truly white, regardless of the ambient light source. Different light sources (e.g., natural daylight, fluorescent lights, incandescent bulbs) emit different color temperatures. Incorrect white balance can cast an undesirable color tint, making you look too warm (orange) or too cool (blue).
Focus: Ensuring Sharpness and Clarity
Focus determines the sharpness of your image. Most modern webcams feature autofocus, which automatically adjusts to keep you in focus. However, if you experience blurriness, manual focus controls (if available) allow you to pinpoint the sharpest image. For webcams, fixed focus is also common, especially for models optimized for streaming.
Resolution: The Detail and Clarity of Your Video
Resolution refers to the number of pixels that make up your video image, typically expressed as width by height (e.g., 1920×1080 pixels, known as 1080p). Higher resolutions offer greater detail and clarity. Common resolutions include 720p (HD), 1080p (Full HD), and 4K (Ultra HD). While 4K webcams exist, 1080p is generally sufficient for most video calls and streaming, as many platforms and internet connections will downscale higher resolutions to save bandwidth.
For most home office or remote
learning tasks, 720p and 1080p resolutions are more than adequate. Higher resolutions like 4K are often overkill for routine meetings but can be beneficial for video editing professionals.
Frame Rate (FPS): Smoothness of Motion
Frame rate (frames per second, or FPS) indicates how many individual images are displayed per second, determining the smoothness of motion in your video. A higher FPS (e.g., 30fps or 60fps) results in smoother, more fluid motion. While 30fps is standard for most video calls, 60fps provides a noticeably smoother experience, especially for streaming or if you move frequently.
Field of View (FOV): How Much the Camera Sees
Field of View (FOV) is the extent of the area your camera can capture, measured in degrees. A wider FOV (larger degree number) shows more of your surroundings, while a narrower FOV focuses more tightly on you. For one-on-one calls, an FOV of 75°-90° is usually sufficient. For group meetings, a wider angle around 120° might be better.
“Matching the right FOV with your surveillance needs is key to effective security,” states BrickHouse Security. While they refer to security cameras, the principle applies to webcams: choose an FOV that suits your specific use case.
Anti-Flicker (Power Line Frequency): Eliminating Light Flicker
The anti-flicker setting, or power line frequency, helps eliminate visible flickering caused by artificial light sources. Electrical grids in different regions operate at different frequencies: 60Hz in North America and parts of South America, and 50Hz in Europe, Africa, and parts of Asia. Setting your webcam to match your local power line frequency can significantly reduce or eliminate screen flicker in your video.
Accessing and Adjusting Webcam Settings
The method for adjusting your webcam settings varies depending on your operating system, the webcam model, and the software you are using. For users with HP laptops, specific instructions might be helpful to turn on your webcam.
On Windows Devices
Windows 10 and 11 offer several ways to access webcam settings:
-
Windows Settings App:
Press the Windows key + I to open Settings.
Navigate to “Bluetooth & devices” and then “Cameras.”
Select your webcam from the list of connected cameras.
Here, you can often adjust basic settings like brightness, contrast, sharpness, and saturation.
-
Camera App:
Search for “Camera” in the Windows search bar and open the application.
Look for a settings cog icon (usually in the top-left corner) to access options like resolution, frame rate, and flicker reduction.
Some webcams also offer a “Pro Mode” within the Camera app for more control.
-
Device Manager:
Right-click the Start button and select “Device Manager.”
Expand “Cameras” or “Imaging devices,” right-click your webcam, and select “Update driver.” This helps ensure your webcam has the latest software.
On macOS Devices
macOS offers robust built-in controls for webcams, especially in newer versions:
-
System Settings:
On macOS 15 or later, many webcam effects and background features are built directly into the system.
During a video call, look for a green camera icon at the top of your screen to access options like Portrait mode (for background blur) or virtual backgrounds.
-
Application-Specific Settings:
Many video conferencing applications on Mac (like Zoom, Google Meet, Microsoft Teams) provide their own video settings where you can select your camera, adjust resolution, and sometimes modify other image properties.
Using Third-Party Webcam Software
Many webcam manufacturers provide dedicated software for their devices, offering more granular control over settings. Examples include Logitech Capture, Razer Synapse, and Elgato Camera Hub. These applications often allow you to:
- Save custom profiles for different lighting conditions or uses.
- Apply advanced image adjustments beyond basic OS settings.
- Utilize features like virtual backgrounds or chroma keying.
Beyond manufacturer-specific tools, general third-party webcam software like ManyCam, YouCam, OBS Studio, and Webcamoid offer virtual camera capabilities, effects, and scene management.
For instance, ManyCam is a popular choice for its virtual backgrounds and ability to connect to various video conferencing apps. OBS Studio is highly regarded for advanced streaming, scenes, and media integration, and can even be used as a virtual camera for platforms like Microsoft Teams. This advanced integration makes it easy to record your webcam and screen separately.
Optimizing Settings for Specific Platforms
While global webcam settings are important, many video conferencing platforms also offer their own in-app adjustments.
Zoom
In Zoom, navigate to Settings > Video. Here you can:
- Select your camera.
- Enable “HD” for higher resolution (though it might be scaled down based on bandwidth).
- Adjust “Touch up my appearance” or “Adjust for low light.”
- Utilize “Virtual Backgrounds” and “Video Filters.”
Google Meet
Before or during a meeting, click the three dots (More options) and select Settings > Video.
- Camera: Choose your preferred webcam.
- Send/Receive Resolution: Manually set to HD (720p or 1080p if available and supported by your internet connection) for better clarity. Google Meet often defaults to lower resolutions to save data.
- Video Lighting Adjustment: Meet can automatically enhance brightness if you are underexposed.
- Portrait Touch-up: Offers subtle or smooth skin smoothing and eye enhancements.
It’s important to monitor your internet bandwidth. “Google Meet automatically adjusts quality based on your connection. Low bandwidth results in pixelation,” explains HitPaw.
Microsoft Teams
In Teams, click your profile picture, then go to Settings > Devices.
- Camera: Select your webcam from the dropdown.
- Automatically adjust camera controls: You can enable or disable this. Disabling it allows manual adjustment of brightness, contrast, hue, and saturation via “Open camera settings.”
- Backgrounds: Choose to blur your background, use a default image, or upload a custom image. Some versions may even support video backgrounds.
- Soft focus: Adjust this slider for a subtle blurring effect on your face.
- Anti-flicker: Adjust the powerline frequency to 50Hz or 60Hz.
If you’re experiencing low video quality in Teams, ensure you’re using a high-quality webcam and that your lighting is good. The Teams desktop app might cap resolution due to bandwidth, so the web version or using OBS Studio as a virtual camera can sometimes offer better results.
OBS Studio (for Streaming and Virtual Cameras)
For streamers or those using a virtual camera for advanced setups, OBS Studio provides extensive control, including the ability to record webcam and gameplay separately:
- Add your webcam as a “Video Capture Device” source.
- Right-click the source, go to “Properties,” and click “Configure Video” to access your webcam’s native settings (brightness, contrast, exposure, white balance, anti-flicker, etc.).
- Use filters for color correction, sharpening, or even chroma keying (green screen).
- Output OBS as a virtual camera, which can then be selected in conferencing apps.
The Importance of External Factors: Lighting and Environment
No matter how advanced your webcam, external factors significantly impact your video quality.
Lighting is King
Proper lighting is perhaps the single most impactful factor for a great webcam image.
- Front Lighting: Position a light source in front of you, facing your face. This illuminates your features evenly and prevents shadows. Avoid strong backlighting (like a window behind you), which can make you appear as a silhouette.
- Soft and Diffused Light: Harsh, direct light can create unflattering shadows. Use a softbox, ring light, or bounce light off a wall for a more diffused, even illumination.
- Color Temperature: Try to match the color temperature of your light sources. Mixed lighting can create conflicting color casts.
Tech and AV consultant, “Good lighting can make even a basic webcam look fantastic, while poor lighting can make a high-end camera appear terrible.”
Background and Environment
Your background influences your professionalism and can either enhance or distract from your presence.
- Clutter-Free: A clean, uncluttered background helps keep the focus on you.
- Professional or Branded: For business, a simple wall, a neatly organized bookshelf, or a subtle branded backdrop works well.
- Virtual Backgrounds: Many platforms offer virtual backgrounds to blur, remove, or replace your actual background. This is useful for privacy or hiding distractions. Some virtual background solutions use AI to accurately insert your virtual background without a green screen.
Troubleshooting Common Webcam Problems
Even with optimized settings, issues can arise. Here are some common problems and their solutions:
| Problem | Potential Causes | Solutions |
|---|---|---|
| Webcam Not Detected | Loose connection, disabled driver, privacy settings, software conflicts. |
|
| Flickering Video | Incorrect anti-flicker setting, inconsistent lighting, frame rate mismatch, poor USB connection. |
|
| Dark or Underexposed Video | Insufficient lighting, low exposure/brightness settings. |
|
| Grainy or Pixelated Video | Low resolution setting, poor lighting, low internet bandwidth. |
|
| Blurry Video | Out of focus, dirty lens, low resolution. |
|
According to a 2026 report, 58% of professionals report that technical or software problems are the biggest issue during video calls. Knowing how to troubleshoot these common webcam problems can save significant time and frustration.
Advanced Techniques and Best Practices
- Manual Control Over Auto Settings: While auto-settings are convenient, they can sometimes overcompensate. Taking manual control of exposure, white balance, and focus often yields more consistent and professional results.
- Dedicated Webcam Software: Investigate if your webcam manufacturer offers proprietary software. These often unlock additional features and finer control not available through generic OS settings. For example, you can even use your iPhone as a webcam for professional video calls.
- External Lighting: Even an inexpensive ring light or small LED panel can dramatically improve your video quality by providing consistent, flattering illumination.
- Internet Bandwidth: High-resolution video and high frame rates consume significant bandwidth. Ensure your internet connection is robust enough, especially for important calls or streams.
- Clean Your Lens: A simple smudge on your webcam lens can make your video look blurry or hazy. Regularly wipe it with a microfiber cloth.
- Update Drivers: Keep your webcam drivers updated to ensure optimal performance and compatibility.
Industry expert and digital communication strategist, Dr. Anya Sharma, advises, “The cumulative effect of small improvements across lighting, sound, and visual settings is what truly transforms a basic video call into a compelling professional interaction.”
Conclusion: Empowering Your Digital Presence
Adjusting your webcam settings is a fundamental skill for anyone engaging in video communication in 2026. By understanding and manipulating core elements like exposure, white balance, and resolution, and by paying attention to your lighting and environment, you can significantly enhance your on-screen presence. This attention to detail not only improves your personal brand but also contributes to more effective and engaging virtual interactions. Whether for professional meetings or casual chats, a clear and well-presented image fosters better connection and leaves a lasting positive impression.
FAQ
Why is my webcam video so dark?
Your webcam video is likely dark due to insufficient lighting in your environment or low brightness/exposure settings on your camera. Increase your room’s lighting, especially from the front, and adjust the brightness and exposure sliders in your webcam software or operating system settings.
How do I make my webcam look less grainy?
To reduce graininess, improve your lighting significantly, as grain often appears in low-light conditions. Also, ensure your webcam’s resolution is set to its highest possible quality (e.g., 1080p) and check your internet connection for stability, as low bandwidth can cause pixelation.
What is the best webcam setting for Zoom or Teams?
For Zoom or Teams, the best settings involve selecting your external HD webcam (if available), setting resolution to 720p or 1080p, and ensuring good front lighting. Adjust brightness, contrast, and white balance for natural appearance, and consider using virtual backgrounds to minimize distractions.
Should I use automatic or manual webcam settings?
While automatic settings are convenient, manual webcam settings often provide more consistent and professional results, especially for exposure and white balance. Automatic adjustments can sometimes overcompensate, leading to flickering or sudden changes in image quality.
How do I stop my webcam from flickering?
Webcam flickering is usually caused by an incorrect anti-flicker setting or inconsistent lighting. In your webcam software or platform settings, adjust the “Power Line Frequency” or “Anti-Flicker” to match your region’s electrical grid (60Hz for North America, 50Hz for Europe). Also, ensure consistent lighting.
Is 4K resolution necessary for a webcam?
For most video calls and streaming, 4K resolution is not necessary. Many platforms downscale video to 1080p or even 720p to save bandwidth. A good 1080p webcam provides excellent clarity and is sufficient for most users, offering a better balance of quality and performance without excessive bandwidth demands.