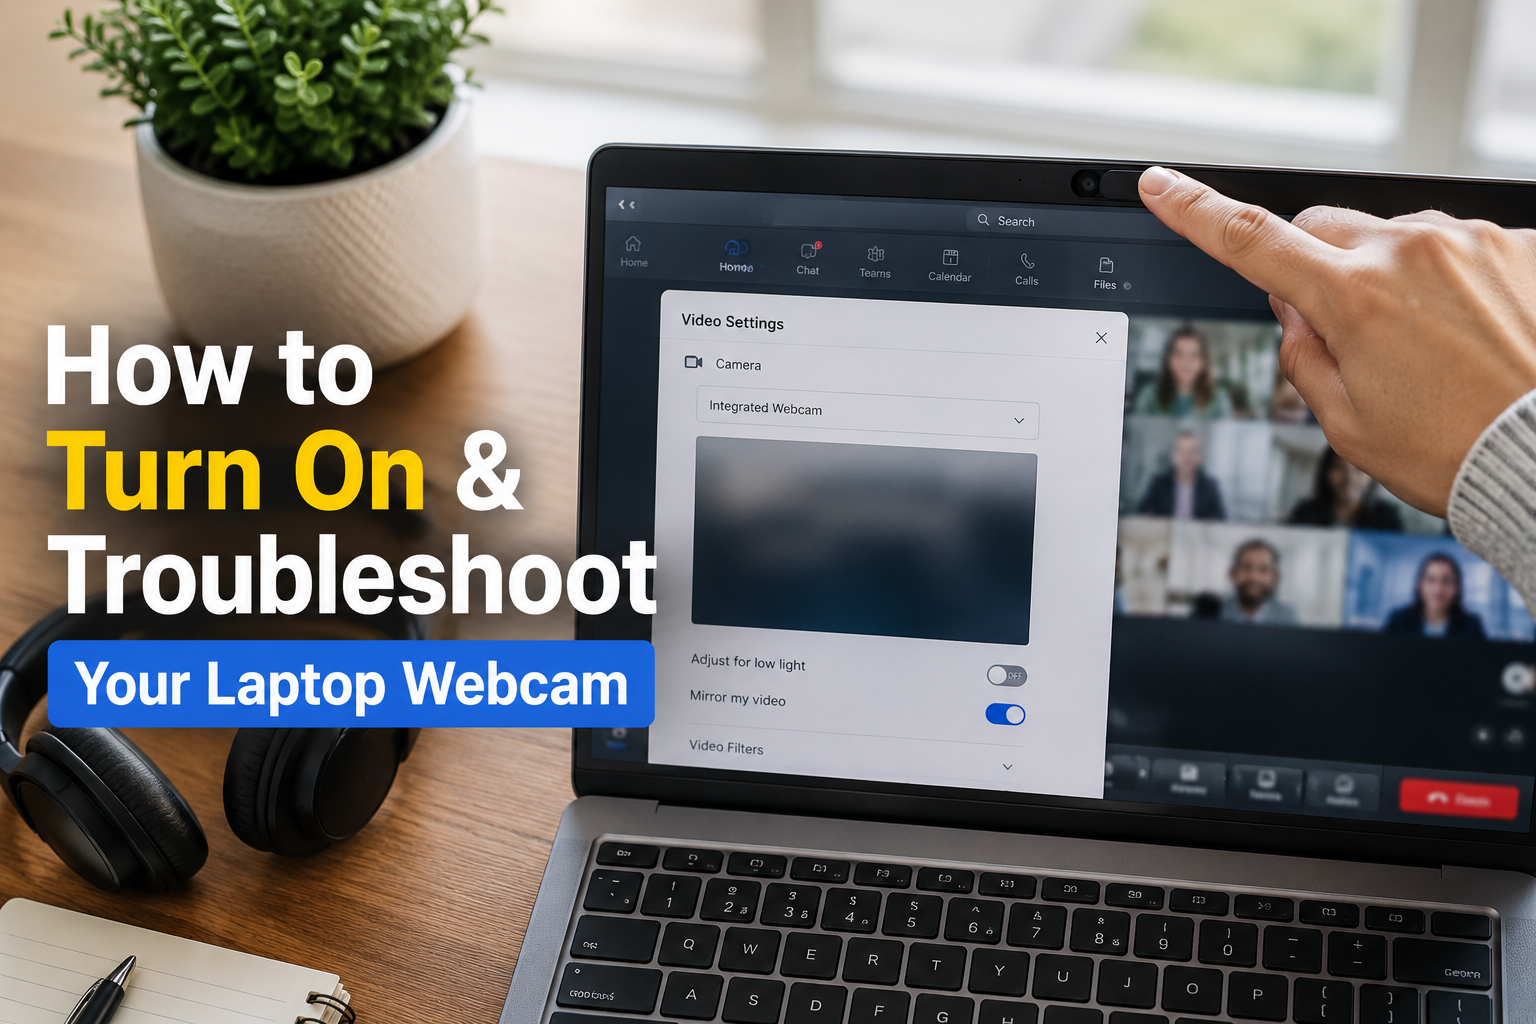
Turning on your webcam on a laptop typically involves a few straightforward steps: first, check for any physical switches or sliding covers on the camera itself; next, ensure your operating system’s privacy settings grant applications permission to access the camera; and finally, select your webcam within the specific application you intend to use, such as a video conferencing tool or recording software.
In today’s interconnected world, a functional webcam is no longer a luxury but an essential tool for communication, collaboration, and even creativity. From important video calls with colleagues to connecting with loved ones or capturing content, knowing how to confidently activate and troubleshoot your laptop’s camera ensures you’re always ready to engage visually. This guide cuts through the confusion, providing practical, experience-backed steps to get your webcam up and running seamlessly.
Understanding Your Laptop’s Webcam
Most modern laptops come equipped with an integrated webcam, usually located at the top center of the screen bezel. These built-in cameras are designed for convenience, offering plug-and-play functionality for everyday use. External webcams, on the other hand, connect via USB and often provide enhanced features like higher resolution, better low-light performance, or a wider field of view. Understanding which type you’re using helps in troubleshooting.
Regardless of the type, a webcam consists of a lens, an image sensor, and processing hardware. When you “turn it on,” you’re essentially activating these components and granting software access to the video stream they generate. Modern operating systems prioritize user privacy, so turning on your webcam often involves explicit permissions rather than just a simple on/off button.
Checking Physical Webcam Controls
Before diving into software settings, always perform a quick physical check. Many laptops, especially those with a focus on privacy, include physical mechanisms to disable the webcam.
Look for a Physical Shutter or Slider
Many laptop manufacturers integrate a tiny sliding cover directly over the webcam lens. This mechanical shutter blocks the camera’s view completely. Slide it open to expose the lens.
Identify a Dedicated Keyboard Key
Some laptops feature a specific function key (often marked with a camera icon) that toggles the webcam on or off. This key usually requires pressing the Fn key simultaneously. Check your keyboard’s top row for such an icon, typically F1 through F12.
Verify External Webcam Connection
If you’re using an external USB webcam, ensure it is securely plugged into a working USB port on your laptop. A loose connection is a common culprit for a non-responsive camera.
Software-Based Activation: Windows Laptops
For users with Windows laptops, activating your webcam involves navigating through a few key system settings to ensure proper functionality and privacy.
Accessing Privacy Settings for Camera
Windows has robust privacy controls for hardware like your webcam. You must explicitly allow apps to access your camera.
- Click the Start button and then select Settings (the gear icon).
- Navigate to Privacy & security in the left-hand menu.
- Under “App permissions,” click on Camera.
- Ensure the toggle for Camera access is set to On. This is a global setting that allows any app to request camera access.
- Below that, make sure Let apps access your camera is also On.
- Scroll down to “Choose which apps can access your camera” and verify that the specific application you want to use (e.g., Zoom, Microsoft Teams, Camera app) is toggled On.
“Privacy settings are your first line of defense and control,” states cybersecurity expert Dr. Evelyn Reed. “Many users overlook these fundamental permissions, leading to frustrating ‘webcam not working’ scenarios that are easily resolved with a quick check.”
Enabling the Webcam in Device Manager
Sometimes, the webcam might be disabled at a system level, often due to driver issues or accidental disabling. The Device Manager is where you can check and manage hardware components.
- Right-click the Start button and select Device Manager.
- Look for a category called Cameras or Imaging devices.
- Expand the category to find your webcam (it might be listed as “Integrated Webcam,” “USB Camera,” or similar).
- If you see a downward arrow icon next to it, the device is disabled. Right-click on your webcam and select Enable device.
- If there’s a yellow exclamation mark, it indicates a driver issue. Right-click and select Update driver. You can try “Search automatically for drivers” or, if you know your laptop model, visit the manufacturer’s website for specific drivers.
Using the Built-in Camera App
Windows includes a simple “Camera” app that’s perfect for testing your webcam’s functionality without third-party software.
- Type “Camera” into the Windows search bar and open the Camera app.
- If your webcam is working correctly, you should see a live feed of yourself.
- If you receive an error message, it often provides clues about the underlying problem, such as “Camera not found” or “Privacy settings are blocking access.”
Troubleshooting Common Windows Webcam Issues
Even with the above steps, issues can persist. Here’s a table summarizing common Windows webcam problems and their solutions:
| Problem Symptom | Potential Cause | Solution Steps |
|---|---|---|
| Webcam not detected/black screen | Physical shutter closed, privacy settings, disabled in Device Manager, outdated driver. | Check physical shutter. Verify Windows Camera privacy settings. Enable in Device Manager. Update/reinstall drivers. |
| Camera works in one app, not another | App-specific privacy settings, app permissions. | Ensure the specific app is allowed camera access in Windows Privacy Settings. Check app’s internal settings. |
| Poor image quality/freezing | Outdated drivers, low bandwidth, conflicting software. | Update webcam drivers. Close unnecessary background applications. Check internet connection. |
| Error code messages | Driver conflicts, hardware issues. | Search the specific error code for detailed solutions. Reinstall webcam drivers. Run Windows Troubleshooter. |
Software-Based Activation: macOS Laptops
Mac users also need to manage privacy settings and application permissions to ensure their built-in FaceTime HD camera or an external webcam functions correctly.
Adjusting Privacy Settings for Camera
macOS, much like Windows, enforces strict privacy controls for your camera.
- Click the Apple menu in the top-left corner and select System Settings (or System Preferences on older macOS versions).
- Scroll down and click on Privacy & Security in the sidebar.
- Select Camera from the list on the right.
- You’ll see a list of applications that have requested camera access. Ensure the checkbox next to the application you wish to use (e.g., FaceTime, Photo Booth, Zoom) is checked.
- If an app isn’t listed, it means it hasn’t requested access yet. Open the app, and it should prompt you.
Keeping your system up to date is crucial for hardware compatibility. “Regular macOS updates often include essential security patches and driver improvements that can directly impact hardware functionality, including your webcam,” notes tech journalist Sarah Chen, highlighting the importance of timely software maintenance.
Using Built-in Camera Applications
macOS provides simple applications to test your webcam.
- Open Photo Booth from your Applications folder (or search via Spotlight, Command + Space).
- If your webcam is active, you’ll see yourself on screen.
- You can also test with FaceTime, ensuring your camera is selected in the video preferences.
Troubleshooting Common macOS Webcam Issues
Here’s a look at common macOS webcam problems and their solutions:
| Problem Symptom | Potential Cause | Solution Steps |
|---|---|---|
| Webcam not recognized/black screen | Privacy settings, app not granted access, software conflict. | Verify Camera permissions in System Settings > Privacy & Security. Restart the application or the Mac. |
| Camera works in some apps, not others | App-specific permissions. | Double-check the specific app’s checkbox in Camera privacy settings. |
| External webcam not connecting | Loose USB connection, incompatible driver, port issue. | Try a different USB port. Check the webcam manufacturer’s website for macOS drivers. Restart Mac. |
| Camera indicator light is on, but no image | Software conflict, app crash. | Force quit the app and reopen. Restart your Mac. |
Software-Based Activation: ChromeOS and Linux Laptops
While Windows and macOS cover the majority of laptops, ChromeOS and various Linux distributions also offer straightforward ways to manage webcam access.
ChromeOS Webcam Settings
Chromebooks are generally very simple for webcam use.
- Open your Chromebook’s Settings.
- Navigate to Privacy and security > Site settings.
- Under “Permissions,” click Camera.
- Ensure “Sites can ask to use your camera” is selected or explicitly allowed for specific websites.
- The built-in Camera app is excellent for testing.
Linux Webcam Settings (General Guidance)
Linux distributions vary, but the principles are similar:
- Check your desktop environment’s (e.g., GNOME, KDE) Privacy settings for camera access.
- Ensure user permissions are set correctly for camera devices (often in
/dev/video). - Applications like Cheese (for testing) or video conferencing clients will usually prompt for camera access.
Using Your Webcam with Applications
Once your operating system recognizes your webcam, the final step is to select it within the application you intend to use.
Video Conferencing Applications
Whether it’s Zoom, Microsoft Teams, Google Meet, or Webex, these applications typically have dedicated audio and video settings.
- Before or during a call, look for a Settings or Preferences icon (often a gear or three dots).
- Navigate to Video or Camera settings.
- From the dropdown menu, select your desired webcam (e.g., “Integrated Webcam,” “Logitech C920”).
- You should see a preview of your video feed.
Recording and Streaming Software
For applications like OBS Studio, Loom, or even your browser for recording, the process is similar.
- Open the software and locate its Video Input or Source settings.
- Add your webcam as a video source.
- Adjust resolution, frame rate, and other properties as needed.
Troubleshooting Advanced Webcam Problems
Sometimes, the issue isn’t as simple as a privacy setting or a loose cable. Deeper problems require more specific troubleshooting.
Driver Issues and Reinstallation
Drivers are essential software that allows your operating system to communicate with hardware. Outdated, corrupt, or incorrect drivers are a frequent cause of webcam failures.
- Windows: In Device Manager, right-click your webcam, select Uninstall device, then restart your laptop. Windows will typically reinstall a generic driver automatically. For manufacturer-specific drivers, visit your laptop manufacturer’s support website, search for your exact model, and download the latest webcam drivers.
- macOS: macOS generally handles drivers automatically for built-in cameras. For external webcams, check the webcam manufacturer’s website for macOS-specific software or drivers.
Antivirus and Firewall Interference
Aggressive antivirus software or firewall settings can sometimes block webcam access, mistaking legitimate application requests for malicious activity.
- Temporarily disable your antivirus or firewall to see if the webcam starts working.
- If it does, add the specific applications (e.g., Zoom, Camera app) to your antivirus’s whitelist or exceptions list.
- Consult your security software’s documentation for instructions on how to manage application permissions.
Conflicting Applications
Only one application can usually access the webcam at a time. If you have multiple video applications open (e.g., Zoom and Microsoft Teams), one might be hogging the camera.
- Close all applications that might be using the webcam.
- Open only the application you intend to use and test the camera.
“In troubleshooting, always simplify the environment first,” advises IT support specialist Mark Peterson. “Closing all other apps and restarting is a fundamental step that often resolves conflicts without deeper investigation.”
Testing Your Webcam for Functionality
Beyond the built-in camera apps, online tools can help verify your webcam’s operation.
- Visit websites like webcamtests.com or onlinemictest.com/webcam-test.
- These sites will request camera access and display your video feed, confirming if your webcam is working at a basic level. They can also provide details about your webcam’s resolution and frame rate.
Maintaining Webcam Privacy and Security
Activating your webcam is just one part of the equation; ensuring your privacy and security is equally critical. With the average American spending more time online, the need for vigilance against unauthorized access to our devices has never been higher.
- Physical Covers: The simplest and most effective method is a physical webcam cover. Many laptops now come with integrated ones, but inexpensive adhesive covers are readily available. “A physical cover provides absolute peace of mind,” says privacy advocate Dr. Reed. “No software glitch or malware can show you if the lens is blocked.”
- Regular Software Updates: Keep your operating system, web browser, and all applications updated. Updates often include security patches that close vulnerabilities malicious actors could exploit to access your camera.
- Strong Passwords and Antivirus: Use strong, unique passwords for all accounts and maintain reputable antivirus software. This helps prevent malware infections that could hijack your webcam.
- Review App Permissions: Periodically review which applications have camera access in your system’s privacy settings. Revoke access for any apps you don’t trust or no longer use.
- Be Wary of Suspicious Links: Avoid clicking on suspicious links or downloading attachments from unknown sources, as these can lead to malware that compromises your webcam.
FAQ
What should I do if my webcam light is on but I see a black screen?
If your webcam’s indicator light is on but you see a black screen, it often points to a software conflict or an application not properly receiving the video stream. Try closing all other applications that might be using the camera, restarting the specific app you’re trying to use, or even restarting your laptop. Also, reconfirm that the application has explicit permission to access your camera in your operating system’s privacy settings.
Why can’t I find my webcam in Device Manager
(Windows) or System Information (macOS)?
If your webcam isn’t listed in Device Manager or System Information, it could indicate a deeper hardware issue, a completely disabled device, or a lack of proper drivers. First, check your laptop’s physical kill switch or function key to ensure it’s not disabled externally. Then, try uninstalling and reinstalling the drivers (for Windows) or resetting the System Management Controller (SMC) (for macOS), as this can resolve hardware detection problems. If these steps fail, it might suggest a hardware malfunction requiring professional repair.
Can I use my smartphone as a webcam for my laptop?
Yes, you can absolutely use your smartphone as a webcam for your laptop. Several third-party apps, such as DroidCam for Android or EpocCam for iOS, allow you to connect your phone to your laptop (usually via USB or Wi-Fi) and use its camera as a substitute for a traditional webcam. These apps often require installing client software on both your phone and laptop.
Conclusion
Activating your webcam on a laptop is usually a simple process, primarily involving physical checks and adjustments to software privacy settings. By understanding your operating system’s camera permissions, verifying driver status in the Device Manager, and selecting the correct camera within your chosen application, you can quickly resolve most common webcam issues. Remember to prioritize webcam privacy by using physical covers and regularly reviewing app permissions, ensuring your digital interactions are both smooth and secure.