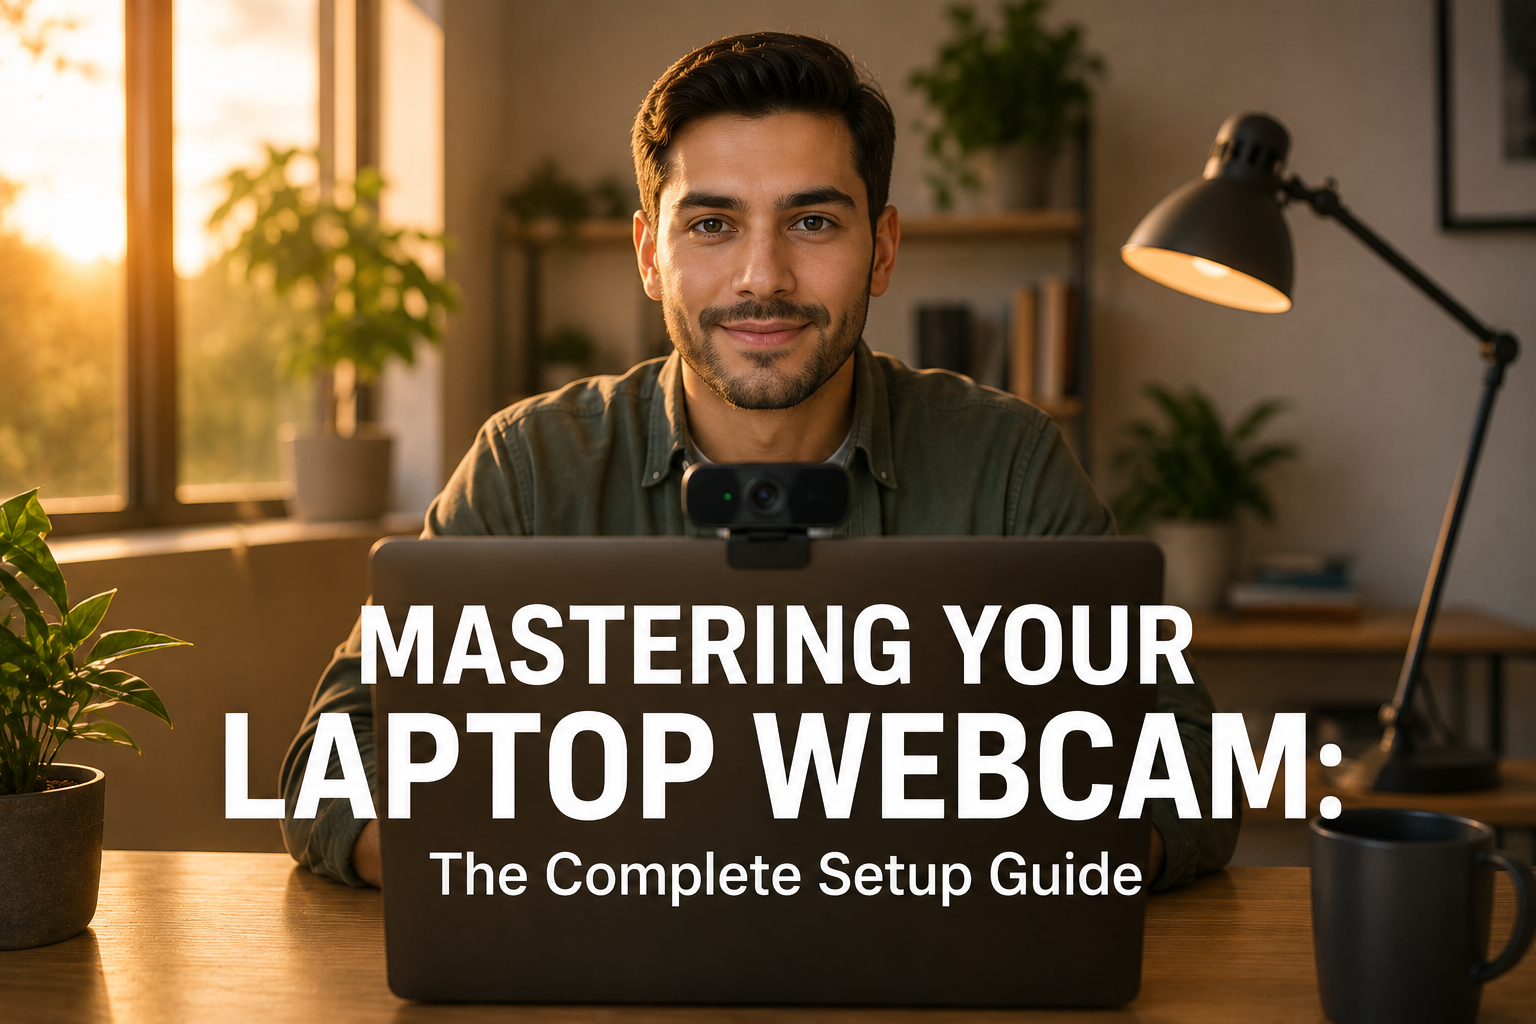
To use your webcam on a laptop, you primarily need to ensure it’s enabled in your system’s privacy settings, then select it as the video input source within the specific application you want to use, such as a video conferencing tool or a recording program. This applies to both your laptop’s built-in camera and any external webcams you connect. Once enabled and selected, your webcam will transmit video for your virtual meetings, content creation, or casual chats.
The webcam has become an indispensable tool in our daily lives, transforming how we connect, work, and create. From vital business meetings to virtual family gatherings, and from budding content creators to online educators, understanding how to effectively manage and optimize your laptop’s camera ensures you present your best self. This guide cuts through the confusion, offering practical, real-world advice to get you up and running smoothly, whether you’re troubleshooting a stubborn connection or aiming for professional-grade video quality.
Getting Started: Activating Your Laptop’s Built-in Webcam
Before you can use your webcam, you need to confirm its presence and ensure your operating system allows applications to access it. Most modern laptops come equipped with an integrated camera located at the top center of the screen bezel.
Checking Your Webcam’s Status
First, verify your webcam is recognized by your system. On Windows, you can check the Device Manager. Press the Windows key + X and select “Device Manager.” Look for a category named “Cameras,” “Imaging devices,” or “Sound, video and game controllers.” Your webcam should be listed there. On macOS, go to the Apple menu, select “About This Mac,” then “System Report.” Under the “Hardware” section, find “Camera” to see if your integrated webcam is detected.
Granting App Permissions
Operating systems have robust privacy controls that manage which applications can access your camera. You must grant explicit permission for any app to use your webcam. On Windows, navigate to Settings > Privacy & security > Camera. Here, ensure “Camera access” is turned on, and then toggle on access for specific applications under “Let apps access your camera.” On macOS, go to System Settings > Privacy & Security > Camera. You will see a list of applications; make sure the slider next to the apps you want to use your camera is in the “on” position.
Updating Drivers (If Needed)
Webcam drivers are software that allows your operating system to communicate with the camera hardware. While most built-in webcams work automatically, an outdated or corrupt driver can cause issues. On Windows, in Device Manager, right-click your webcam and select “Update driver.” You can choose to search automatically for updated driver software. For macOS, system updates typically handle driver updates, so ensure your operating system is current. Regular driver updates can resolve compatibility issues and improve performance.
Connecting and Setting Up an External Webcam
Sometimes, your built-in webcam might not offer the quality or features you need. An external webcam provides significant upgrades in video fidelity and functionality.
Why Use an External Webcam?
External webcams often offer superior image quality, higher resolutions (e.g., 1080p, 4K), better low-light performance, and more advanced features like autofocus, wider fields of view, and improved microphones. They are particularly beneficial for professional video conferencing, streaming, or content creation where visual clarity is paramount. “Investing in a quality external webcam can dramatically improve your online presence, making you look more professional and engaged in any virtual interaction,” notes Sarah Chen, a digital media consultant.
Plugging It In (USB)
Most external webcams connect via a USB port, often following a plug-and-play approach. Simply insert the webcam’s USB cable into an available USB-A or USB-C port on your laptop. Your operating system should automatically detect and install the necessary basic drivers. If your laptop has limited ports, consider a USB hub to expand connectivity options.
Driver Installation (Rare but Possible)
While many external webcams are plug-and-play, some higher-end models or older devices might require specific drivers or companion software from the manufacturer. If your webcam doesn’t work immediately, visit the manufacturer’s website (e.g., Logitech, Razer, Anker) and download the latest drivers for your operating system. Always download software directly from the official source to avoid security risks.
Positioning Your External Webcam
Proper positioning is crucial for a professional look. Place your external webcam at eye level, ideally directly above your screen, to create a natural line of sight. This makes it seem like you are looking directly at your audience. Avoid placing it too low or too high, as this can result in unflattering angles. Ensure the webcam is stable and not prone to movement.
Essential Settings for Optimal Webcam Performance
Once your webcam is connected and recognized, you need to configure it within your applications for the best possible experience.
Choosing the Right Camera in Applications
Most video-enabled applications allow you to select which camera input to use. In Zoom, for example, click the arrow next to “Stop Video” and choose your desired camera from the list. Google Meet, Microsoft Teams, and other platforms have similar settings, usually accessible through their video or device settings menus. Always confirm you have selected the correct webcam before starting a call or recording.
Adjusting Video Resolution and Frame Rate
Higher resolution (e.g., 1080p) offers a sharper image but consumes more bandwidth, which can be an issue on slower internet connections. Frame rate (frames per second, or FPS) affects the smoothness of your video, with 30 FPS being standard for most uses and 60 FPS desirable for smoother motion in streaming or gaming. You can often adjust these settings within the webcam’s companion software or sometimes within the application itself, balancing quality with performance requirements.
White Balance and Exposure
These settings control the color accuracy and brightness of your video. Most webcams automatically adjust white balance and exposure, but manual control is available in some advanced webcams or software. If your video looks too yellow, blue, dark, or washed out, adjusting these settings can significantly improve your image. Experiment with natural light sources and avoid harsh backlighting to minimize automatic adjustment issues.
Microphone Settings (Built-in vs. External)
Your webcam likely includes a built-in microphone, but often, external microphones (like a headset mic or a dedicated USB microphone) provide superior audio quality. In your application’s audio settings, ensure you select the correct microphone input. For example, if you’re using an external webcam but a separate USB microphone, you’ll select the external webcam for video and the USB microphone for audio. Always test your audio before starting a session.
Mastering Your Webcam for Various Use Cases
Your laptop webcam is a versatile tool, adapting to many different needs beyond basic video calls.
Video Conferencing (Zoom, Teams, Google Meet)
Video conferencing is the most common use for a laptop webcam. For platforms like Zoom, Microsoft Teams, or Google Meet, ensure your camera and microphone are selected correctly in the app’s settings. Test your video and audio before joining a meeting. Many platforms also offer features like virtual backgrounds, blur effects, and touch-up filters to enhance your appearance or privacy. According to a 2026 report by Statista, over 70% of remote workers use video conferencing daily, making effective webcam use critical for professional communication.
| Platform | Key Webcam Features | Typical Use Case |
|---|---|---|
| Zoom | HD video, virtual backgrounds, touch up my appearance, studio effects | Business meetings, webinars, large group calls |
| Microsoft Teams | Background blur, custom backgrounds, Together Mode, eye contact correction | Enterprise collaboration, internal meetings, educational settings |
| Google Meet | Background blur, virtual backgrounds, low-light mode, noise cancellation | Casual meetings, quick collaborations, G-Suite integration |
Live Streaming and Content Creation
For aspiring streamers or content creators, your laptop webcam can be a starting point. Platforms like Twitch and YouTube Live integrate with streaming software such as OBS Studio or Streamlabs Desktop. These tools allow you to combine your webcam feed with screen sharing, game footage, and overlays. Experiment with lighting and angles to create an engaging visual presence for your audience.
Recording Videos and Tutorials
You can use your webcam to record personal messages, presentations, or tutorials. On Windows, the built-in Camera app allows you to easily switch between photo and video modes and record directly. On macOS, QuickTime Player can record video from your webcam (File > New Movie Recording). Third-party software like Loom or Screencast-O-Matic offer more advanced recording and editing features, often including screen recording alongside your webcam feed.
Security and Privacy Considerations
Webcam privacy is a significant concern. Always be mindful of what your webcam can capture. Many laptops have a physical privacy shutter, a small sliding cover over the lens, which is highly recommended for peace of mind. Otherwise, a simple stick-on camera cover works well. Ensure you understand and manage your application permissions, revoking camera access for apps you don’t frequently use. “A physical camera cover is your first line of defense against unwanted surveillance, even if it’s just accidental activation,” warns Dr. Anya Sharma, a cybersecurity researcher. “Always be aware of the indicator light and grant camera permissions only to trusted applications.”
Your webcam often has an indicator light, usually a small LED next to the lens, that illuminates when the camera is active. Pay attention to this light; if it’s on unexpectedly, it could signal an unauthorized application accessing your camera.
Troubleshooting Common Webcam Problems
Even with careful setup, webcams can sometimes act up. Here are solutions to common issues.
Webcam Not Detected
If your webcam isn’t showing up, first check physical connections for external webcams. For both built-in and external cameras, restart your laptop; this often resolves temporary glitches. Verify that camera access is enabled in your operating system’s privacy settings and that the specific application has permission. Finally, check your Device Manager (Windows) or System Report (macOS) to see if the camera is listed and if there are any error icons indicating driver issues.
Blurry or Dark Video
Poor video quality is often a lighting issue. Ensure you have adequate front-facing light, ideally from a window or a desk lamp, to illuminate your face evenly. Avoid strong backlighting, which can make you appear as a silhouette. Check if the webcam lens is clean; a gentle wipe with a microfiber cloth can make a big difference. Within your application or webcam software, adjust brightness, contrast, and white balance settings.
Audio Issues
If people can’t hear you, first confirm you have selected the correct microphone in your application’s audio settings. Check your laptop’s system sound settings to ensure the microphone isn’t muted and its input volume is sufficient. If using an external mic, ensure it’s securely connected. Sometimes, other applications might be hogging microphone access; close any unnecessary apps.
Freezing or Crashing
A freezing or crashing webcam feed can be frustrating. This might happen if your laptop’s resources (CPU, RAM) are overtaxed. Try closing other demanding applications running in the background. Ensure your webcam drivers and operating system are up to date. If the problem persists, try uninstalling and reinstalling the webcam drivers. For external webcams, try a different USB port.
FAQs About Using Your Laptop Webcam
How do I turn on my laptop’s camera?
To turn on your laptop’s camera, open an application that uses the camera, such as Zoom or the built-in Camera app. Ensure that camera access is enabled in your operating system’s privacy settings (e.g., Windows Settings > Privacy & security > Camera or macOS System Settings > Privacy & Security > Camera).
Can I use an external webcam with my laptop?
Yes, you can use an external webcam with your laptop. Simply plug the USB cable from the external webcam into an available USB port on your laptop. Your operating system will usually detect and install the necessary drivers automatically, and you can then select the external webcam in your desired application’s video settings.
Why is my webcam not working?
A webcam might not work due to several reasons, including disabled camera access in privacy settings, outdated or corrupt drivers, a loose connection for external webcams, or another application already using the camera. Troubleshooting involves checking permissions, updating drivers, restarting your laptop, and ensuring physical connections are secure.
How can I improve my webcam video quality?
To improve webcam video quality, ensure you have good lighting directly on your face, clean the camera lens, and adjust settings like resolution, brightness, and contrast within your application or webcam software. Using an external webcam often provides a significant upgrade in quality over a built-in camera.
Is it safe to leave my webcam uncovered?
Leaving your webcam uncovered carries a slight privacy risk, as malicious software could potentially activate it without your knowledge. Many cybersecurity experts recommend using a physical camera cover or a piece of opaque tape when not in use. Always be aware of the camera’s indicator light, which signals when it is active.
Conclusion: Harnessing Your Laptop Webcam for Connection and Creativity
Understanding how to use your laptop webcam effectively unlocks a world of possibilities, from seamless virtual meetings to engaging content creation. By paying attention to simple steps like enabling permissions, optimizing settings, and being mindful of your environment, you can elevate your online interactions. Whether you rely on your built-in camera or upgrade to an external model, mastering your webcam ensures you stay connected, productive, and visible in our increasingly digital world.