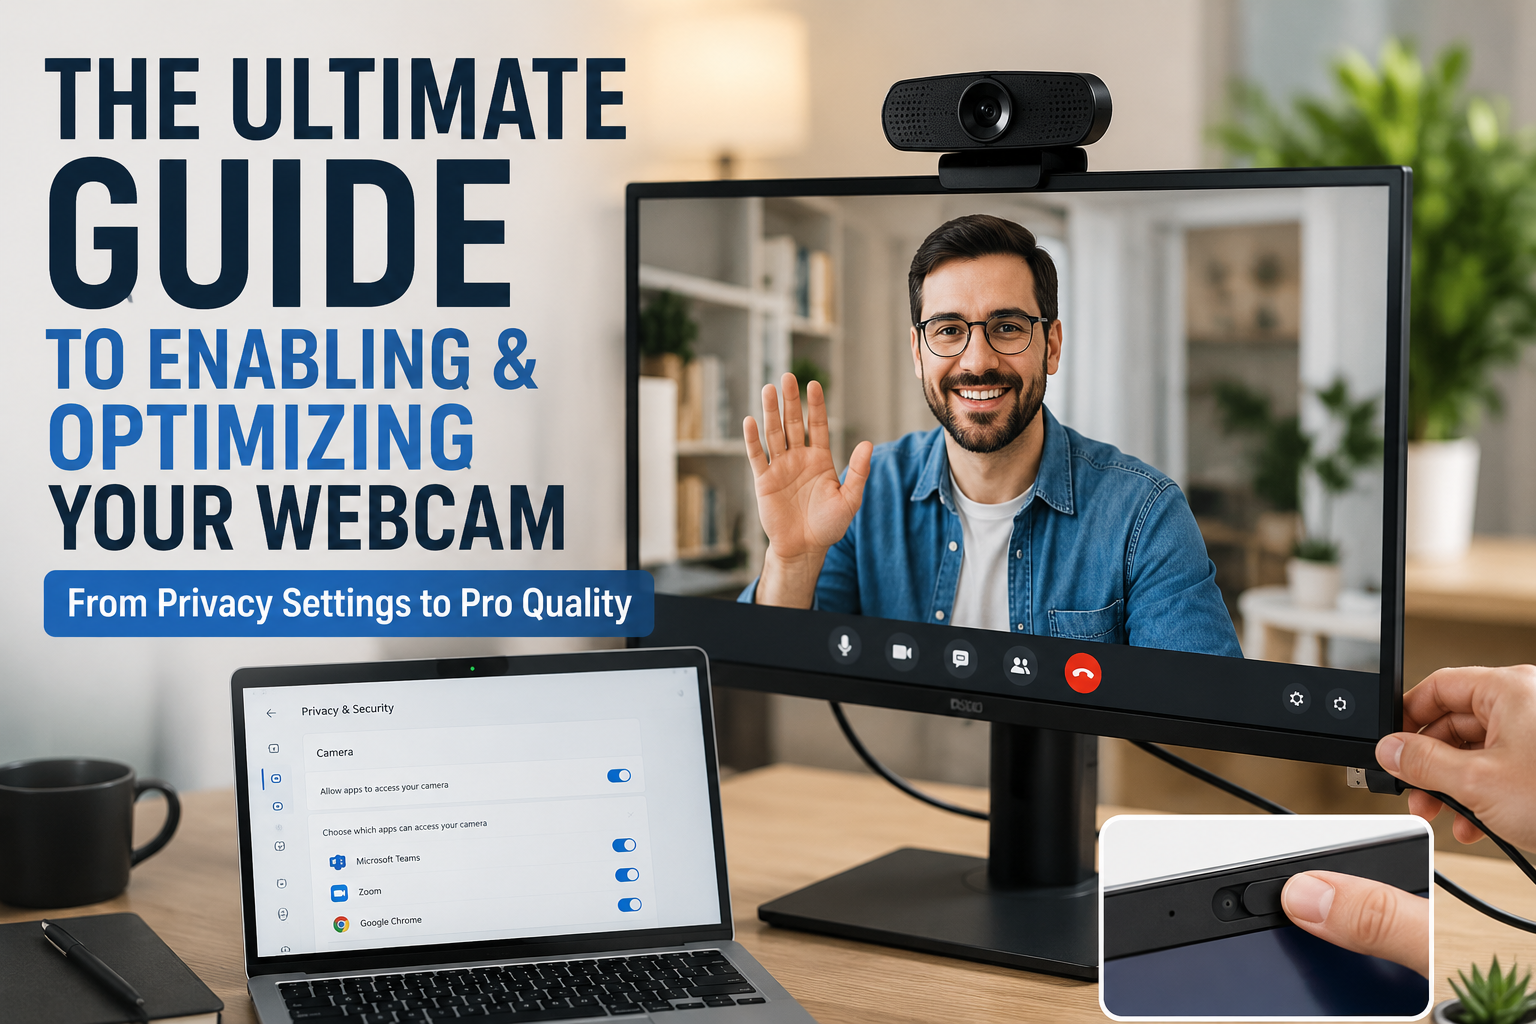
Enabling your webcam typically involves checking for a physical privacy switch, ensuring proper connection for external cameras, and then adjusting your operating system’s privacy settings to grant camera access to your device and specific applications. This process ensures your camera is recognized and accessible for video calls, content creation, or online learning.
A functional webcam is no longer a luxury; it is a critical tool for communication, collaboration, and creative expression in today’s interconnected world. From joining remote work meetings to connecting with loved ones or even launching a streaming career, knowing how to properly enable and optimize your webcam is essential. We will walk you through the practical steps and troubleshooting tips that come from years of hands-on experience, helping you get your camera up and running seamlessly.
Understanding Your Webcam: Internal vs. External
Before you dive into enabling your webcam, it helps to understand the two main types you might encounter: internal and external. Each type has distinct characteristics and connection methods.
Internal webcams are built directly into your device, most commonly found in laptops, all-in-one desktop monitors, and some smart devices. They are designed for convenience and integrate seamlessly with your system. You don’t need to connect them physically, but they are subject to device-specific privacy features.
External webcams, on the other hand, are standalone devices that connect to your computer, typically via a USB port. These often offer higher resolution, better low-light performance, and more advanced features like autofocus or wider fields of view. The global webcam market, driven by remote work and online education, is projected to grow to $12.5 billion in 2026, with external units capturing a significant share due to their superior optics and flexible positioning.
Here’s a quick comparison:
| Feature | Internal Webcam | External Webcam |
|---|---|---|
| Integration | Built into device (laptop, monitor) | Separate peripheral |
| Connection | No external connection needed | USB cable (most common), sometimes wireless |
| Quality/Features | Basic, convenient | Often higher resolution (e.g., 4K, AI-enabled), better optics, advanced features |
| Flexibility | Fixed position | Adjustable positioning (tripod, monitor clip) |
| Privacy Control | Physical shutters, OS settings | Physical covers/switches, OS settings |
Initial Checks: The Basics Before Diving Deep
Many webcam issues can be resolved with simple checks before you delve into complex software settings. It’s always best to start with the most straightforward solutions.
Physical Connections and Switches
For external webcams, always verify the USB connection. Ensure the USB connector is fully inserted into a USB port on your computer. If it’s connected to a USB hub, try plugging it directly into your computer. Sometimes, a different USB port can resolve connectivity issues.
Many laptops and some external webcams include physical privacy shutters or kill switches. These are small sliders or buttons that physically block the camera lens or electronically disconnect it. Always check for these. “Many users overlook simple physical checks, which often resolve the issue without needing to delve into software settings,” says tech analyst Sarah Chen.
Restart Your Computer
This classic troubleshooting step is often effective. A simple restart can resolve temporary software glitches or connectivity issues that might prevent your webcam from functioning correctly.
Enabling Your Webcam on Windows
Windows operating systems, particularly Windows 10 and 11, have robust privacy settings that often require explicit permission for webcams to function. You must navigate through these settings to grant access.
Checking Device Manager
The Device Manager is where Windows lists all connected hardware, including your webcam. You can ensure your webcam drivers are installed and the device is enabled here.
- Press the Windows key + X and select Device Manager from the menu.
- Expand the Cameras or Imaging devices section.
- Locate your webcam in the list. It might be named “Integrated Camera,” “USB Camera,” or similar.
- If you see a downward arrow icon or the device is grayed out, right-click on it and select Enable device.
- If there’s a yellow exclamation mark, it indicates a driver issue. Right-click and select Update driver. You can try “Search automatically for drivers” first.
Windows Privacy Settings
Even if your webcam is enabled in Device Manager, Windows privacy settings can block camera access for applications.
- Press the Windows key + I to open Settings.
- Navigate to Privacy & security (on Windows 11) or Privacy (on Windows 10) in the left-hand pane.
- Under “App permissions,” click on Camera.
- Ensure that Camera access (or “Allow apps to access your camera” on Windows 10) is toggled On. This grants system-wide access.
- Scroll down to “Let apps access your camera” (for Microsoft Store apps) and individually toggle On access for the specific applications you want to use your webcam (e e.g., Zoom, Microsoft Teams, Google Meet).
- For desktop apps (like web browsers or older software), ensure Let desktop apps access your camera is also toggled On. Desktop apps cannot be individually toggled like Microsoft Store apps.
It’s worth noting that some desktop apps might not appear in the list under camera settings. However, granting “Let desktop apps access your camera” permission should allow them to use your webcam.
Updating or Reinstalling Drivers
Outdated or corrupt drivers are a common cause of webcam issues. Updating them can often resolve the problem.
- From Device Manager: As mentioned above, right-click your webcam in Device Manager and select Update driver. If that doesn’t work, you can try Uninstall device and then restart your computer. Windows will often reinstall the generic driver automatically.
- From Manufacturer’s Website: For more specific or advanced drivers, visit your laptop or external webcam manufacturer’s support website. Search for your device model and download the latest camera drivers.
Activating Your Webcam on macOS
Similar to Windows, macOS has robust privacy controls for your camera. You need to grant explicit permission for applications to use your webcam.
System Settings for Camera Access
macOS centralizes privacy controls, making it straightforward to manage camera access.
- Click the Apple menu in the top-left corner of your screen.
- Select System Settings (or System Preferences on older macOS versions).
- Click Privacy & Security in the sidebar.
- Scroll down and select Camera.
- You will see a list of applications that have requested or have access to your camera. Ensure the toggle switch is On for the apps you wish to use your webcam.
If an app is not listed, it means it hasn’t yet requested camera access. The first time you launch an app that needs your camera, macOS will typically prompt you for permission.
Application-Specific Permissions
Beyond the general system settings, some applications may have their own internal camera settings. For example, in Zoom, Google Meet, or Microsoft Teams, you can often select which camera to use if you have multiple connected (e.g., an internal webcam and an external USB camera).
- Open the specific application (e.g., Zoom, Google Meet).
- Navigate to its Preferences or Settings.
- Look for a Video or Audio/Video section.
- Here, you can often select your desired camera and even preview your video feed.
Troubleshooting Common Webcam Problems
Even with proper settings, webcams can sometimes act up. Here are solutions for common issues:
Webcam Not Detected
If your computer doesn’t recognize your webcam at all, consider these points:
- Driver Issues: As discussed, outdated or corrupted drivers are a frequent culprit. Reinstalling or updating them often helps.
- USB Port Problems: For external cameras, try a different USB port. Sometimes a port might be faulty or not supplying enough power.
- Physical Damage: Inspect the webcam’s cable for any visible damage. If using an external camera, try testing it on another computer to rule out a hardware defect.
- Antivirus Software: Some antivirus programs include privacy features that can block webcam access. Check your antivirus settings to ensure it’s not interfering.
Webcam Shows Black Screen
A black screen usually indicates that the webcam is detected but cannot capture an image.
- Privacy Settings: Double-check your operating system’s privacy settings (Windows Camera Privacy or macOS Privacy & Security) to ensure the specific app has permission to use the camera. This is a common oversight.
- App Conflicts: Only one application can typically use the webcam at a time. Close any other apps that might be accessing the camera (e.g., Zoom, FaceTime, Photo Booth, Skype) and try again.
- Outdated Drivers: Ensure your webcam drivers are up to date.
- Physical Shutter: Verify that no physical privacy shutter or cover is blocking the lens.
“A common mistake is blaming the hardware when privacy settings are actually the culprit,” notes cybersecurity expert Dr. Alan Finch. “Always check your operating system’s privacy controls first.”
Poor Quality or Performance
If your webcam is working but the video quality is poor, consider these factors:
- Lighting: Inadequate or incorrect lighting is a major factor. Avoid backlighting from windows and ensure sufficient front lighting.
- Resolution Settings: Many applications allow you to adjust the webcam’s resolution. Higher resolutions (e.g., 1080p, 4K) require more bandwidth and processing power but offer sharper images.
- Internet Speed: During video calls, your internet connection significantly impacts video quality. A slow or unstable connection can lead to pixelated or choppy video.
- Webcam Placement: Position your webcam at eye level to provide a flattering and natural angle.
Optimizing Your Webcam for Best Performance
Beyond simply enabling your webcam, optimizing its setup and settings can drastically improve your video quality and overall experience.
Lighting and Environment
Good lighting is paramount for clear webcam footage. Natural light is often the best, but direct sunlight from behind can create harsh backlighting, making you appear as a silhouette.
- Front Lighting: Position a light source in front of you, slightly above eye level, to illuminate your face evenly. A desk lamp with a diffuser can work wonders.
- Avoid Backlighting: Never sit with a bright window or strong light directly behind you. This causes your camera to overcompensate, making you appear dark and underexposed.
- Clean Background: A tidy, uncluttered background helps keep the focus on you. Avoid busy patterns or distracting objects.
Webcam Settings within Applications
Most video conferencing and streaming applications offer internal settings to fine-tune your webcam’s output. These settings can include:
- Resolution: Choose between 720p, 1080p, or even 4K, depending on your webcam’s capabilities and your internet bandwidth. Higher resolution means a clearer image.
- Frame Rate: Typically 30 frames per second (fps) or 60 fps. A higher frame rate results in smoother motion.
- White Balance: Adjusts the color temperature to make whites appear truly white, preventing an orange or blue tint.
- Exposure: Controls the brightness of your video. You may need to adjust this in dim or overly bright environments.
- Autofocus: Ensures you remain sharp and in focus, even if you move slightly.
Here’s how common applications allow you to adjust settings:
| Application | Path to Video Settings | Key Adjustable Settings |
|---|---|---|
| Zoom | Settings > Video | Camera selection, HD, Touch Up My Appearance, Adjust for low light, Aspect Ratio |
| Google Meet | Settings > Video | Camera selection, Send resolution, Receive resolution |
| Microsoft Teams | Settings > Devices > Camera | Camera selection, Brightness, Contrast, Anti-flicker |
| Skype | Settings > Audio & Video > Camera | Camera selection, Brightness, Contrast, White Balance |
Bandwidth Considerations
High-quality video streams consume significant internet bandwidth. If you experience choppy video or audio, especially in group calls, your internet connection might be the bottleneck. Consider closing other bandwidth-intensive applications or moving closer to your Wi-Fi router. For critical meetings, a wired Ethernet connection is always more reliable.
Choosing the Right Webcam for Your Needs
The right webcam can significantly enhance your online presence. When selecting one, consider these crucial factors:
- Resolution: For professional use, aim for at least 1080p (Full HD). For crisp, detailed video, 4K webcams are increasingly popular, especially among content creators.
- Frame Rate: A 30fps (frames per second) webcam is standard, but 60fps offers smoother motion, which is ideal for streaming or gaming.
- Autofocus: This feature keeps you sharp even if you shift in your seat, preventing blurry video.
- Microphone: While external microphones offer the best audio, many webcams include built-in mics. Look for those with noise-canceling capabilities.
- Field of View (FOV): A wider FOV (e.g., 90 degrees) is good for showing multiple people or a larger background, while a narrower FOV (e.g., 60-78 degrees) focuses more on you.
- Low-Light Performance: If you often work in dimly lit environments, a webcam designed for low light will produce a much clearer image, reducing graininess.
The webcam market is seeing rapid growth, with increasing demand for 4K and AI-enabled webcams. Major players like Logitech are continuously developing smart webcams that incorporate advanced technologies such as artificial intelligence to enhance video quality and user experience.
Here’s a comparison to help you choose:
| User Type | Recommended Resolution | Key Features to Look For | Example Models (Illustrative) |
|---|---|---|---|
| Casual User (Family calls, light meetings) | 720p – 1080p | Plug-and-play, decent built-in mic | Logitech C920 series |
| Remote Professional (Daily meetings, presentations) | 1080p – 4K | Autofocus, good low-light, reliable built-in mic or external mic support | Logitech Brio, Razer Kiyo Pro |
| Content Creator/Streamer (High-quality video, live events) | 1080p (60fps) – 4K | High frame rate, advanced optics, wide FOV, robust software, ring light options | El gato Facecam, Sony ZV-1 (as external camera) |
FAQs about Enabling Your Webcam
How do I know if my webcam is physically enabled?
Many laptops and external webcams have a physical privacy shutter or a small LED light next to the lens. If the light is on or the shutter is open, it’s typically ready.
Why is my webcam showing a black screen even after enabling it?
A black screen often indicates that another application is already using the camera, or privacy settings are still blocking access for the specific app you are trying to use. Close all other video-related apps and recheck your privacy permissions in your operating system’s settings.
Can my webcam be hacked?
Yes, webcams can be vulnerable to hacking, especially if your device is compromised by malware. Cybersecurity experts often recommend using physical webcam covers or disconnecting external cameras when not in use to enhance privacy.
What is the “Camera access for this device” setting in Windows?
This is a master switch that globally enables or disables camera access for all users and applications on your Windows device. If this setting is off, no app can use your camera, regardless of individual app permissions.
How can I improve my webcam’s video quality?
Improving video quality primarily involves ensuring good front lighting, avoiding backlighting, having a clean background, and setting the webcam’s resolution and frame rate within your application settings to appropriate levels for your internet speed.
Conclusion
Enabling and optimizing your webcam is a fundamental skill in our increasingly digital world. Whether for work, education, or personal connections, a clear, functional webcam ensures you can participate fully. By following these practical steps—from checking physical connections and privacy switches to configuring operating system and application settings—you can resolve most common issues and significantly enhance your video presence.
Remember that troubleshooting often starts with the simplest checks and progressively moves to more detailed software configurations. Maintaining up-to-date drivers and being mindful of your lighting and environment will contribute to a consistently professional and engaging webcam experience. As technology continues to evolve, with webcam usage growing significantly, mastering these skills ensures you remain connected and clear.