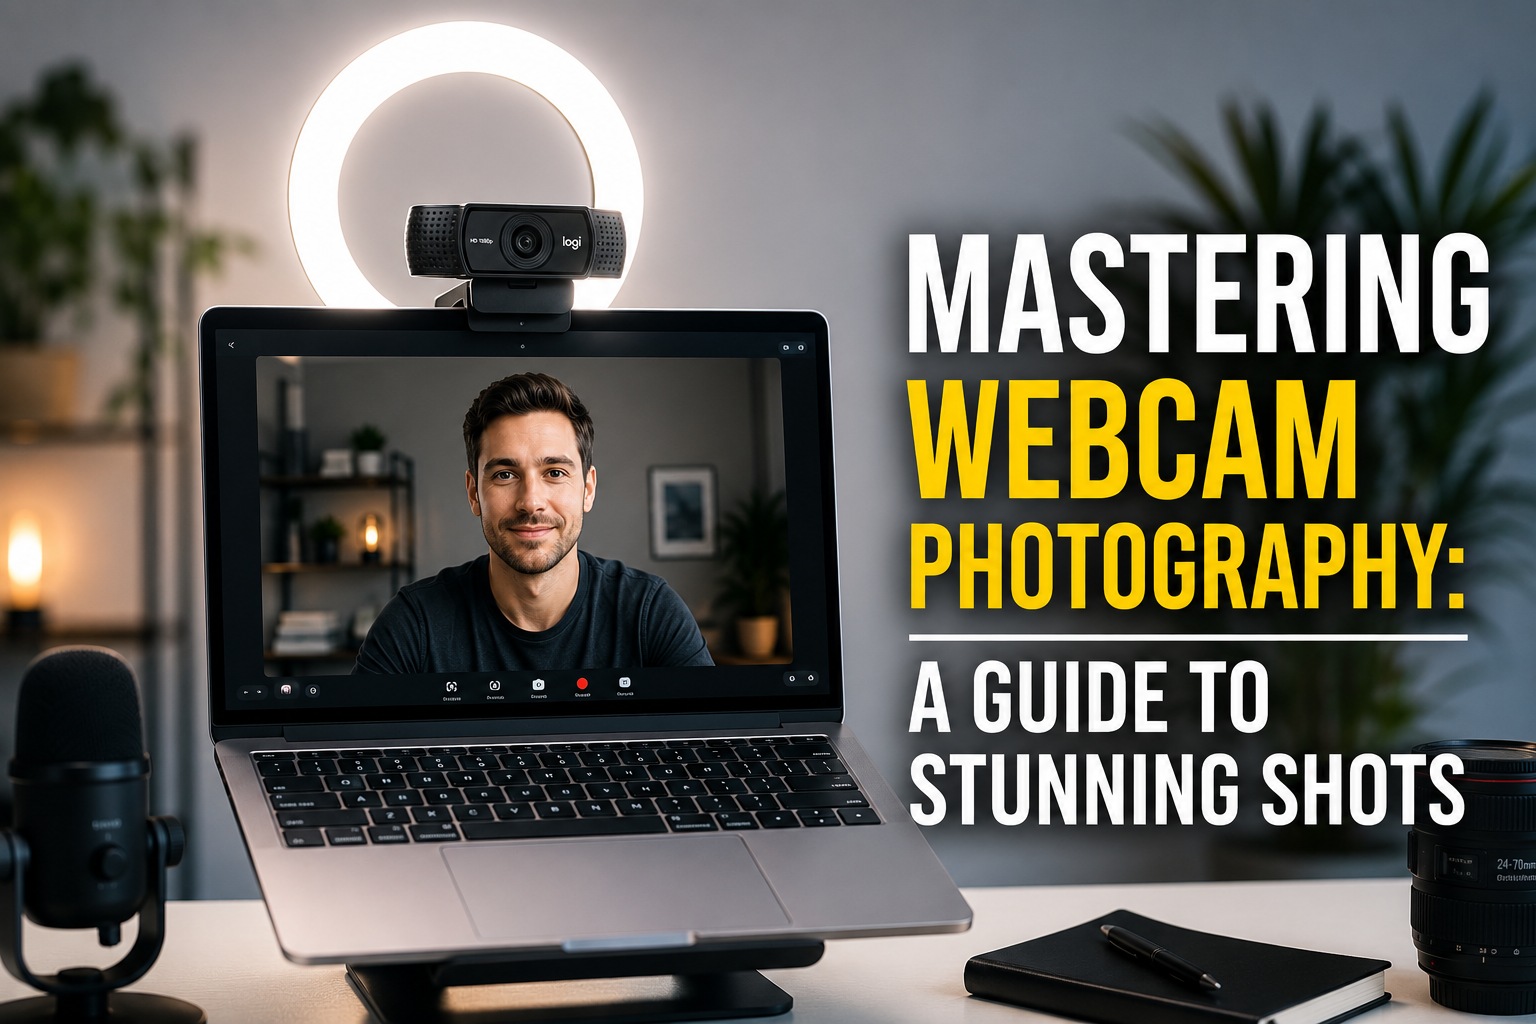
Taking pictures with a webcam is more than just clicking a button; it’s about transforming a simple tool into a creative instrument. You can capture high-quality photos by understanding your webcam’s capabilities, optimizing your environment, and utilizing the right software and techniques. This detailed guide will walk you through everything from setup to advanced tips, ensuring your webcam photos look professional and polished.
In today’s visually driven world, webcams are no longer just for video calls. They offer an accessible way to create content, whether for social media, online profiles, or personal projects. Mastering webcam photography can elevate your digital presence and provide a convenient solution for capturing images without specialized camera equipment. Let’s delve into the practical steps and insider knowledge that will turn your everyday webcam into a powerful photographic tool.
Getting Started: Essential Setup and Software
Choosing the Right Webcam for Photography
While most laptops have built-in webcams, an external webcam often offers superior image quality and more features. When selecting a webcam for photography, consider resolution, autofocus, and low-light performance. Higher resolution webcams, such as those offering 1080p or even 4K, capture more detail. Autofocus ensures your subject remains sharp, while good low-light performance is crucial for reducing graininess.
Many popular external webcams provide excellent photographic capabilities. For instance, the Logitech C920s Pro HD Webcam offers crisp 1080p video at 30 frames per second (fps) with a full HD glass lens, a 78-degree field of view, and HD auto light correction. It also features dual microphones for clear stereo sound and a privacy shutter. Another strong contender is the Razer Kiyo Pro, known for its high-performance adaptive light sensor, which provides superior imaging in various lighting conditions. It captures uncompressed 1080p at 60fps and supports HDR for more vibrant colors at 30fps. The Microsoft LifeCam Studio, while an older model, features a true 1080p HD sensor, autofocus from four inches to infinity, and TrueColor Technology for bright, colorful video in almost any lighting condition. It also has a 75-degree diagonal field of view and 360-degree rotation.
Connecting and Initializing Your Webcam
Once you have your webcam, connecting it to your computer is usually straightforward. Most external webcams use a USB connection. It is best to connect your camera directly to a USB port on your computer, avoiding hubs or docking stations, to ensure optimal performance. After plugging it in, your operating system will typically install the necessary drivers automatically. If not, you may need to download drivers from the manufacturer’s website.
For first-time setup, open your computer’s built-in camera application. On Windows, this is the “Camera” app, and on macOS, it’s “Photo Booth”. These applications allow you to quickly check if your webcam is working and offer basic controls for taking photos and videos.
Software for Capturing Webcam Photos
The right software can significantly enhance your webcam photography experience, offering more control and features than basic built-in apps. Here are some popular options:
- Windows Camera App: This default app on Windows 10 and later is great for basic photo and video capture. It includes features like a photo timer, framing grid, panorama shots, and digital video stabilization. You can also adjust exposure, ISO, and other camera settings.
- Photo Booth (macOS): For Mac users, Photo Booth provides a simple interface for taking stills and videos, along with fun effects.
- Logitech Capture: If you have a Logitech webcam, this software is an all-in-one tool for content creation, allowing you to record, edit, customize, and stream. It supports multiple source recording, meaning you can record from two webcams simultaneously.
- OBS Studio (Open Broadcaster Software): A powerful, free, and open-source software, OBS Studio is popular among streamers and content creators. It offers extensive customization for video and image capture, including advanced scene composition, filters, and transitions. For streamers and content creators, learning how to add webcam to OBS can be very beneficial. Additionally, for more advanced setups, OBS also allows you to record webcam and screen separately, editable files.
- ManyCam: This software provides an intuitive user interface with live streaming tools and numerous effects. It integrates with various online platforms and allows for features like picture-in-picture and chroma key.
- YouCam (Cyberlink): Known for its virtual effects, YouCam integrates well with social media streaming platforms. It offers over 200 video effects, AR makeup, skin smoothing, virtual backgrounds, and customizable titles.
- Debut Video Capture: This software allows you to capture and edit footage from almost any source, including your webcam. It offers features like time-lapse recording and scheduled recordings.
- Webcam Capture: A surveillance-focused application, it also offers basic photo and video recording, motion detection, and cloud backup to OneDrive.
Mastering Your Environment for Optimal Shots
The Power of Lighting
Lighting is arguably the most critical factor in webcam photography. Even the best webcam struggles in poor lighting conditions, producing grainy, noisy, or washed-out images. “Good lighting can dramatically improve your appearance on camera, making you look more polished and professional,” says an article on Lume Cube.
Follow these lighting principles:
- Front-facing Light is Key: Always ensure your primary light source is in front of you, illuminating your face. This reduces shadows and provides a clear image. Placing the light directly behind your webcam, or slightly above eye level, is ideal.
- Avoid Backlighting: Never sit with a window or bright light source directly behind you. This will silhouette you and make your face appear dark and undefined.
- Soft and Diffused Light: Harsh, direct light can create unflattering shadows and shiny spots. Use soft, diffused light to evenly illuminate your face. Ring lights are excellent for this, providing balanced lighting that eliminates shadows. You can also diffuse a desk lamp by placing a thin white sheet or typing paper over it.
- Natural Light: If possible, position your setup facing a window during the day. Natural daylight is often the most flattering light source.
- Three-Point Lighting (Advanced): For a more professional setup, consider three-point lighting. This involves a key light (your main, brightest light) positioned slightly to one side, a fill light (softer, on the opposite side) to reduce shadows, and a backlight (behind you) to separate you from the background and add depth.
- Consistent Color Temperature: Mixed light sources with different color temperatures (e.g., warm incandescent and cool fluorescent) can confuse your webcam’s auto white balance, leading to unnatural color tints. Try to use lights with a consistent color temperature, such as “daylight” LED bulbs around 5000K.
Optimizing Your Background
Your background plays a significant role in the overall aesthetic of your photo. A cluttered or distracting background can detract from your image. Aim for a simple, clean, and uncluttered background. A plain wall or a thoughtfully arranged space with minimal elements works best. Some webcams and software offer virtual background features, which can be useful if your physical background is unsuitable.
Camera Positioning and Angles
The angle of your webcam can dramatically impact how you appear in photos. Here are some guidelines:
- Eye Level or Slightly Above: Position your webcam at eye level or slightly above, looking slightly down at your face. This is generally the most flattering angle and avoids unflattering upward-looking shots. Use books or a laptop stand to achieve the correct height.
- Arm’s Length Distance: Sit an arm’s length (approximately two feet) away from your webcam. Sitting too close can exaggerate features due to the wide-angle lenses typically found in webcams.
- Center Yourself: Frame yourself so your eyes are along the top third line of the frame, following the rule of thirds in photography.
Advanced Techniques for Better Webcam Photos
Adjusting Webcam Settings
Beyond basic adjustments, most webcam software and even your computer’s operating system allow for more granular control over image settings.
Key settings to adjust include:
- Exposure: Controls how much light the camera lets in. Increase it to brighten your image, but be careful not to overexpose.
- ISO/Gain: This setting digitally boosts the image signal in low light, but it also introduces graininess (noise). Keep ISO/gain as low as possible for a cleaner image by ensuring adequate lighting.
- White Balance: Adjusts the color temperature to ensure whites appear white and colors are accurate. Auto white balance can sometimes be confused by mixed lighting. Manually setting the white balance (often in Kelvin temperature) can yield more consistent results.
- Contrast, Sharpness, Saturation: These settings can be fine-tuned to improve the overall look of your image.
- Resolution: Ensure your webcam is set to its highest available resolution for still images (e.g., 1920×1080 for 1080p webcams).
Composition Tips for Engaging Photos
Applying basic photography composition rules can elevate your webcam photos:
- Rule of Thirds: Imagine a tic-tac-toe grid over your image. Place points of interest, such as your eyes, along the lines or at their intersections for a more balanced and engaging composition.
- Leading Lines: Use natural lines in your background (e.g., shelves, window frames) to draw the viewer’s eye towards your subject.
- Depth of Field: While webcams have smaller sensors, good lighting and proper distance can sometimes create a subtle separation between you and the background, giving a sense of depth. Some advanced webcams, like the Razer Kiyo Pro Ultra, offer more natural background blur through a larger image sensor.
- Eye Contact: Look directly into the camera lens to create a sense of connection with the viewer.
Enhancing Images Post-Capture
Even with excellent capture techniques, post-processing can add a professional touch to your webcam photos. Basic photo editing software, available on most computers or as free online tools, allows you to:
- Crop and Rotate: Improve composition and straighten skewed images.
- Adjust Brightness and Contrast: Fine-tune exposure and dynamic range.
- Color Correction: Adjust white balance and saturation for more vibrant and accurate colors.
- Sharpening: Enhance details, but use sparingly to avoid an artificial look.
- Retouching (Optional): Minor skin smoothing or blemish removal can be done, but keep it natural.
Software like Snagit offers image capture and video recording with a suite of editing tools to add themes, shapes, and annotations. Wondershare Filmora is another option with professional editing tools and a vast library of effects.
Troubleshooting Common Webcam Picture Problems
Even with the best preparation, you might encounter issues. Here are common problems and their solutions:
| Problem | Possible Causes | Solutions |
|---|---|---|
| Grainy/Noisy Image | Low light, high ISO/gain setting. | Increase lighting in front of you. Lower ISO/gain settings in webcam software. |
| Blurry/Out of Focus | Dirty lens, incorrect focus distance (for fixed-focus webcams), autofocus issues. | Clean the lens with a microfiber cloth. Adjust your distance to the webcam. If autofocus is struggling in low light, improve lighting. |
| Dark/Underexposed | Insufficient lighting, strong backlight, auto-exposure issues. | Add more front-facing light. Ensure no bright lights are behind you. Manually adjust exposure in settings. |
| Washed Out/Overexposed | Too much light, auto-exposure issues. | Reduce direct light intensity. Adjust exposure settings. |
| Orange/Yellow Tint | Mixed color temperature lighting, incorrect white balance. | Use consistent lighting (e.g., all daylight bulbs). Manually adjust white balance in webcam software to a cooler setting. |
| Webcam Not Detected | Loose connection, disabled driver, privacy settings, antivirus blocking. | Ensure USB cable is securely connected to a direct port. Update or reinstall webcam drivers. Check privacy settings to grant camera access. Temporarily disable antivirus or whitelist the webcam. |
| Image Looks Flat | Lack of multiple light sources, no separation from background. | Implement a two or three-point lighting setup. Add subtle background lighting. |
For persistent quality issues, consider updating your webcam drivers, as outdated or incompatible drivers can cause problems. If a recent Windows update caused issues, rolling back the driver might help.
FAQ
How do I take a picture with my webcam on Windows?
How do I take a picture with my webcam on Windows?
On Windows, you can open the built-in “Camera” app by searching for it in the Start menu. Once open, select the photo icon (usually a still camera) and click the white button to capture a picture.
What is the best lighting for a webcam picture?
The best lighting for a
webcam picture comes from directly in front of you, ensuring your face is evenly illuminated. Soft, diffused light from a window or a ring light is ideal, positioned at eye level or slightly above.
Can I improve my laptop’s built-in webcam quality?
Yes, you can significantly improve your laptop’s built-in webcam quality by optimizing lighting, adjusting camera settings (exposure, white balance), ensuring a clean lens, and maintaining an appropriate distance and angle.
What are some good software options for webcam photography?
Good software options include your computer’s built-in Camera (Windows) or Photo Booth (macOS) apps for basic use. For more advanced features, consider Logitech Capture (for Logitech webcams), OBS Studio, ManyCam, or Cyberlink YouCam.
How far should I sit from my webcam for the best picture?
For the best picture, sit approximately an arm’s length, or about two feet, away from your webcam. This distance helps prevent distortion of your features due to the webcam’s wide-angle lens.
Conclusion
Taking high-quality pictures with your webcam is entirely achievable with the right approach. By understanding your webcam’s capabilities, optimizing your lighting and environment, and utilizing appropriate software, you can capture images that meet your needs, whether for casual use or professional applications. Remember that lighting is paramount, and small adjustments to your setup can yield significant improvements in image quality. Experiment with different angles, settings, and post-processing techniques to discover your unique style and make the most of your webcam photography.